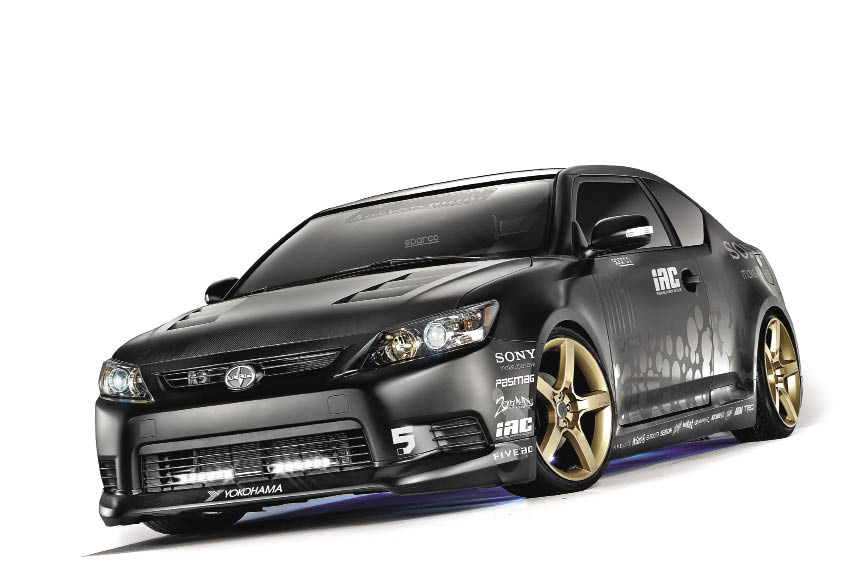
The Project Scion tC has moved through many stages of development – power, entertainment and style to name just a few. It’s now time to address an area that is truly functional and can make or (literally) break the success of any performance build – braking. We are honored to be the first to install the new TRD big brake kit for the tC, and thanks to the crew at International Automotive and Custom in Woodbridge, Ontario, the install was painless.
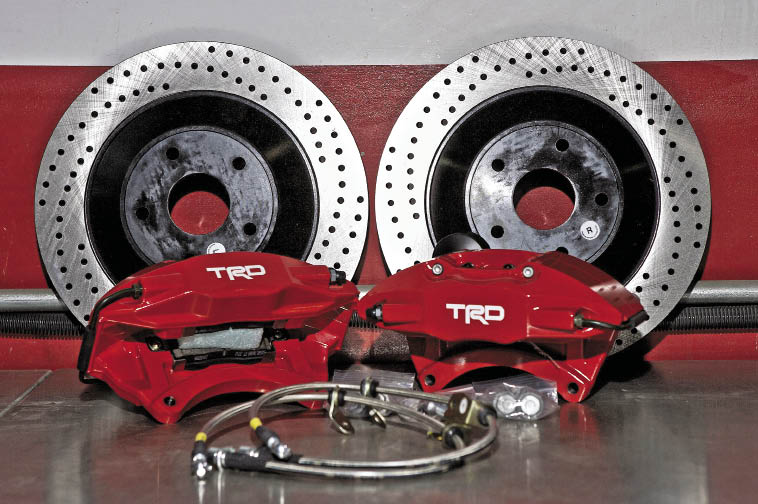
The TRD PTR09-21111 kit features a set of monoblock 4-piston calipers, upgraded brake pads, new brake lines, a pair of cross-drilled, vented rotors and mounting hardware. The size of the rotors and caliper pistons has been carefully chosen to maintain proper front/rear braking bias and ABS functionality. This kit is designed to work with with the tC’s OEM 18-inch wheels in addition to the aftermarket variety that are at least 18 inches in size.
 |
 |
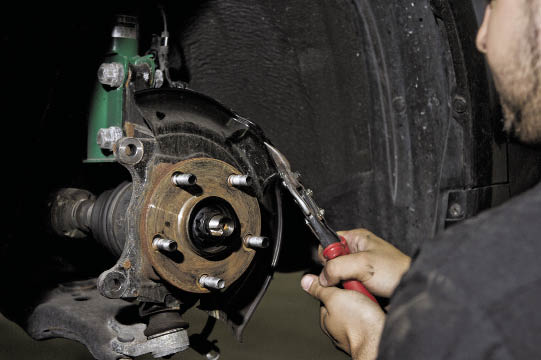
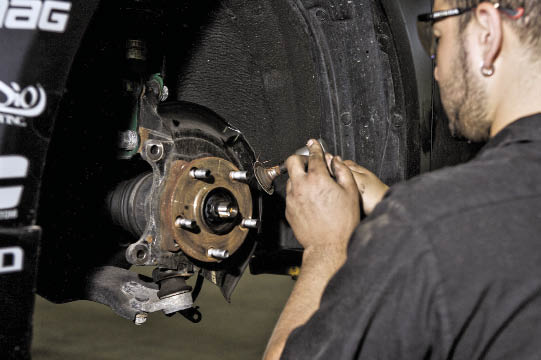
Step 1: Remove OEM brakes
As with most OE-developed products, a very detailed 13-page installation manual is included.
• Raise the car on a chassis hoist and remove the wheels and store in a safe place away from the vehicle.
• Disconnect and cap the factory rubber brake line from the hard line.
• Remove the OE brake caliper and hose, bracket and rotor. Discard or sell on eBay.
 |
 |
Step 2: Modify factory dust shield
• Clean the dust shield and mark the areas to be removed with a paint marker as per pages five and six of the instructions.
• Using tin snips (and wearing gloves) cut away the metal. Use an angle grinder to clean up the edge if required.
• Spray or paint the exposed metal edge with Tremclad or a similar product to prevent rust.
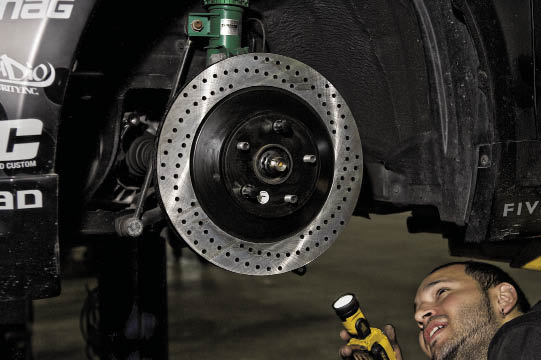
Step 3: Install the TRD rotor
• Clean the surface of the hub with a wire brush to ensure the rotor will sit flat.
• Clean the shipping anti-rust coating off the front and back of the rotor with brake cleaner.
• Slide the rotor onto the hub and tighten with a single lug-nut by hand to hold it in place.
• Check for proper clearance between the rotor and the dust shield. Trim the dust shield if necessary.
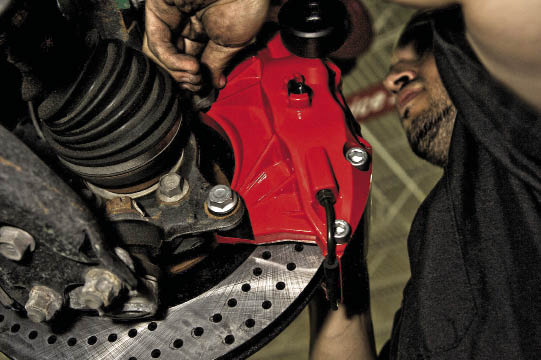
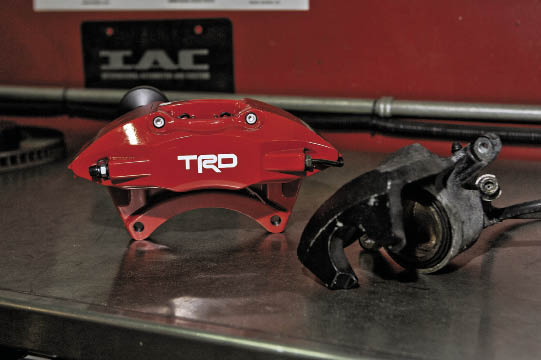
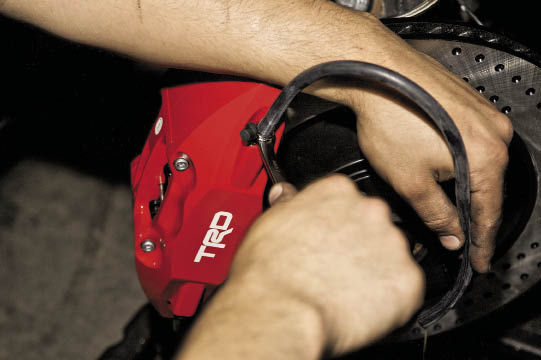
Step 4: Install TRD caliper
• Remove the caliper bridge, brake pads and foam spacer from the caliper.
• Align the mounting holes on the rear of the caliper with the steering knuckle and insert newly provided hardware. Note: the factory hardware is a different
thread pitch and will damage the caliper if you attempt to use it.
• Torque the mounting bolts to 79 lb-ft.
• Reinstall the brake pads and caliper bridge. Do not torque the retention bolt – tighten snugly.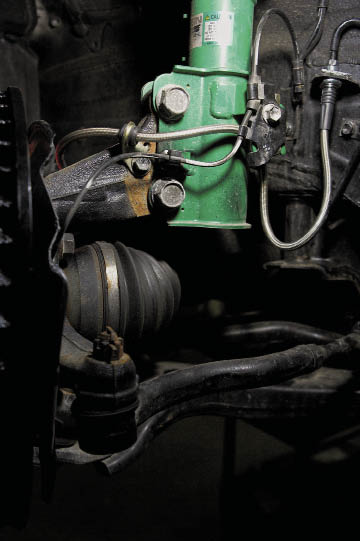
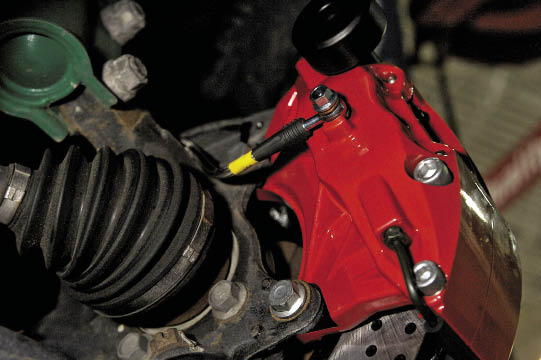 |
Step 5: Install new TRD braided lines
• Attach the new braided lines to the mounting point on the strut.
• Thread the steel line fitting into the top thread and install into chassis mount with retaining clip.
• Tighten the fitting on the steel line to 132 lb-in using a line wrench.
• Connect the other end of the line to the caliper with the new copper washers. Tighten to 168lb-in.
Step 6: Bleed the brakes
• Fill the brake fluid reservoir with brand new high quality brake fluid.
• Attach a length of hose to the bleeder valve on the top of the brake caliper.
• Have a friend push the brake pedal to the floor and hold.
• Open the bleeder valve slightly to let air bubbles escape.
• Pump brake pedal and repeat until no bubbles escape, topping up the reservoir as required.

Step 7: Check everything
• Confirm that all mounting hardware is secure and torqued appropriately.
• Confirm the wheel will turn lock-to-lock with no line binding.
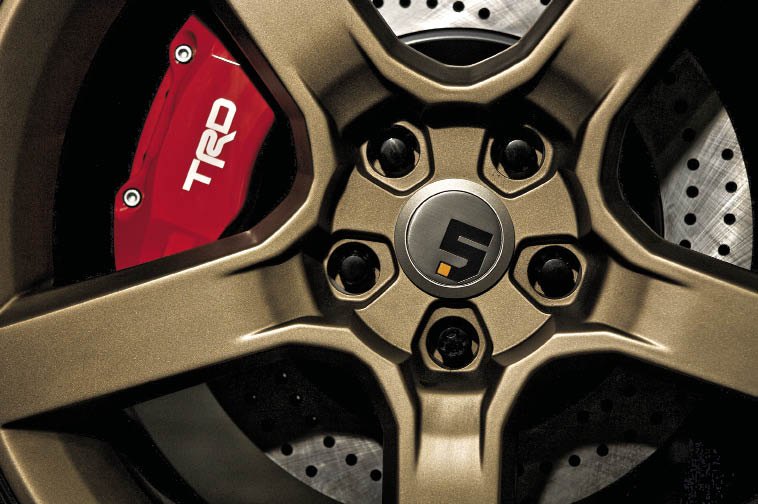
• Clean brake calipers and rotors with brake cleaner and clean rag. Remove L and R labels.
• Reinstall cool Five Axis wheels and torque to 75 lb-ft.
Step 8: Bed-In the brakes
• In a safe and legal location, bring the vehicle up to 100 km/h and brake firmly down to 10 km/h.
• Repeat this procedure 10 times in quick succession to get heat into the pads and rotors.
• DO NOT STOP THE VEHICLE!
• Drive around to cool the brakes for 10 minutes without stopping.
• Repeat the 10 braking process steps followed by a cooling drive.
• You may repeat this a third time if desired. Failure to bed-in the brakes will result in poor performance and uneven pad deposition onto the rotor which could result in vibration. Don’t worry about the smell during the bed-in process – that’s normal!
TRD - www.toyotaracing.com/trd
IAC - www.iactech.com