
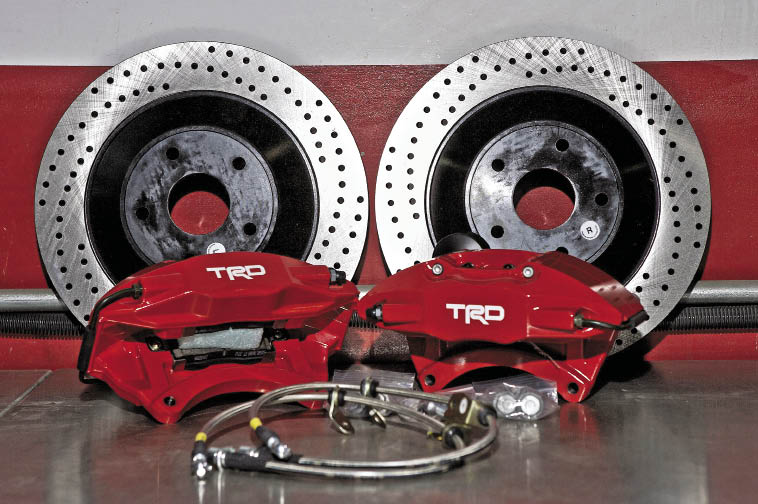
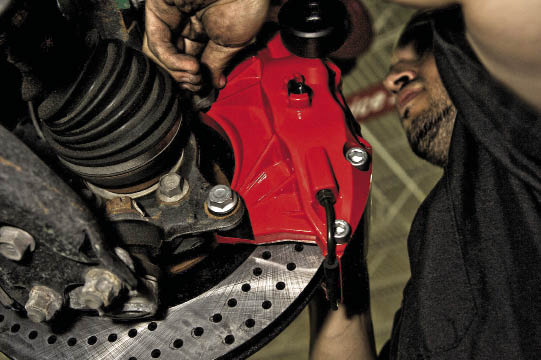
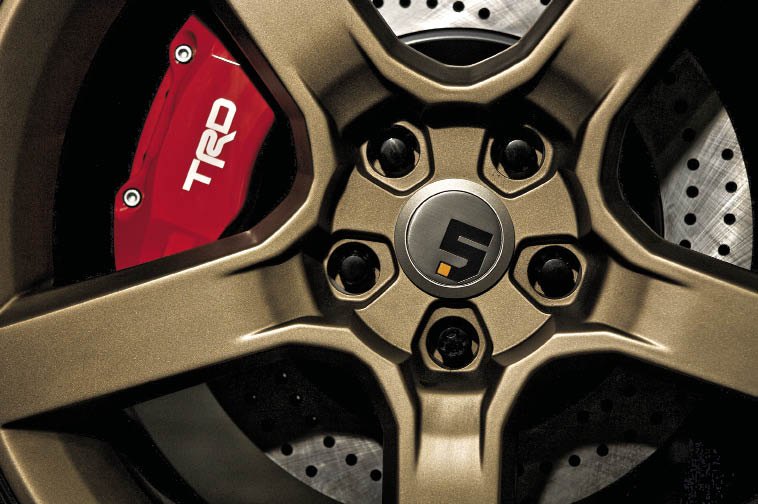
Step 4: Install TRD caliper
• Remove the caliper bridge, brake pads and foam spacer from the caliper.
• Align the mounting holes on the rear of the caliper with the steering knuckle and insert newly provided hardware. Note: the factory hardware is a different
thread pitch and will damage the caliper if you attempt to use it.
• Torque the mounting bolts to 79 lb-ft.
• Reinstall the brake pads and caliper bridge. Do not torque the retention bolt – tighten snugly.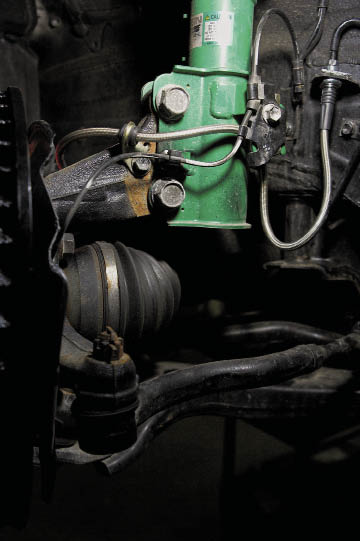
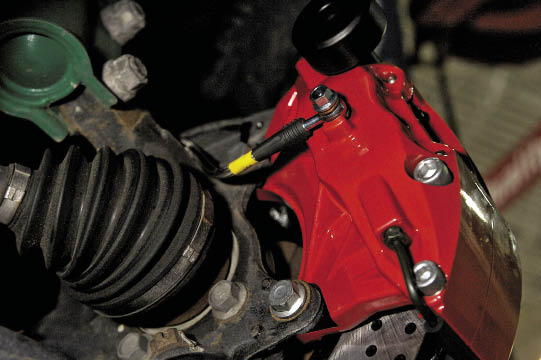 |
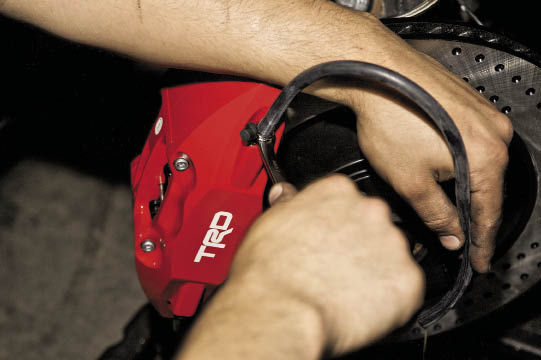
Step 5: Install new TRD braided lines
• Attach the new braided lines to the mounting point on the strut.
• Thread the steel line fitting into the top thread and install into chassis mount with retaining clip.
• Tighten the fitting on the steel line to 132 lb-in using a line wrench.
• Connect the other end of the line to the caliper with the new copper washers. Tighten to 168lb-in.
Step 6: Bleed the brakes
• Fill the brake fluid reservoir with brand new high quality brake fluid.
• Attach a length of hose to the bleeder valve on the top of the brake caliper.
• Have a friend push the brake pedal to the floor and hold.
• Open the bleeder valve slightly to let air bubbles escape.
• Pump brake pedal and repeat until no bubbles escape, topping up the reservoir as required.

Step 7: Check everything
• Confirm that all mounting hardware is secure and torqued appropriately.
• Confirm the wheel will turn lock-to-lock with no line binding.
• Clean brake calipers and rotors with brake cleaner and clean rag. Remove L and R labels.
• Reinstall cool Five Axis wheels and torque to 75 lb-ft.
Step 8: Bed-In the brakes
• In a safe and legal location, bring the vehicle up to 100 km/h and brake firmly down to 10 km/h.
• Repeat this procedure 10 times in quick succession to get heat into the pads and rotors.
• DO NOT STOP THE VEHICLE!
• Drive around to cool the brakes for 10 minutes without stopping.
• Repeat the 10 braking process steps followed by a cooling drive.
• You may repeat this a third time if desired. Failure to bed-in the brakes will result in poor performance and uneven pad deposition onto the rotor which could result in vibration. Don’t worry about the smell during the bed-in process – that’s normal!
TRD - www.toyotaracing.com/trd
IAC - www.iactech.com