
Motorization is a scary thing to tackle for most installers and fabricators. Although we have all designed these amazing moving and sliding installs in our head, very rarely does it become a reality. This is usually because of either cost or skill set. If it’s cost then your limited, but if it’s because you don't have the skill set then it’s time to learn. The first thing to decide is what type of motorization you plan on doing. There are multiple ways to add motorization, but the two we will cover are: Lift/Lower and Open/Close.
Lift/Lower
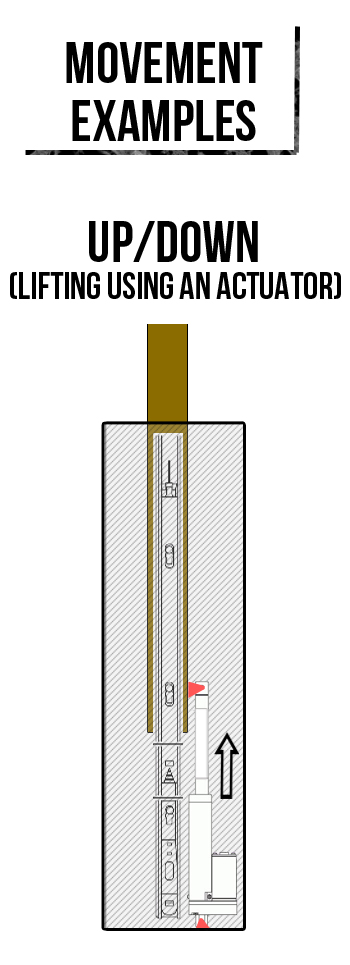 The second type of motorization movement we will discuss is the Lift/Lower. This is normally used to raise a TV out of an area and have it disappear by motorizing it back down. The concept for this type of movement is identical to the Push/Pull movement with a couple different variables. The first major difference is the weight that will be placed upon your actuator. When doing a vertical lift movement rather than a horizontal push movement the actuator will be handling 100% of the projects weight, which will create much higher stress on the actuator being used. You can use the same method with the trigger tension scale to determine the weight, but instead of 20% over the figured weight you will want to get an actuator that can handle at least 35% over the total weight of the project.
Along with the weight you will need to make sure more than ever that the movement is perfectly straight and linear. When doing the track and frame for this type of movement, it is critical that all parts are perfectly straight or you may get the shimmy effect. What's the shimmy effect? It’s when your project begins moving up and the unit begins to shake and skip on the way up rather than moving smoothly. This is due to your tracks being out of alignment and the actuator is forcing the panel past the ball bearings in the slides at an angle.
Another suggestion is to use an external stop switch when doing any type of lifting movement, so the panel stops before the actuator reaches full extension. That means if you have a travel distance from A to B of 10 inches, then you should use a 12-inch stroke actuator. The reason for this is: when an actuator is fully extended the actuator shaft attached to your panel will become very loose and will begin to have play in it due to the fact that 95% of it is no longer within the main cylinder. If you have your actuator fully extended, you also run the risk of the panel becoming crooked or stuck when you begin drawing the actuator back into the cylinder.
Outside of these differences, the act of installing a Lift/Lower panel is identical to a Push/Pull except the drawer frame is being mounted vertically instead of horizontally.
Open/Close
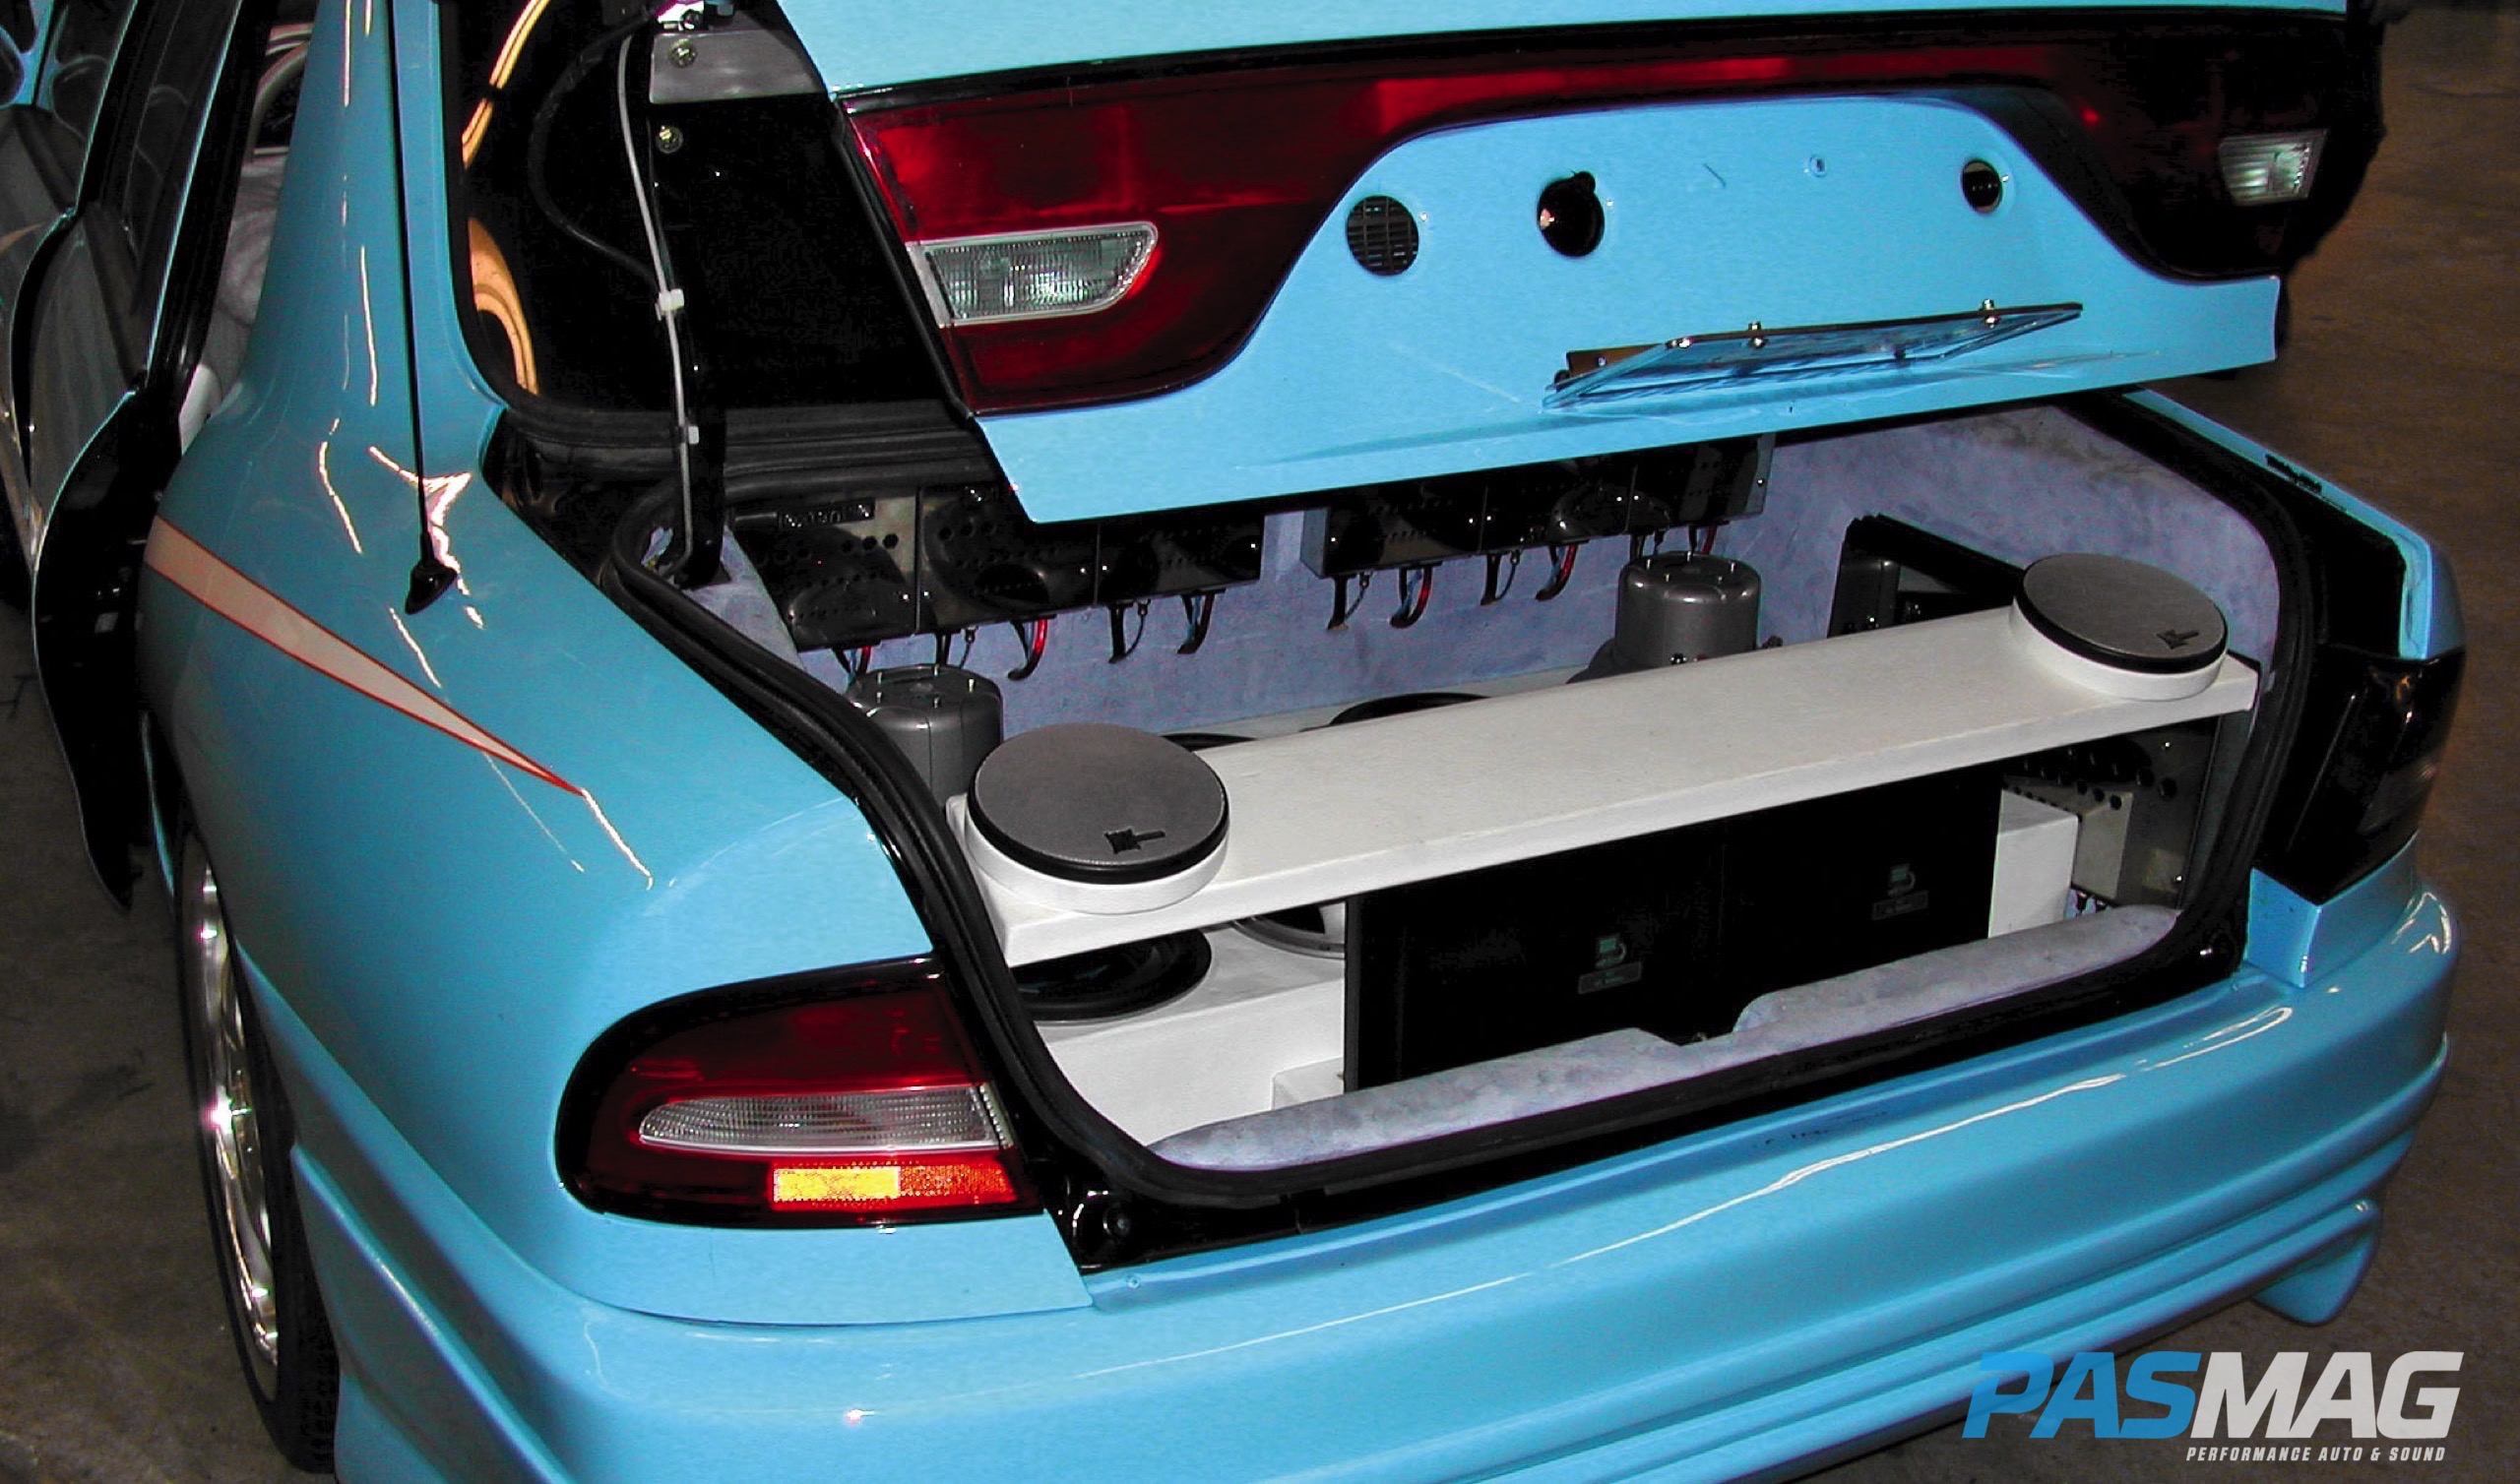
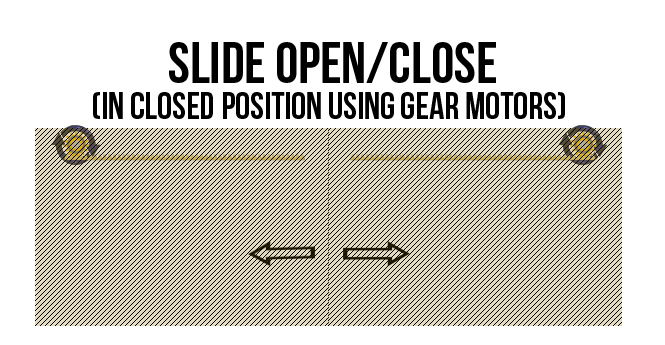 The third type of movement is Open/Close like a set of elevator doors. This is a very cool type of movement to expose an amp rack in the floor or an acrylic window set in the back of a sub box. To do this type of movement we will need to use different components because an actuator would be overkill due to how light a sliding door panel is as well as being too slow for the desired effect.
In place of an actuator we will be using a gear – a device that allows low-horsepower motors to drive a great deal of force on an object with low speed. A perfect example is the motors that run the wheels in a kids Power Wheels toy. It consists of a reduction gear train and an electric motor, which both come fully integrated into an easily mountable and configurable unit. Because each application has its own unique characteristics, it is important to determine what parameters (i.e. horsepower, efficiency, life, starting torque or noise ratings) are most important to the application under consideration. Due to the multitude of variables it is best to reach out to your gearmotor supplier like ServoCity.com and speak with the tech department. If possible, have your project outline in an email capable form so you can send it to them for review. They will be able to let you know exactly what will work best for your project.
We will also need a sprocket (bore pinion gear) to place on the shaft of the gearmotor as well as a matching gear rack. A gear rack is a plastic track with a smooth side and another side that looks like saw blade teeth. They come in different lengths and widths. The length will be determined by how far the panel needs to travel. Gear racks are also available with different teeth and pitch variables. You want to match the sprockets teeth and pitch you are attaching to your gearmotor to match your gear rack. This will allow your sprocket to ride along the gear rack and the teeth will easily travel along as the sprocket turns.
Getting it done!
Now that you have the rough idea of how this thing is going to move, it’s time to figure out how to use them. For even better movement, I suggest using ball bearing drawer slides on each side of the sliding panel. You will then mount the gear rack down the center of the sliding panel on the backside. With the panel in the fully open position you will mount the gearmotor vertically with the sprocket teeth lined into the gear rack. When you energize the gearmotor the sprocket will turn, which will force the panel to move due to the teeth running along the gear rack. This all sounds good when reading it, but when doing this type of movement it is critical that the gearmotor is mounted firmly with no chance to move. You must also be sure the panel has no chance to move upward or the sprocket will come away from the gear rack.
 |
 |
If done properly you can slide a panel very quickly. I was able to achieve a 12-inch movement in .78 seconds, which is extremely fast and impressive, but always keep in mind the stresses being introduced when the gearmotor stops. Like your vehicle, when you hit the brakes you are placing wear upon your pads and rotors and will eventually need them replaced. Over-stressing the sprocket against the gear rack can cause the same effect and may result in broken or worn teeth that will need to be replaced.
All of these examples are very elementary compared to some of the motorizations that have been achieved by installers all over the world, but with these basic techniques you will soon begin to realize that by adding in other components and gears anything is possible. With these basic skill sets you can build upon them and begin experimenting with two-way and three-way motorization and even robotics. Now go get to work and as always, feel free to send me pictures of your project!
Related Articles
 Cabe's Corner: More Than a Daily Driver
 Cabe's Corner: Build a Workshop on a Budget