
It’s always important to have balance in an audio system. In this case, balance is having sufficient mids and highs to match up against low end bass reproduction.
I’ve run the gamut of mids and highs over the years, from coaxials to Pro Audio 8s and 10s and component sets. For this rebuild, I decided to go with Car Audio component speakers for my mid and high frequency requirements. Now, a set or two would be more than enough for a typical system, but on Project Ground Pounder we will be running a total of 20 component sets in this vehicle. Yes, you read correctly.
A little clarification; Project Ground Pounder requires that quantity of speakers due to the amount of subwoofers being used and the bass they will reproduce. Phase 2 will cover the building of custom door panels and the installation of the speakers in those door panels. The door panels will account for 11 out of the 20 total component sets (seven sets in the front doors and four in the rear doors) with the remaining nine installed in other parts of the vehicle.
As mentioned during our Phase 1 feature, the speaker choice for the build is RE AUDIO. After discussions with Nick Cimino from Core Industries, the Canadian Distributor for RE AUDIO, it was decided the RE AUDIO RE 6.5C component set with the one-inch silk dome tweeter and 6.5-inch midbass driver would be the perfect choice for this build.
Afterward I sat down with John Wolak, owner of Ultimate Autosports, to discuss the layout of the doors and how to build them. One mandate I had was to keep them as stock as possible. Now I know what you’re thinking, stock is like an oxymoron in this particular situation. But to me, stock is keeping as much of the door skin as possible without having to rearrange and relocate vital parts of the door, such as the handle, buttons and armrest. I believe we were able to attain a happy medium in the end.
|
|
|
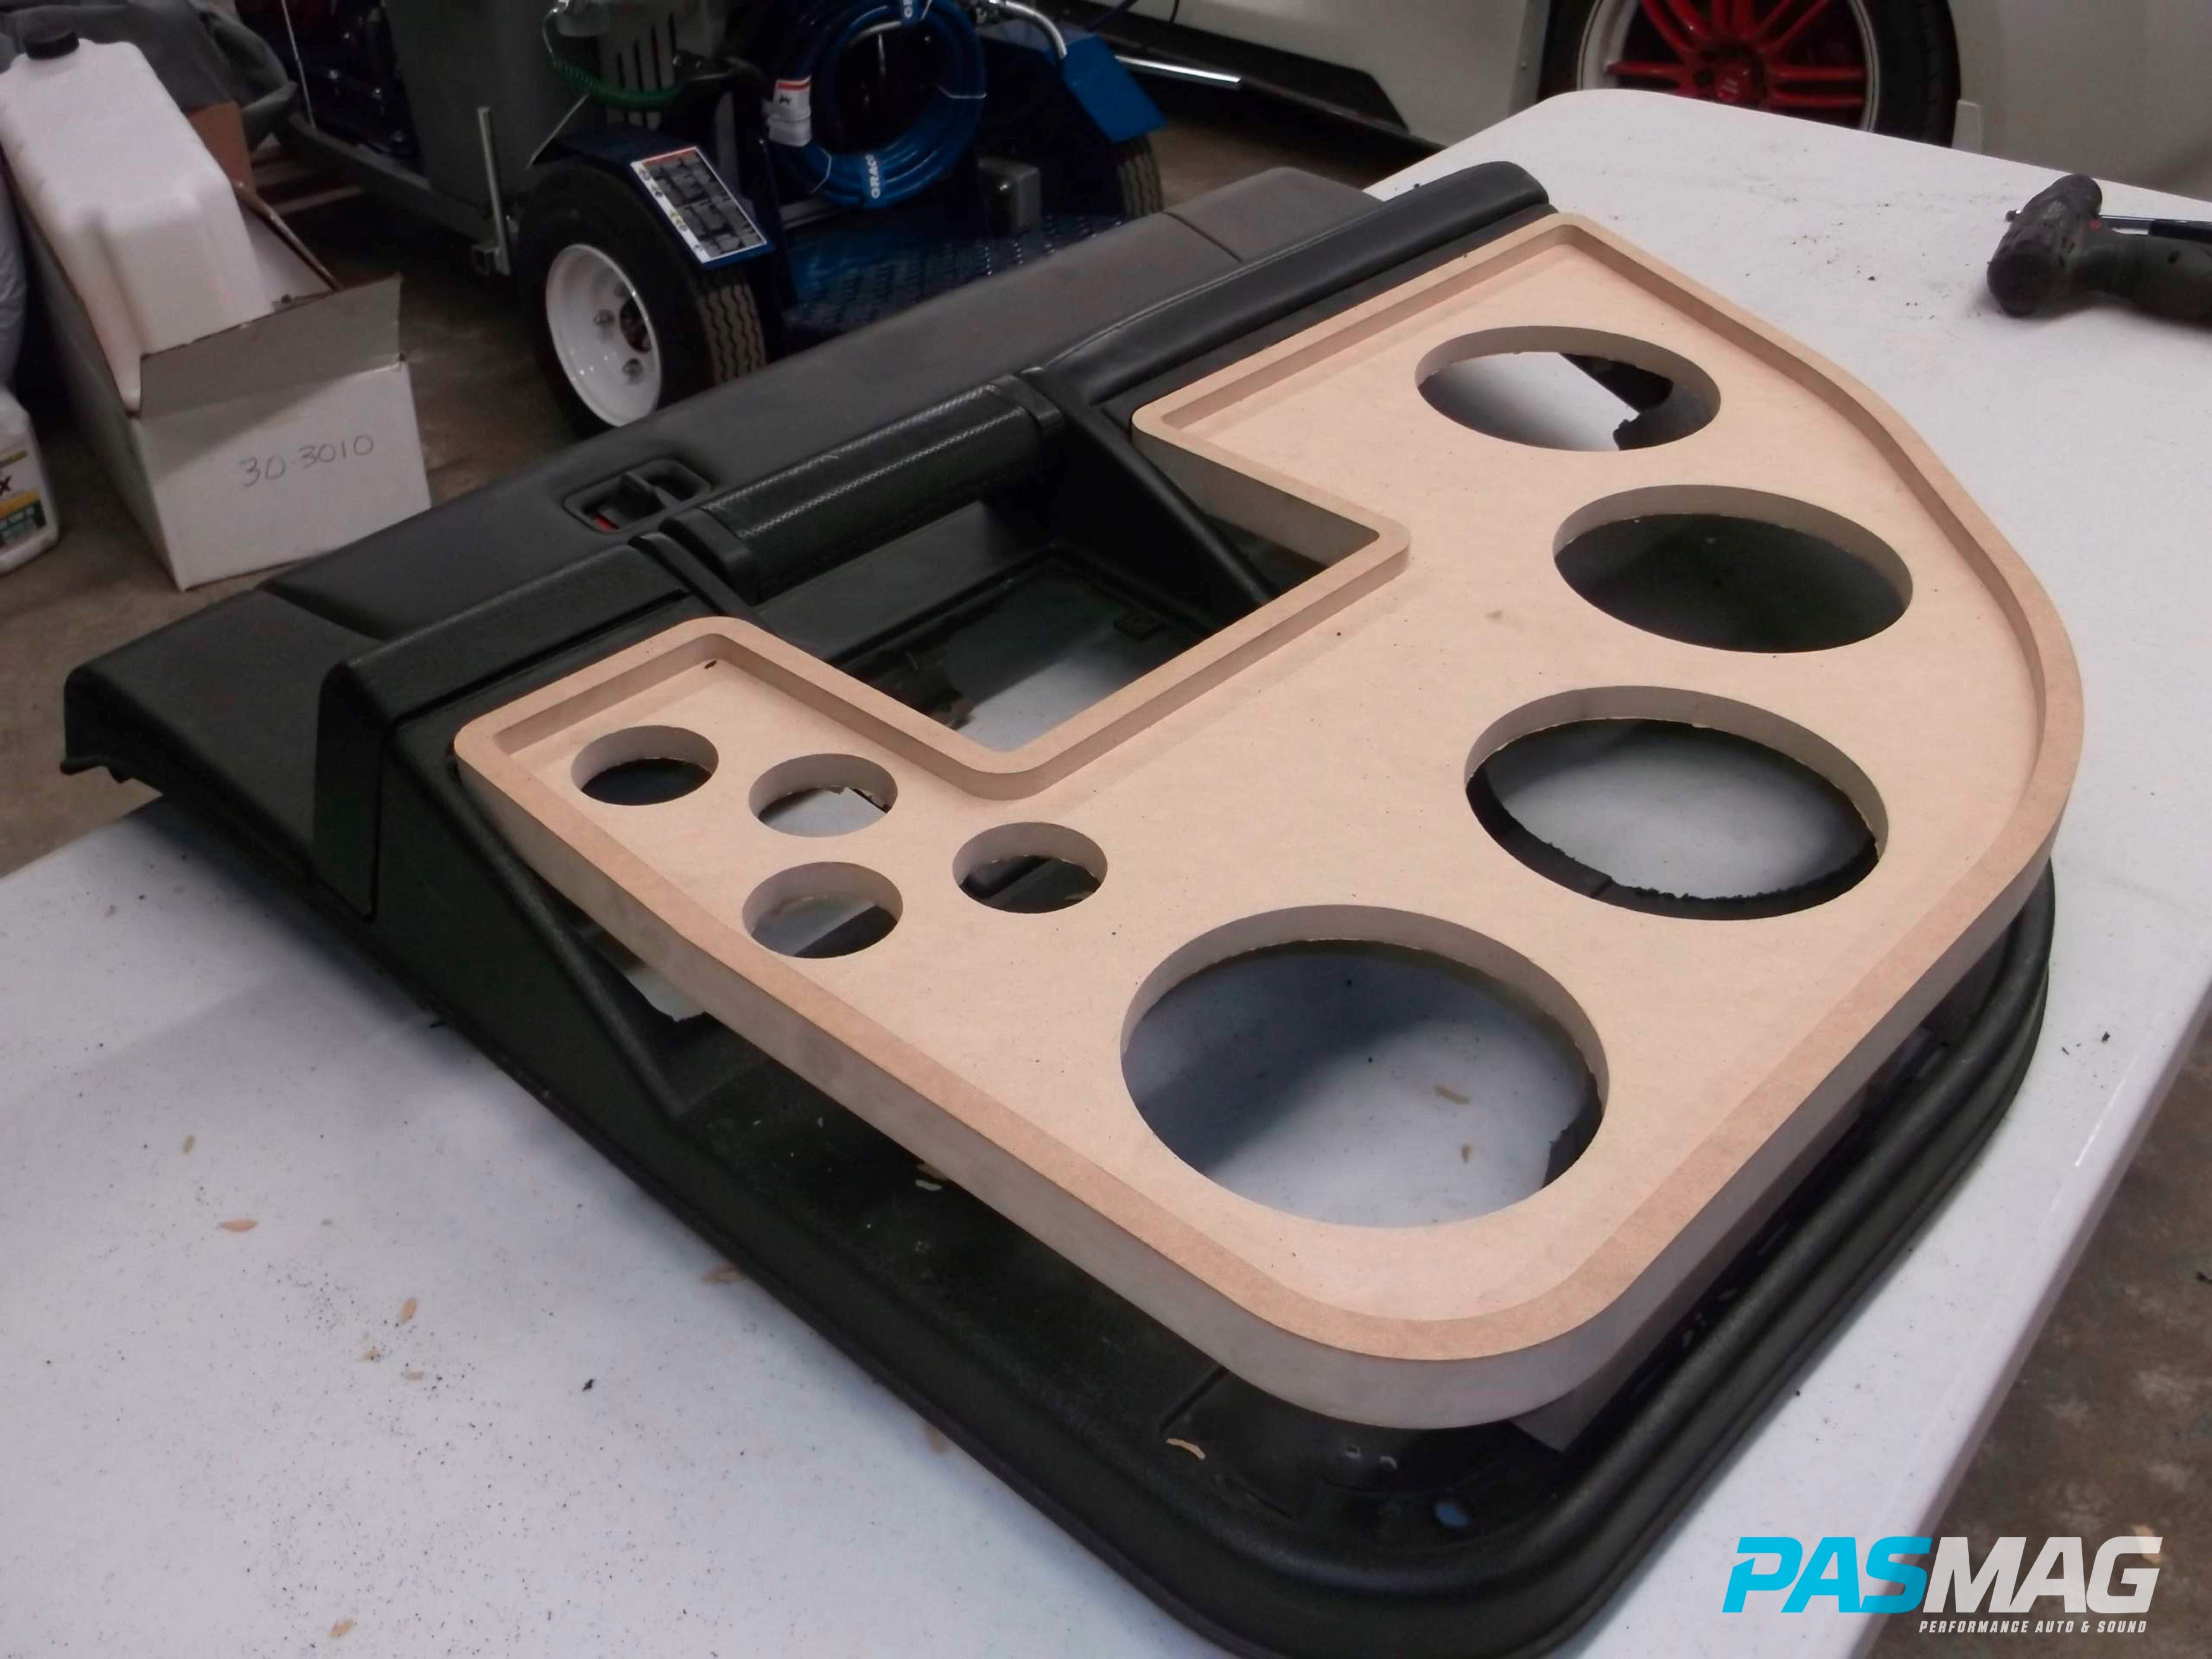
Tops on the build list was to measure the doors, see what space is available and how many speakers could fit. Once we measured and saw the available space, a digital design was created in AUTOCAD to arrange the speakers. A few different designs were tried, and the final one was chosen because it not only looked the part, but it also had the perfect blend between the speakers and panel.
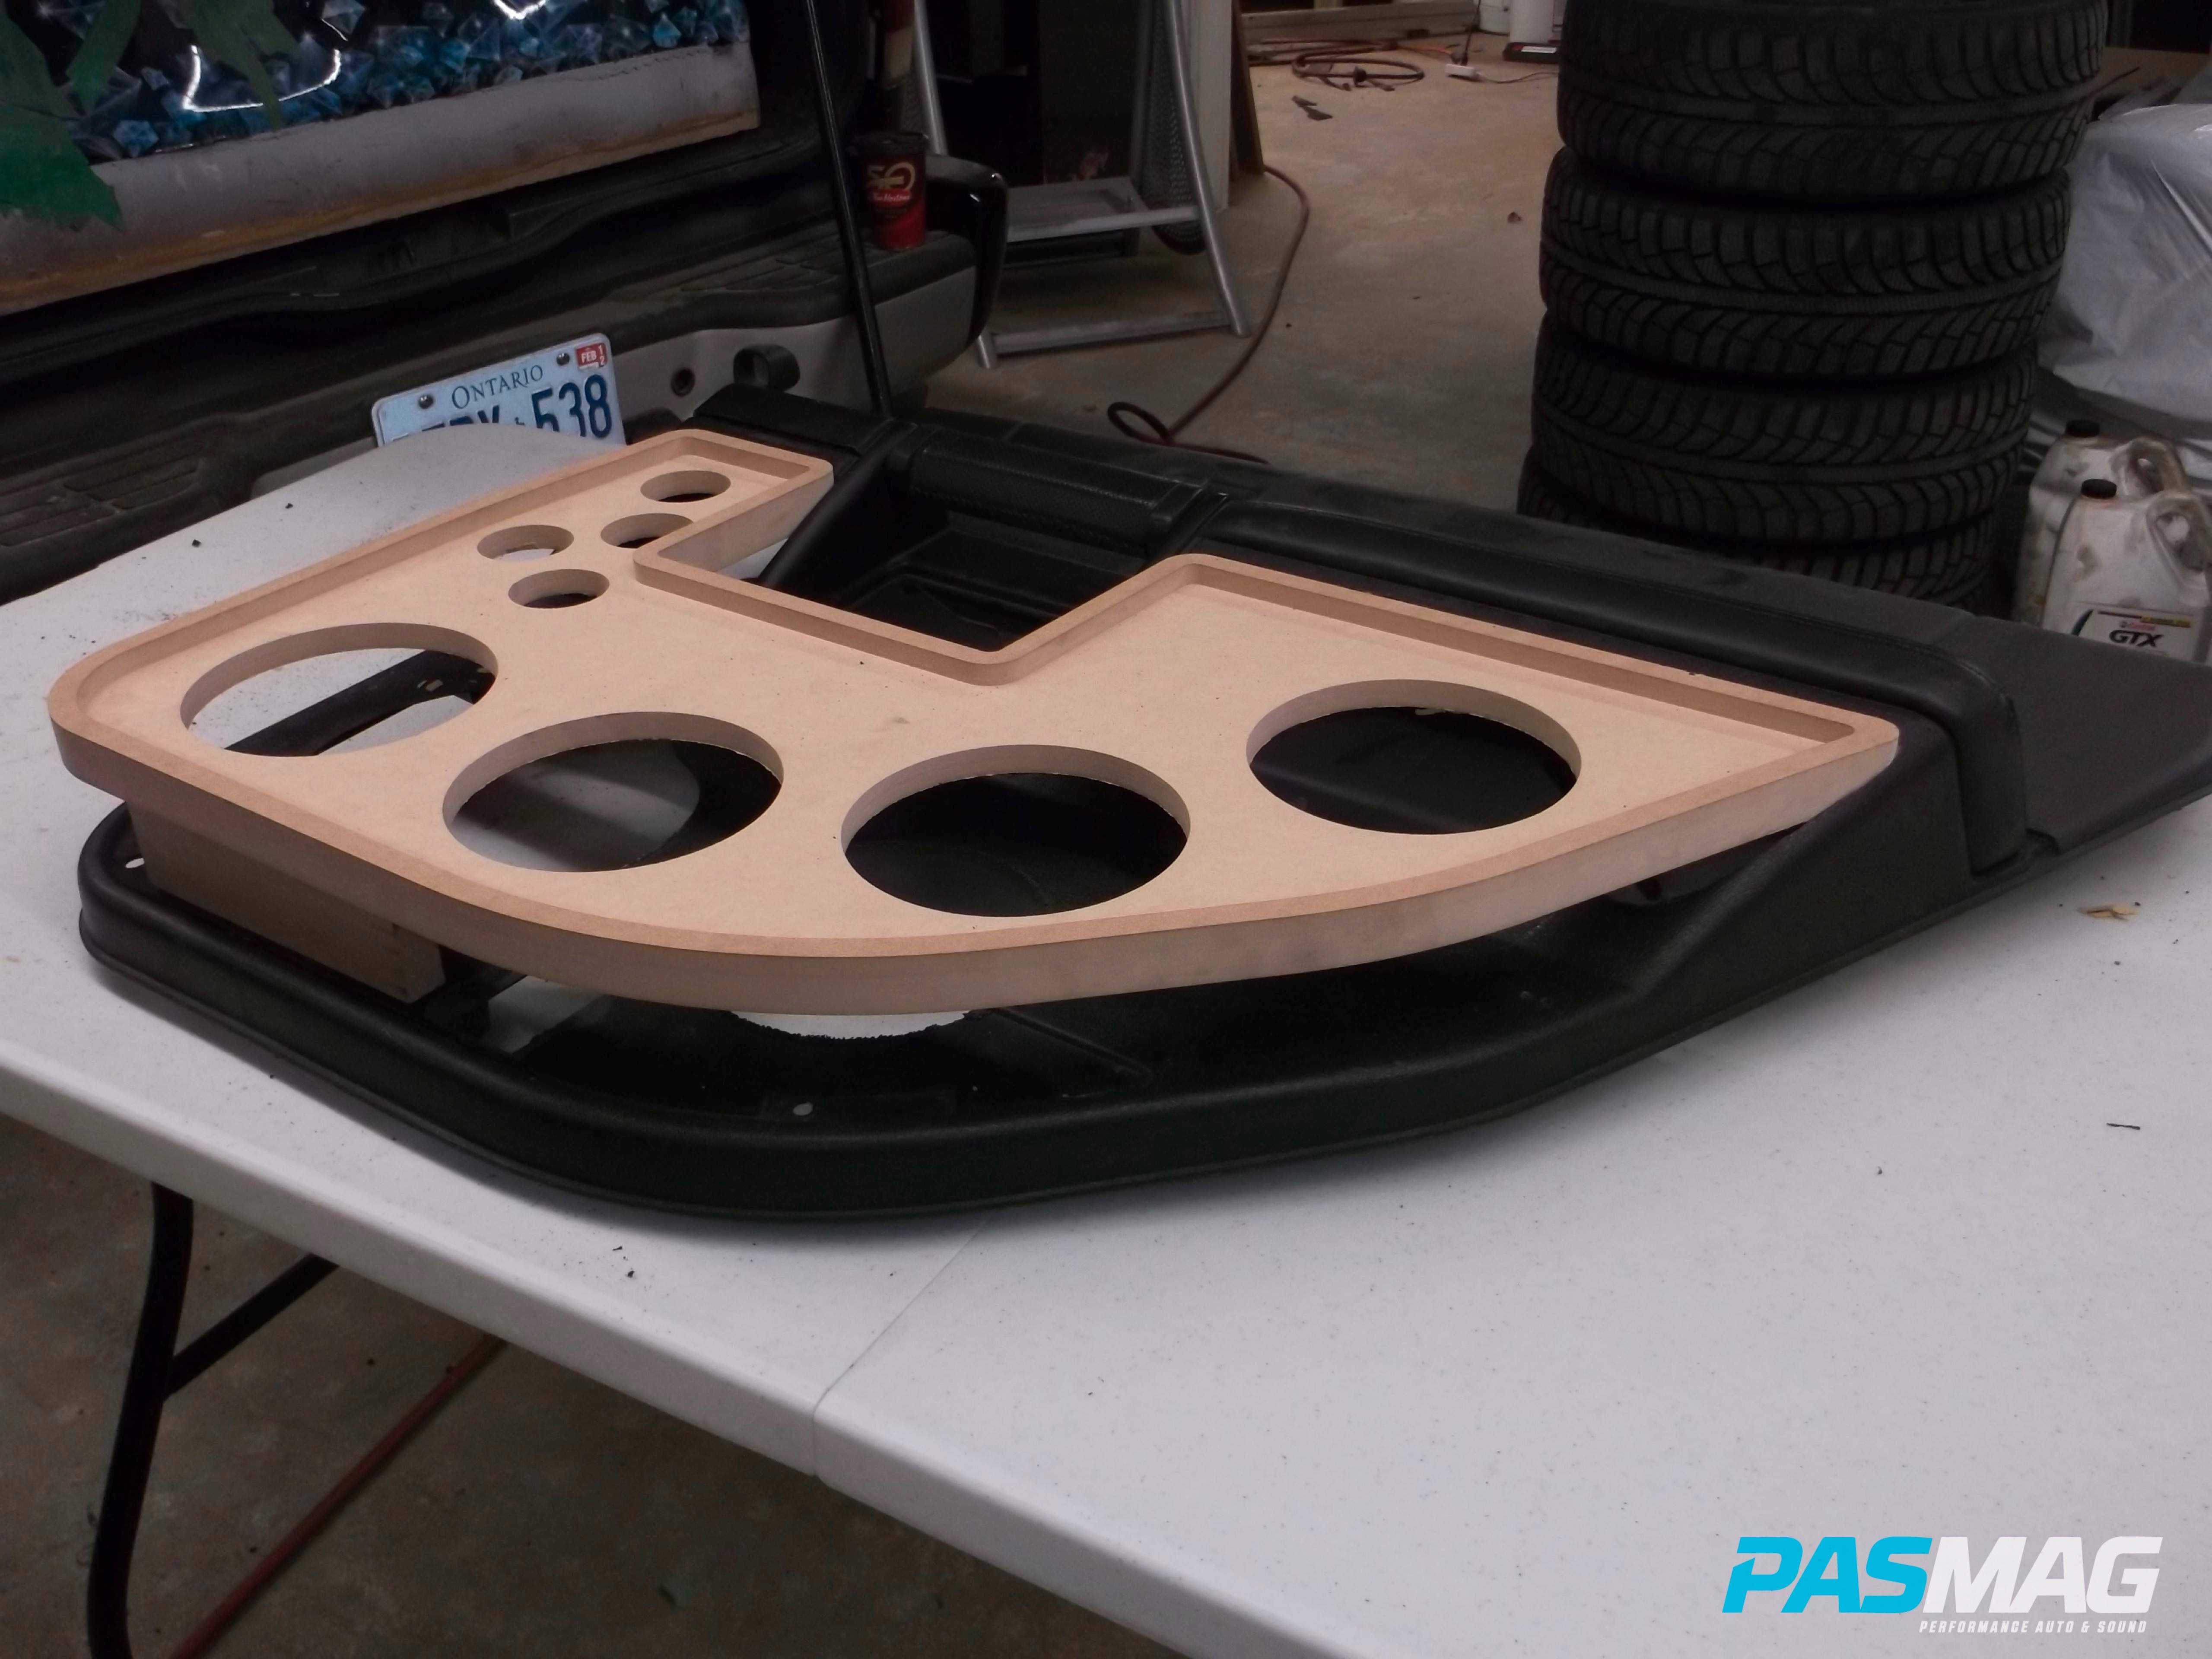
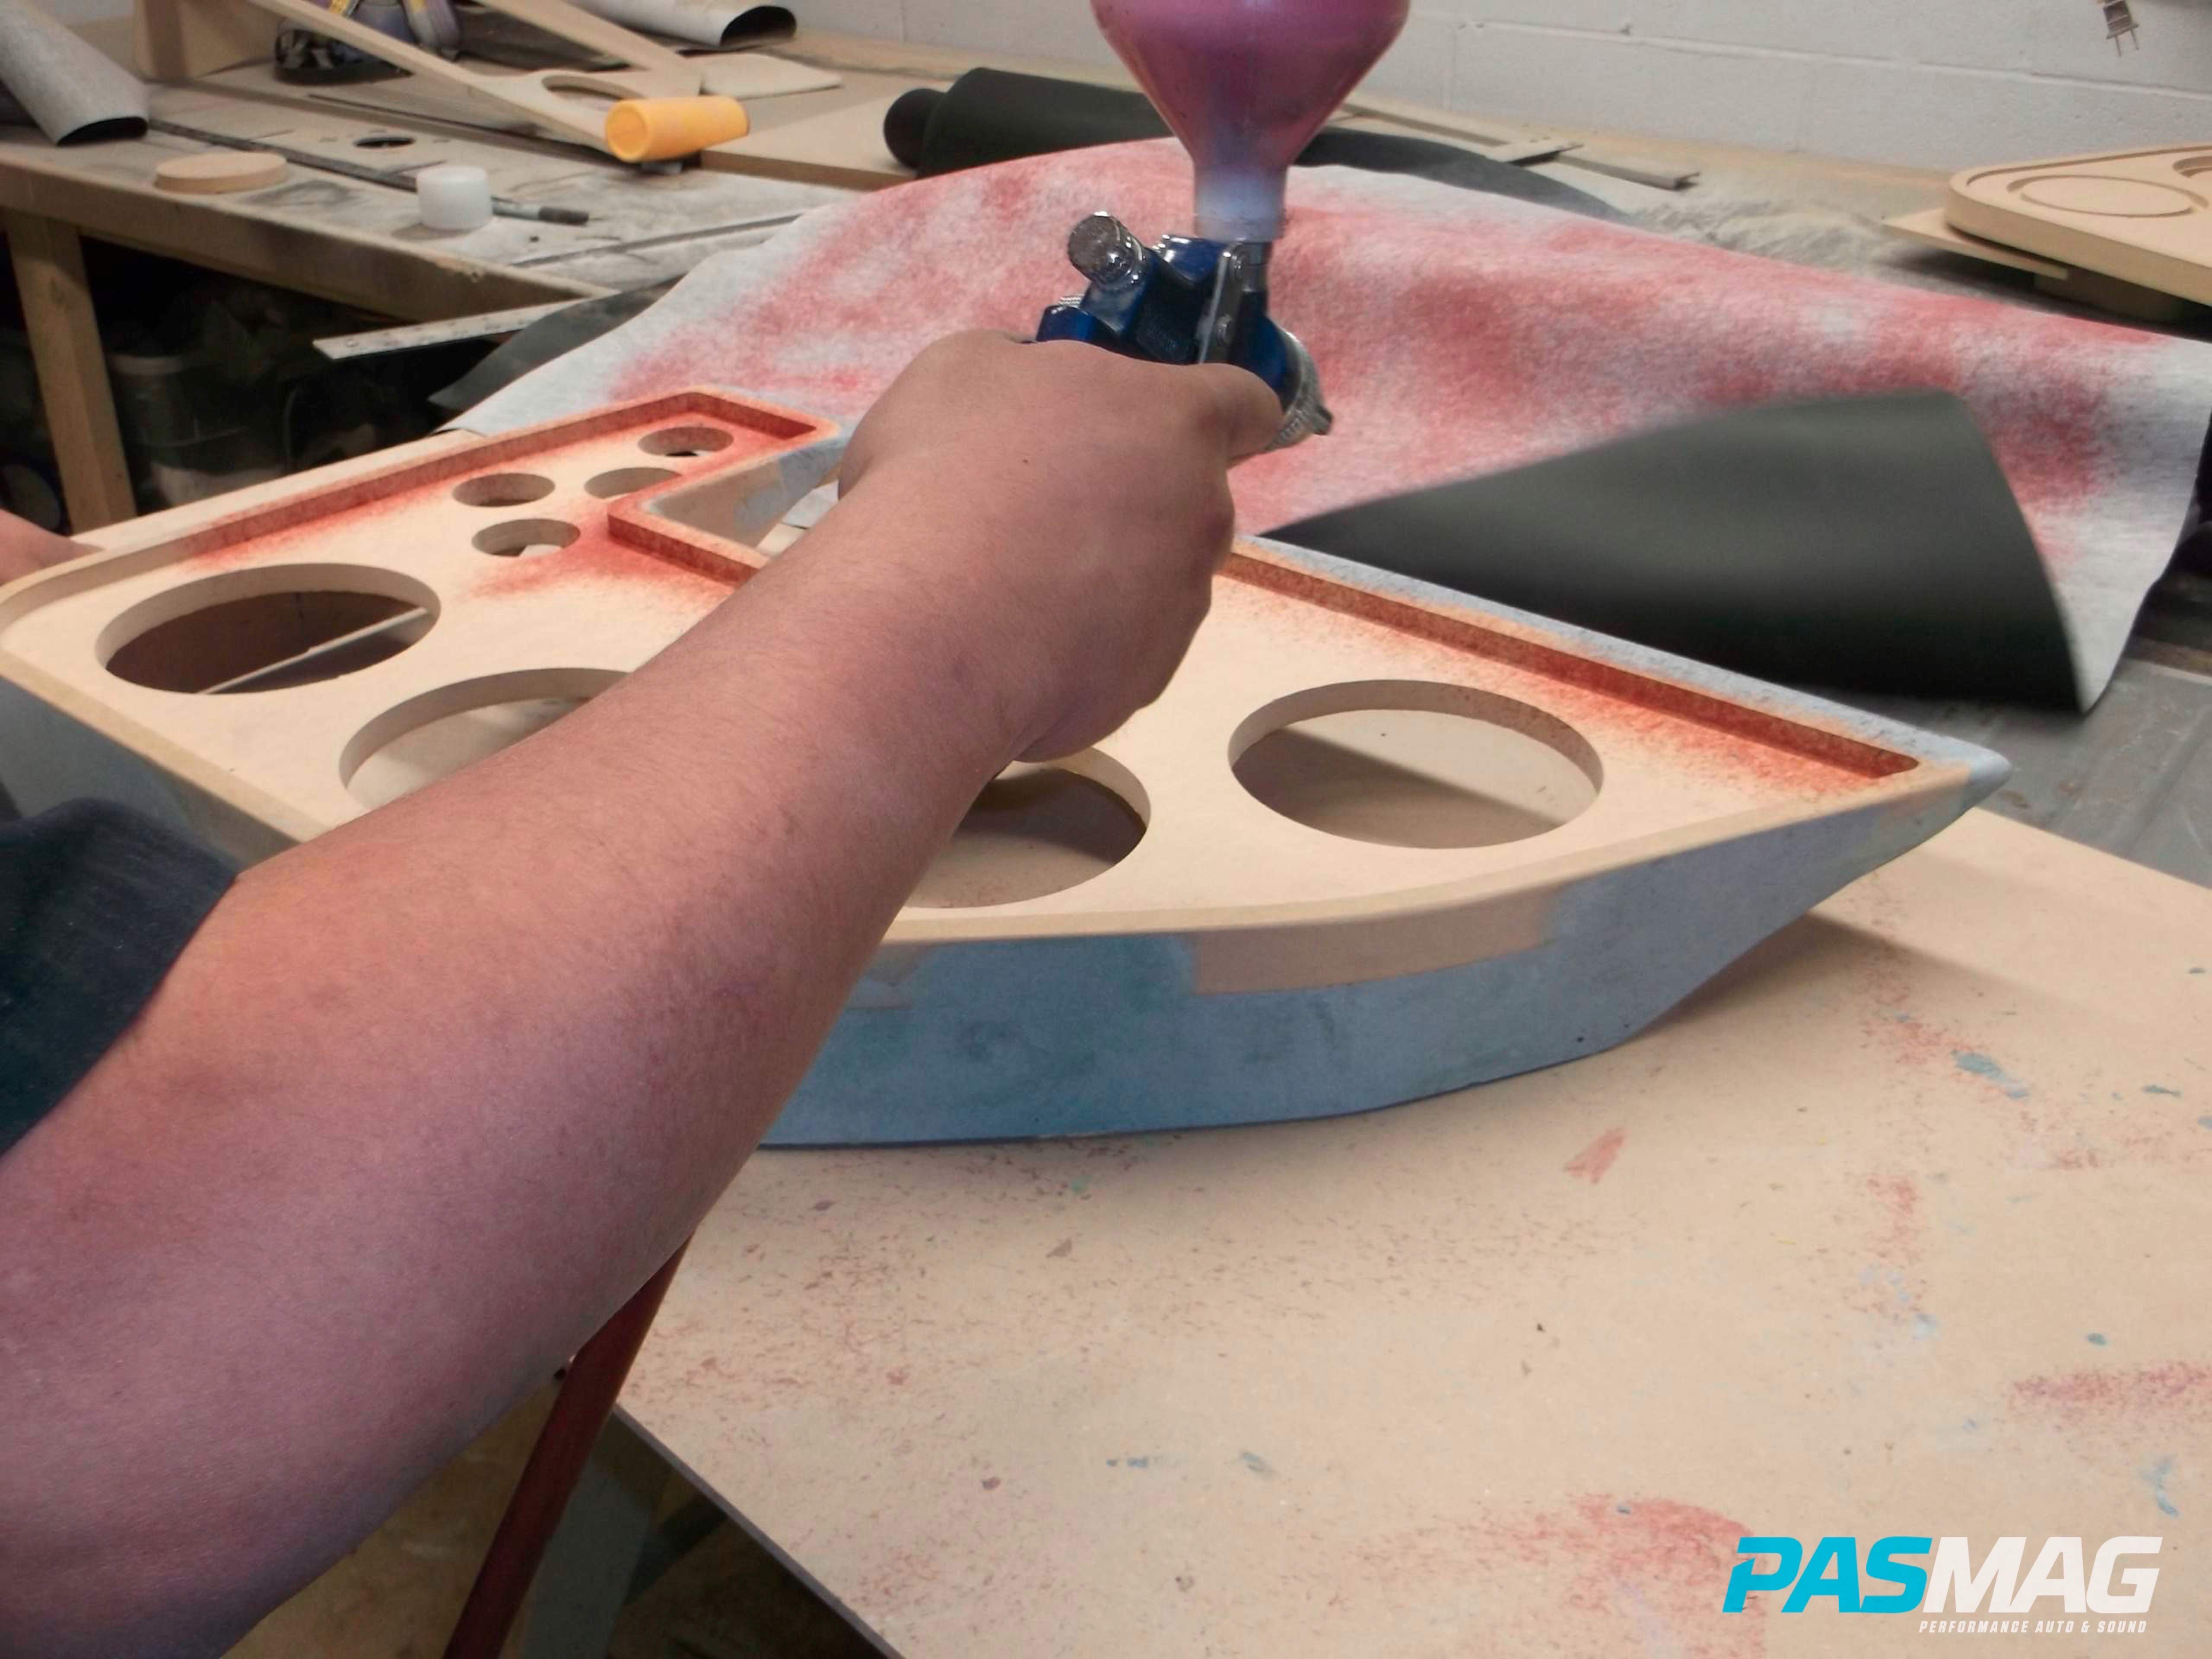
The panel pieces were first cut from ¼-inch MDF for fitment purposes. Once the design was cut and test fitted successfully, the panels were re-cut in one-inch MDF. I then had matching grills made for both the front and rear doors
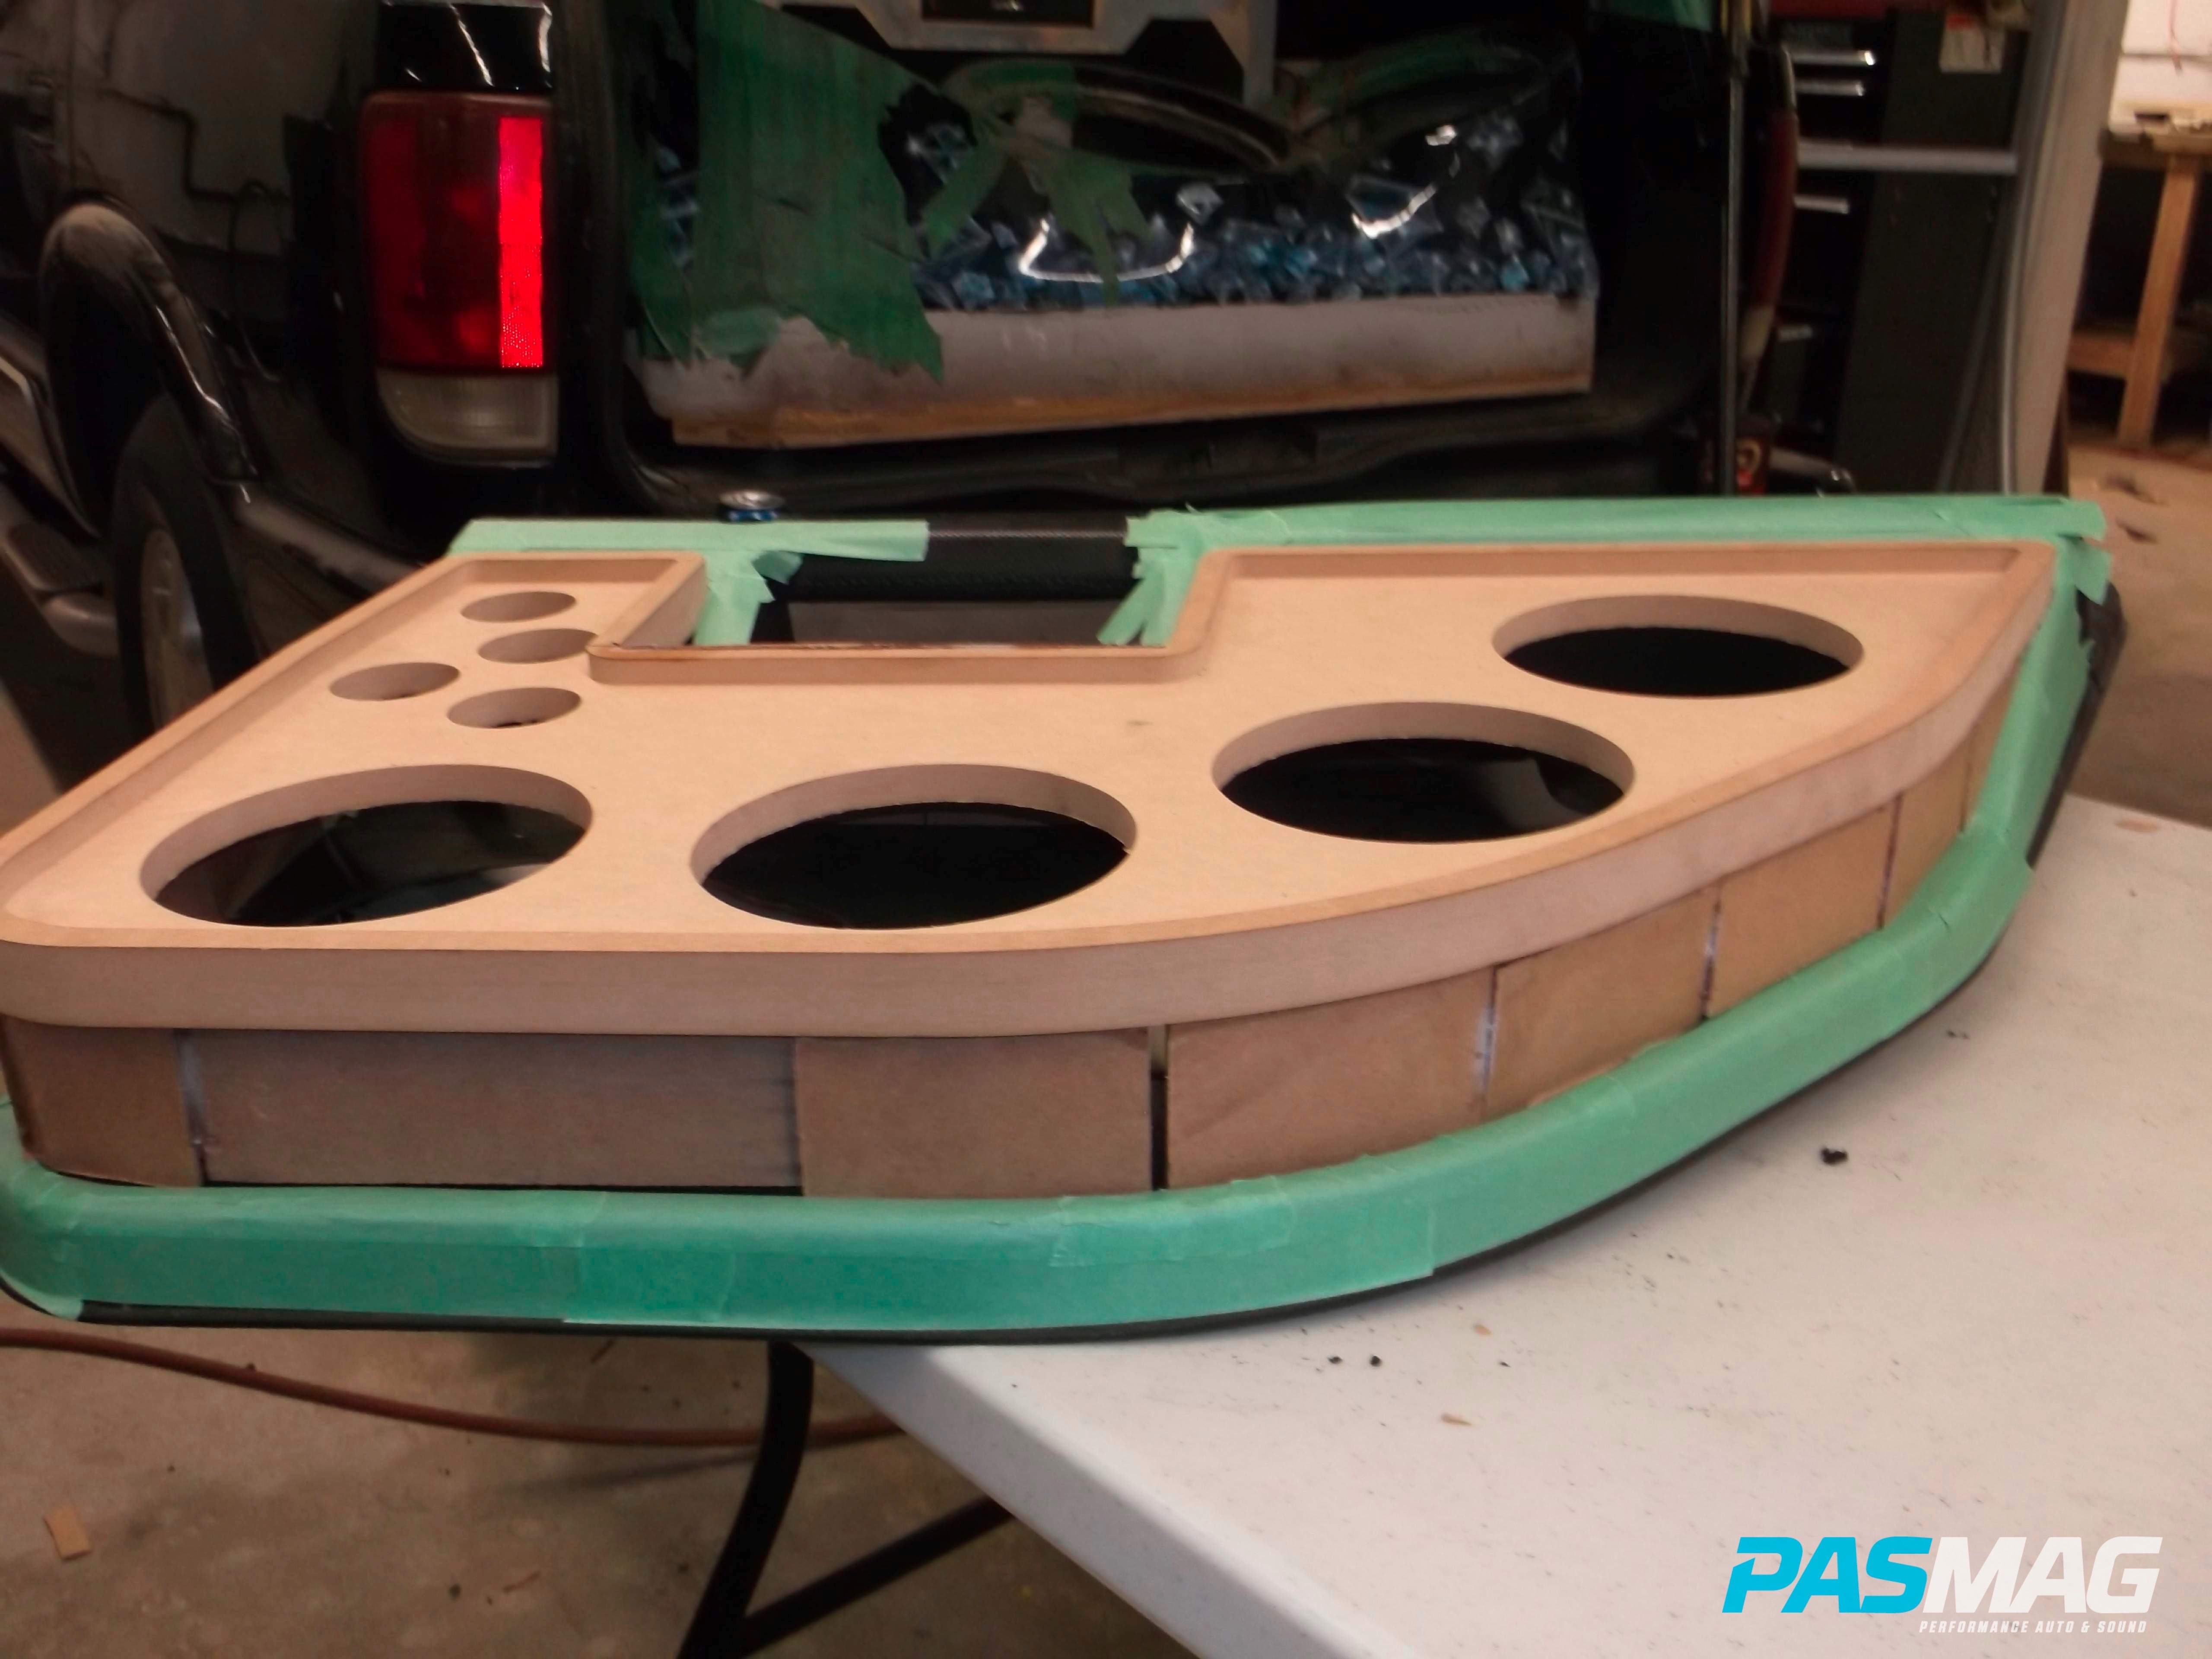
The next step was to cut the stock door panels and begin the process of molding and fiberglassing the MDF panels to essentially create a new door panel. When molding and fiberglassing the panels, it’s important to fit the pieces tightly against the door skins in order to create a good seal and fitment. Make sure there is enough clearance between the door panel and the side of the seats when they are closed.
|
|
|
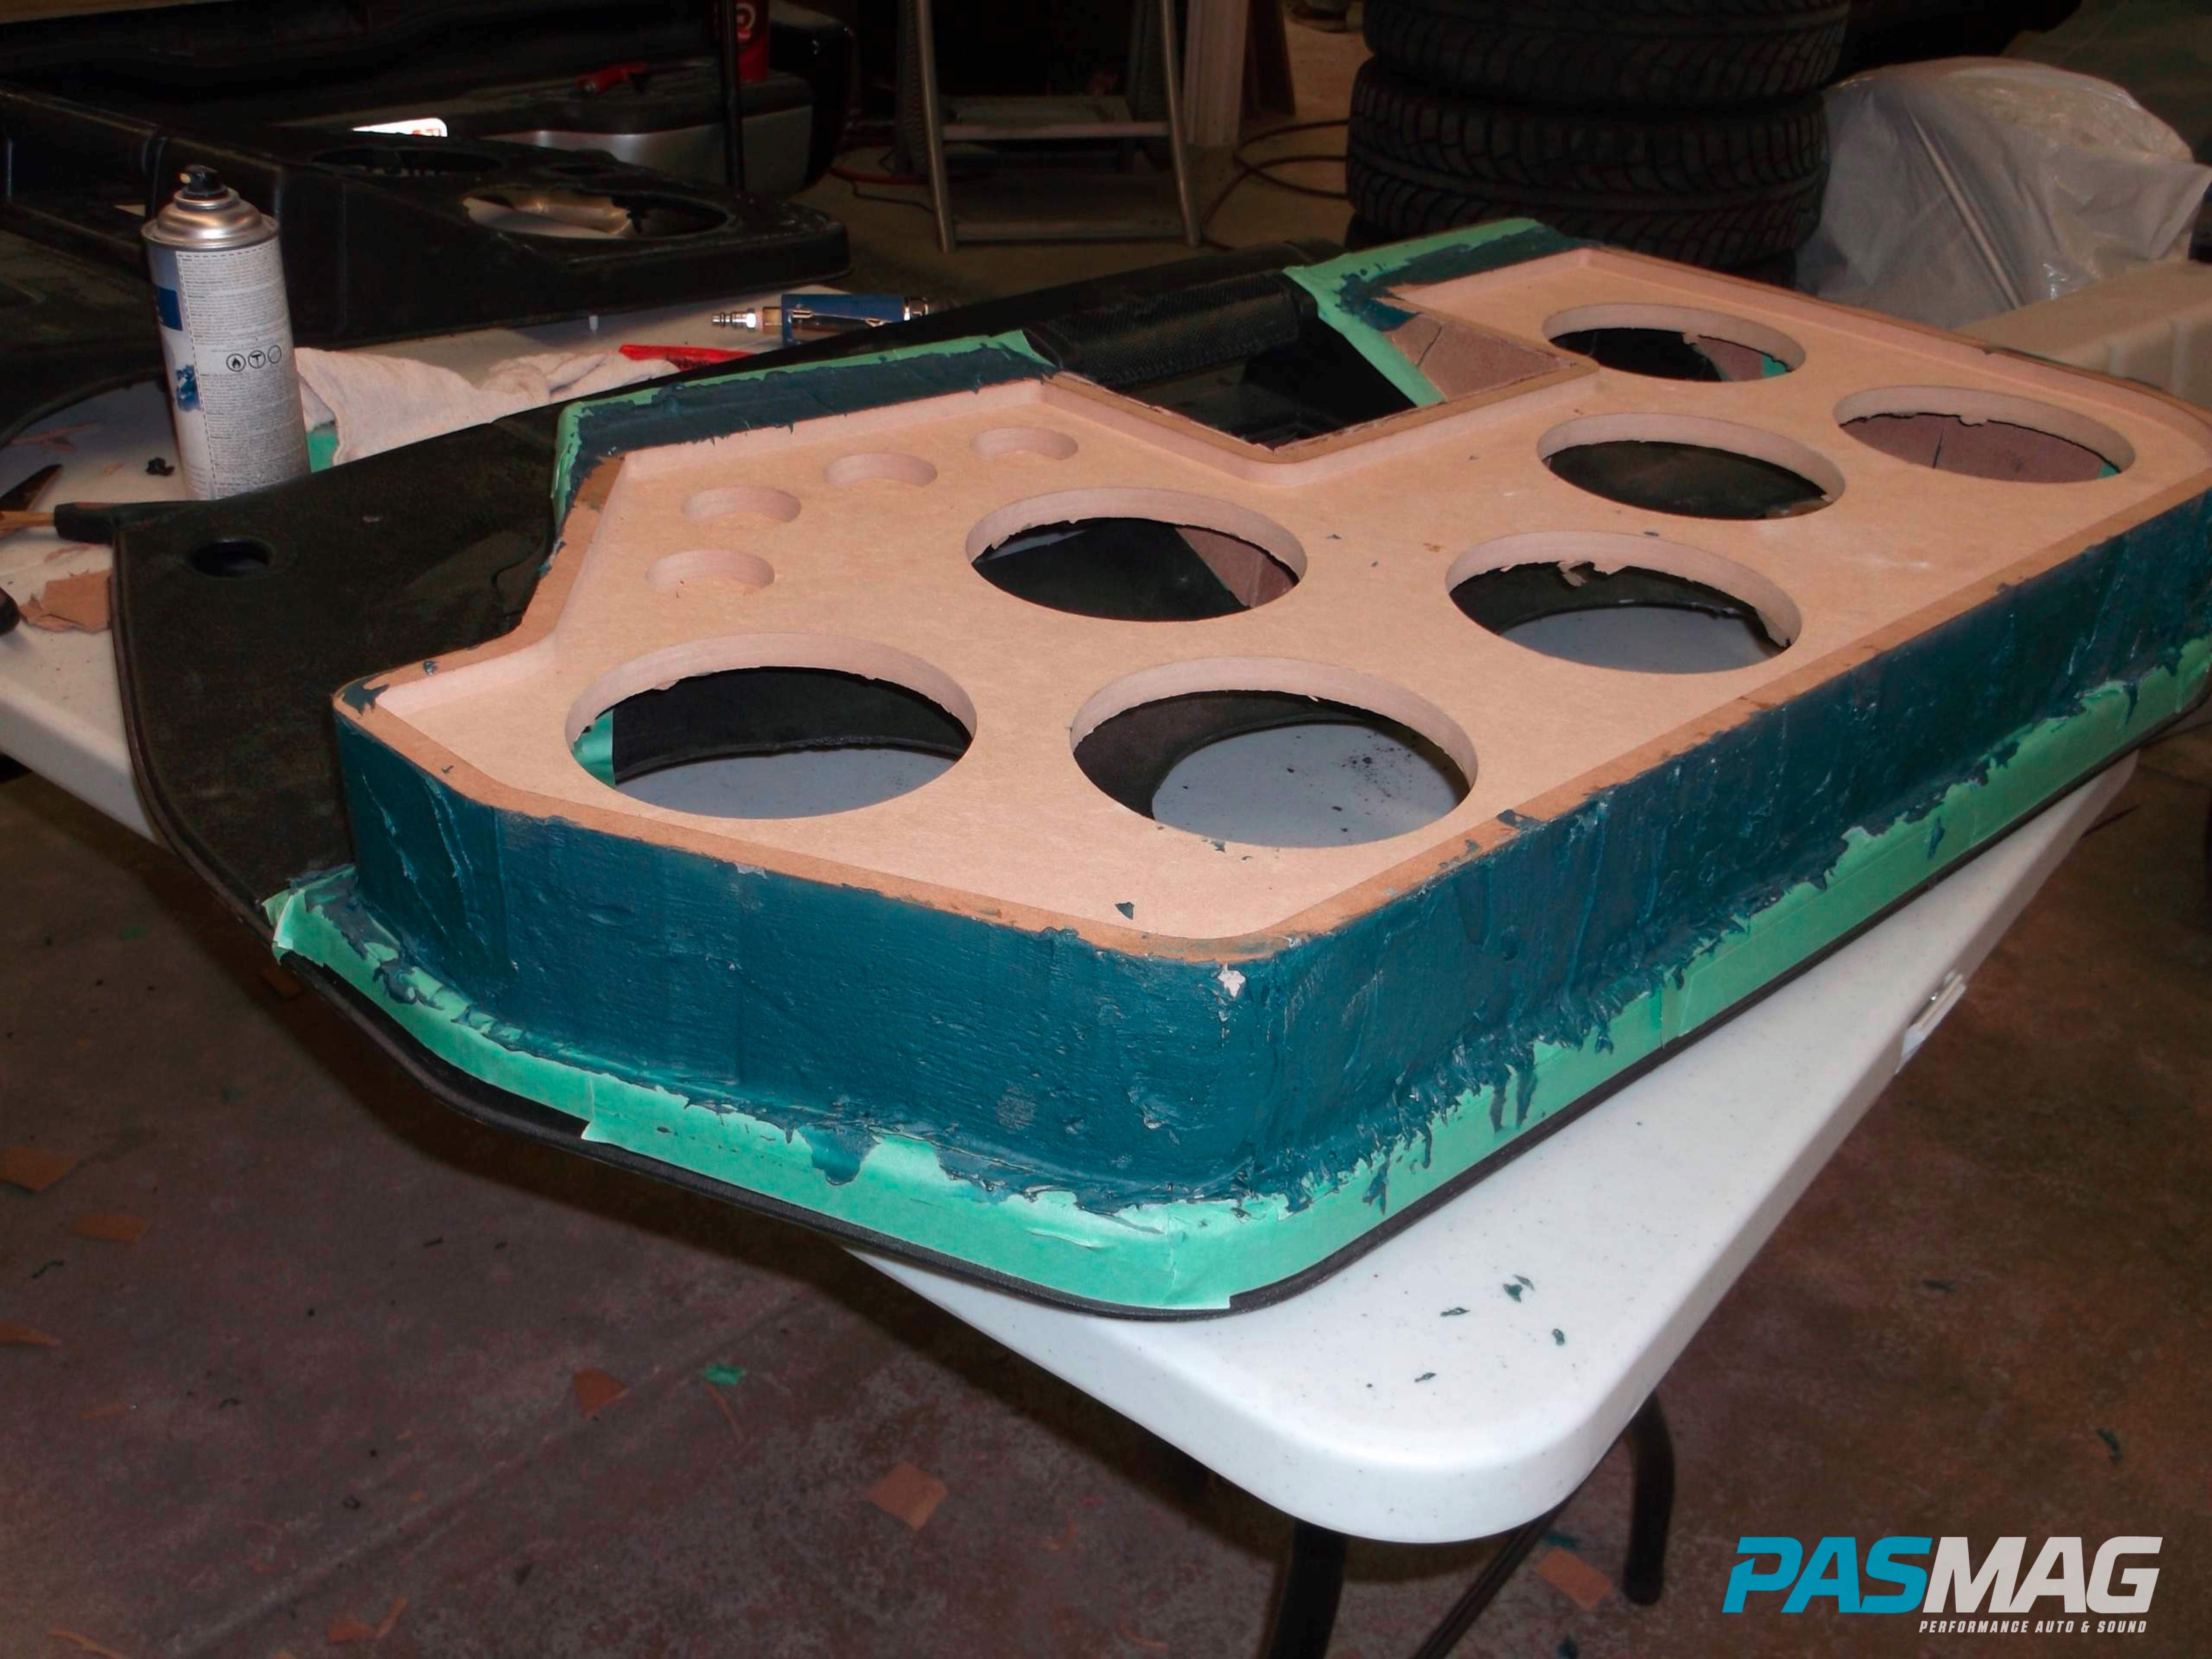
The following steps are pretty straightforward, including plenty of sanding and more fiberglassing until the fitment is spot on.
As previously mentioned, the front doors have a total of seven 6.5-inch midbass speakers with four tweeters, while the A-pillars house the remaining three silk dome tweeters per side. The rear doors have a total of four 6.5-inch midbass speakers and four tweeters.
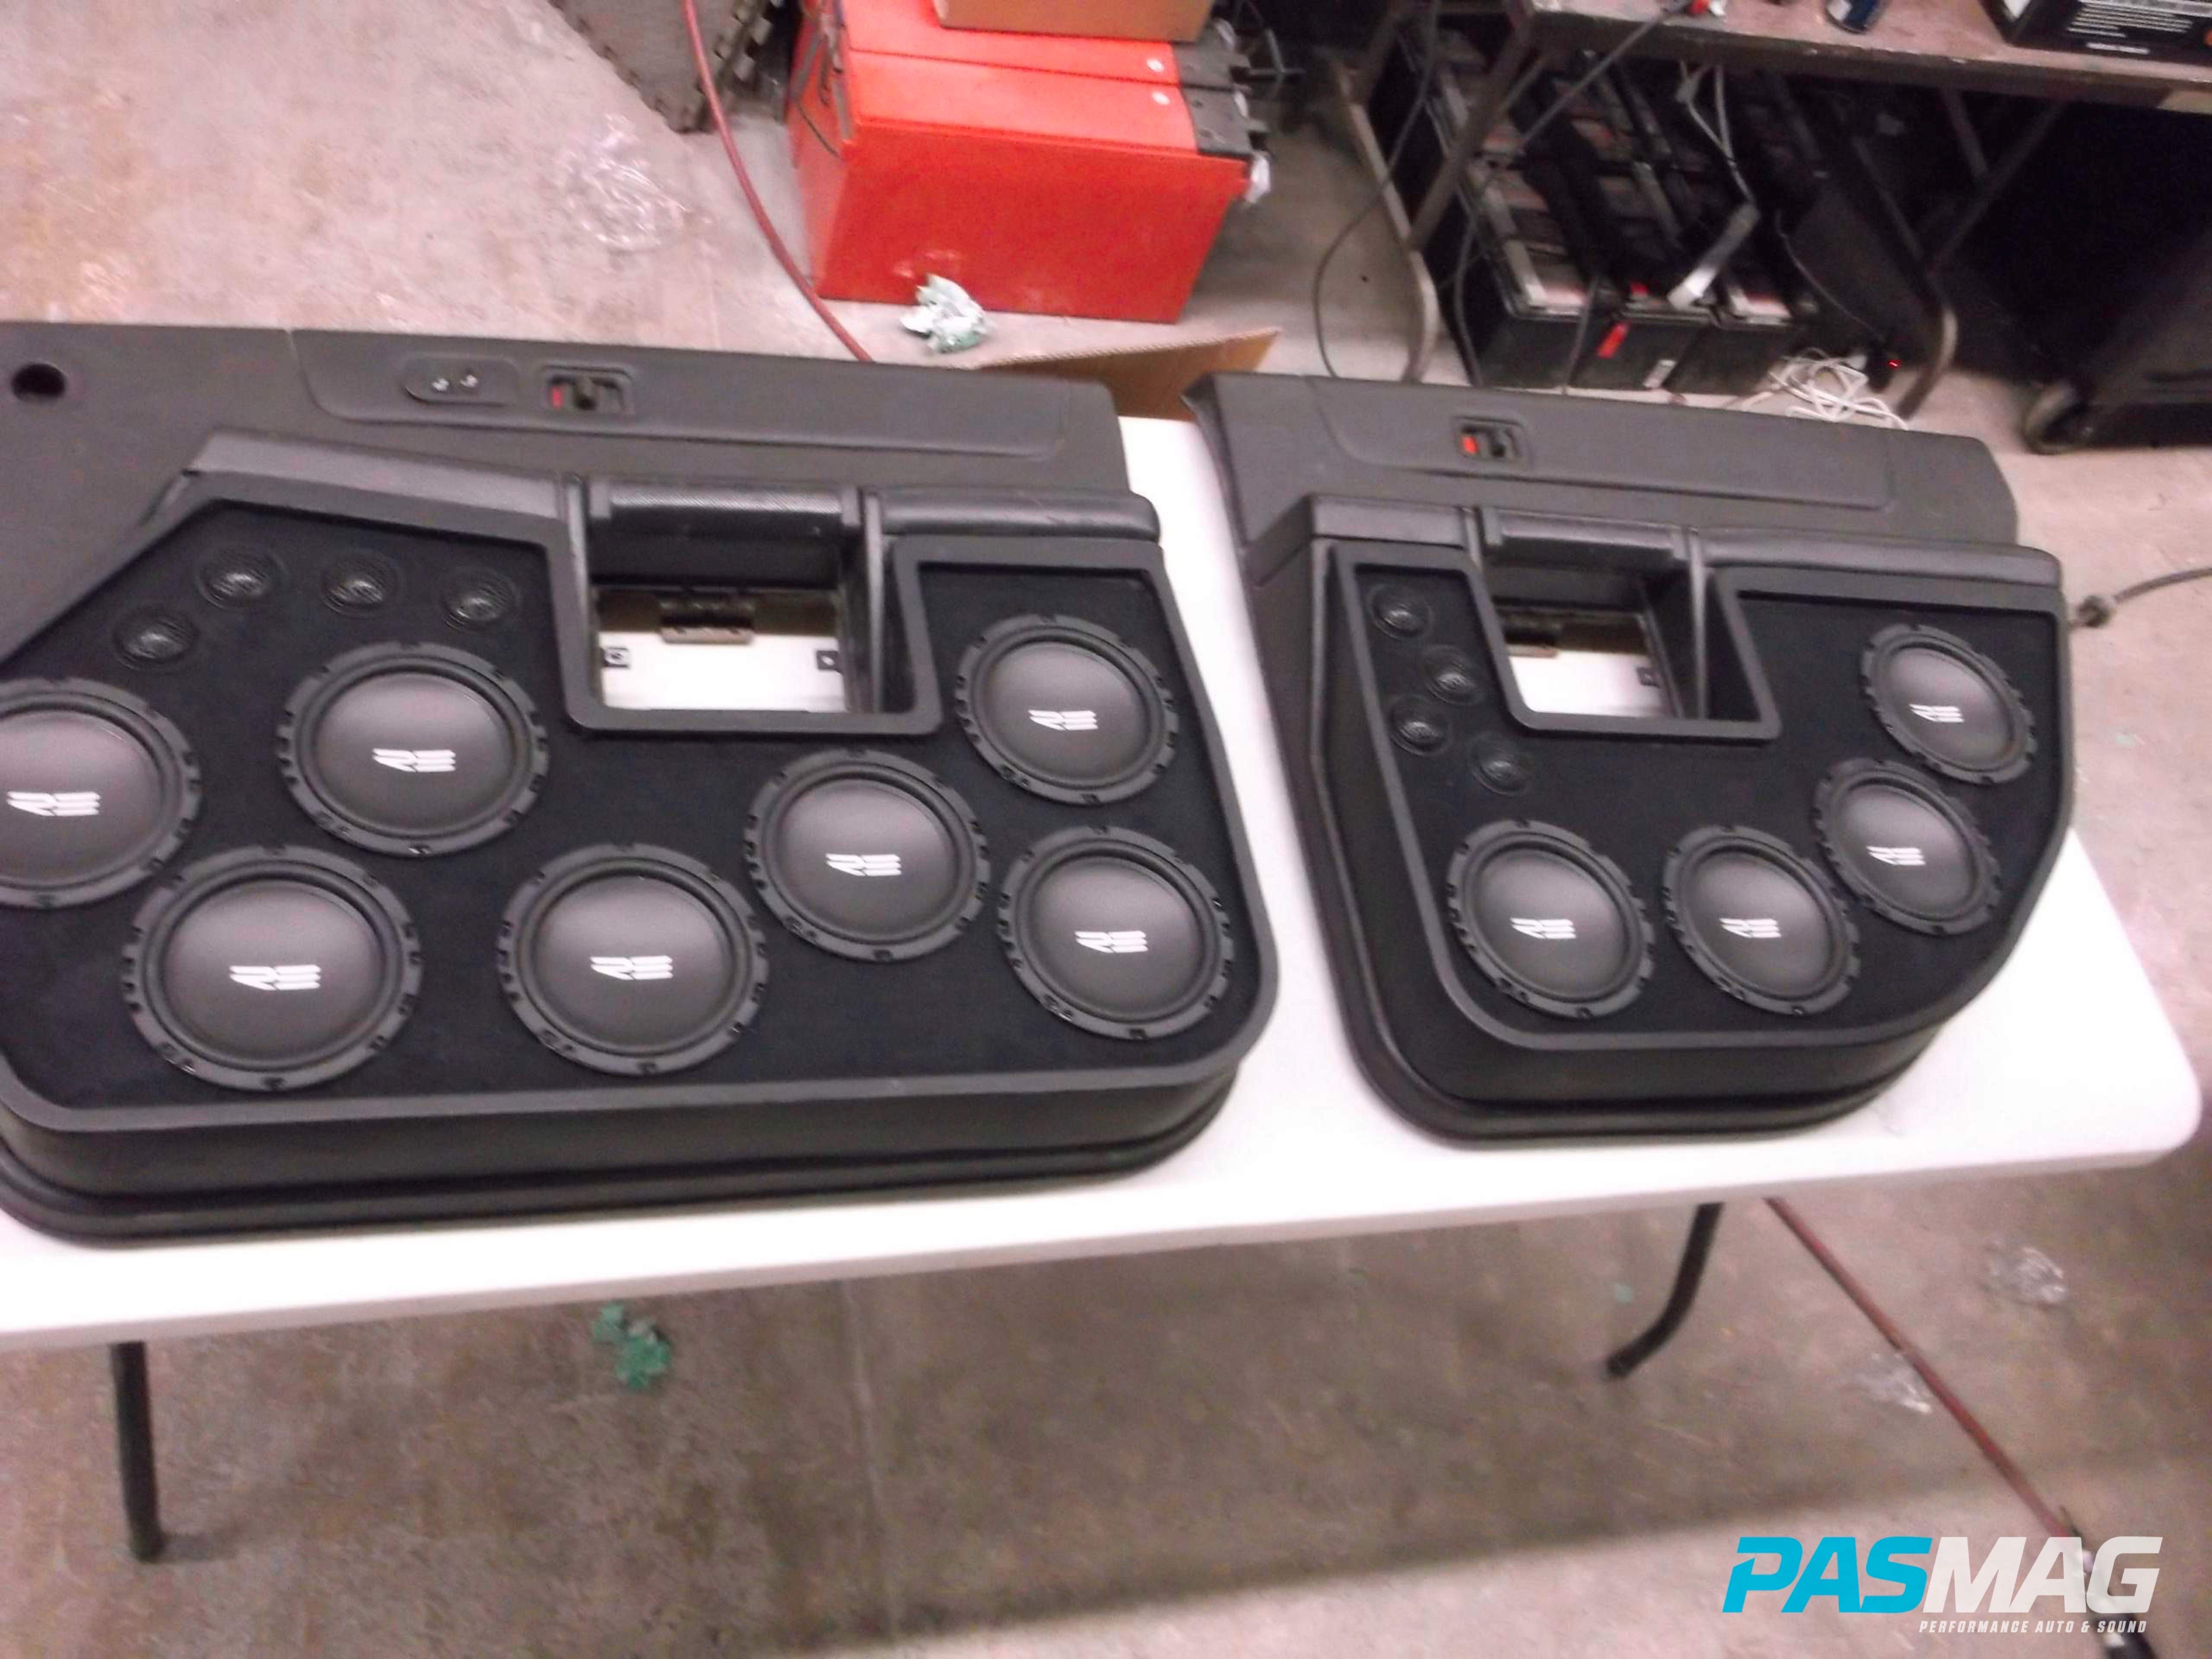
With the sanding and glassing done, the panels are wrapped in matching black vinyl and suede. The outer parts of the panels are wrapped using black vinyl (chosen as the closest match to the stock door skins), while the face of the panel is wrapped in black suede to give a two-tone look. This was done for both front and rear doors.
The grill panel inserts were then wrapped in grill cloth and the insert fitted into place to finish off the panel.
The mid and high portion of the audio install will be running fully active, which will be touched on in a later upcoming issue.
With the door panels complete it’s on to Phase 3 and the subwoofer enclosure!