
I find myself wondering, ‘Is all of this worth it?’ This after having dismantled a setup that everyone thought was perfect and countless people asking me, “What are you thinking?”
Why couldn’t I just be happy and content with what I had? Why did I need to do this?
There have been numerous times when I second guessed what I’m doing here. The finish line is in sight, but it’s been a long road and a struggle. I’m not going to sugar coat it, it’s been a challenge on numerous fronts, but I have faith that, in the end, it will be worth it. It has to be, doesn’t it?
Okay, enough of that, it’s time to get down to business.
 |
 |
 |
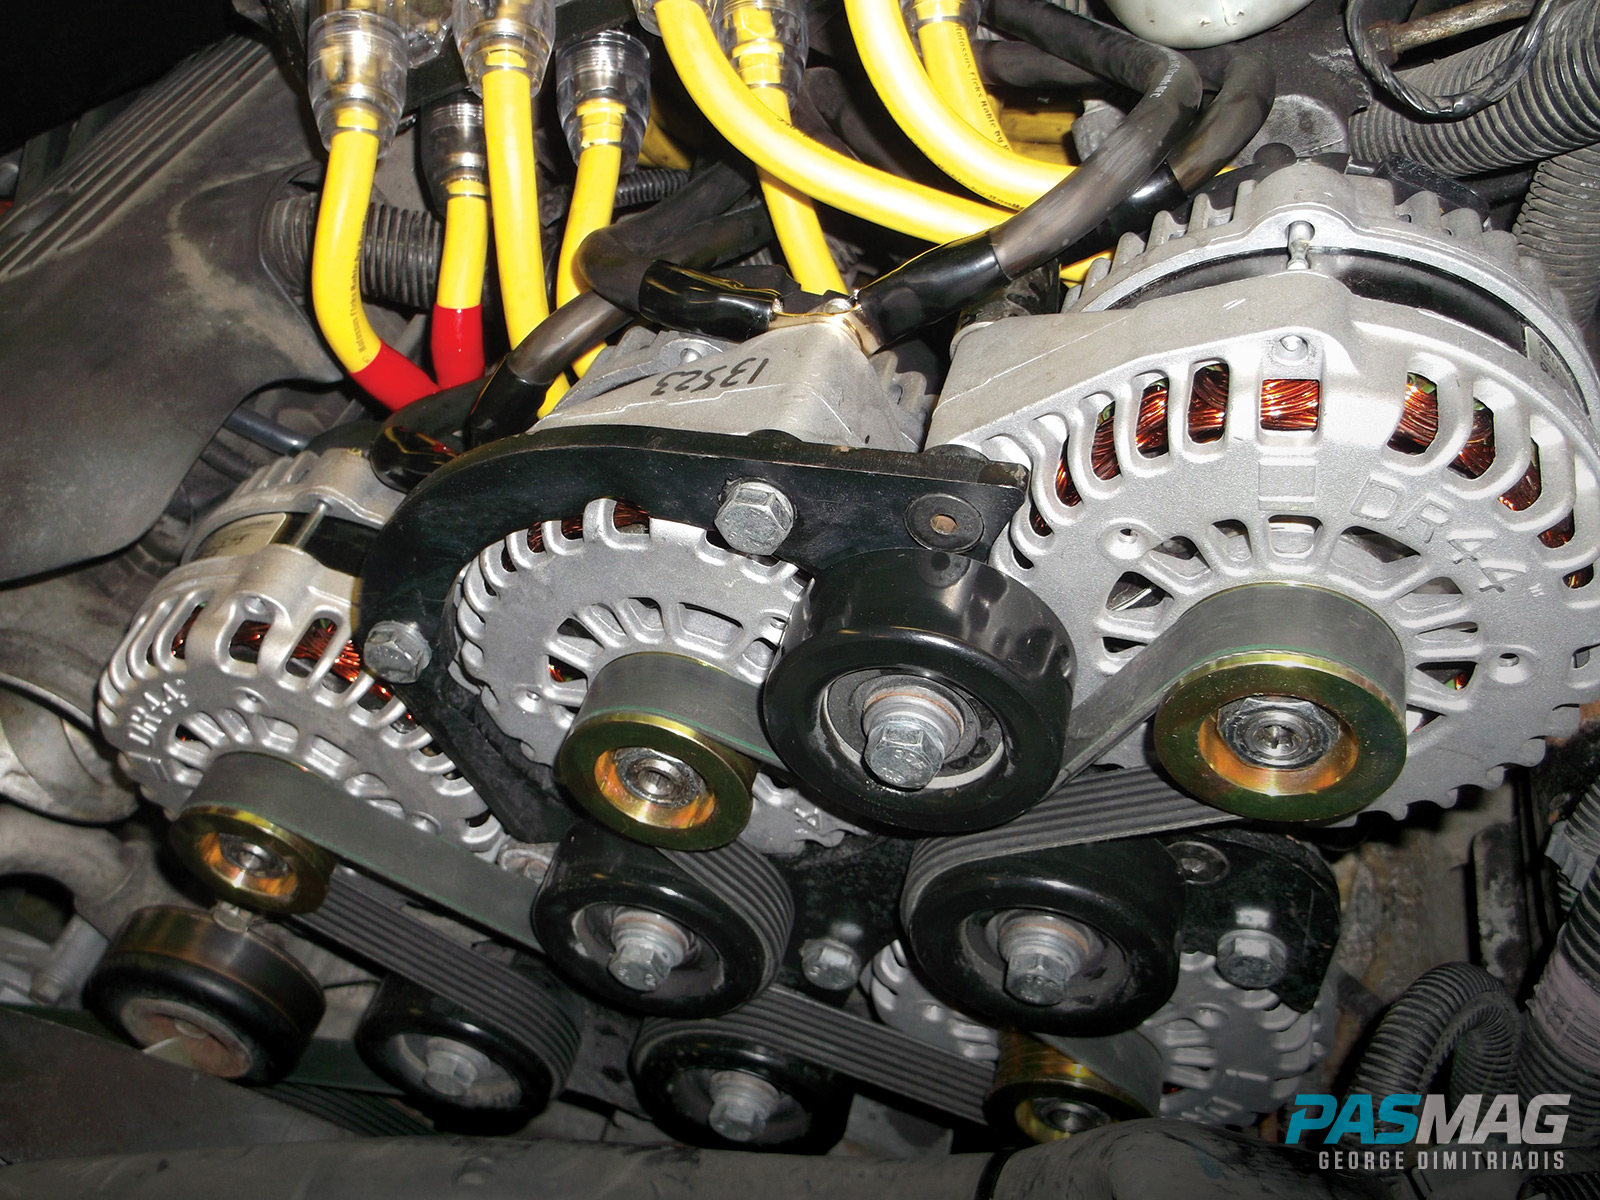
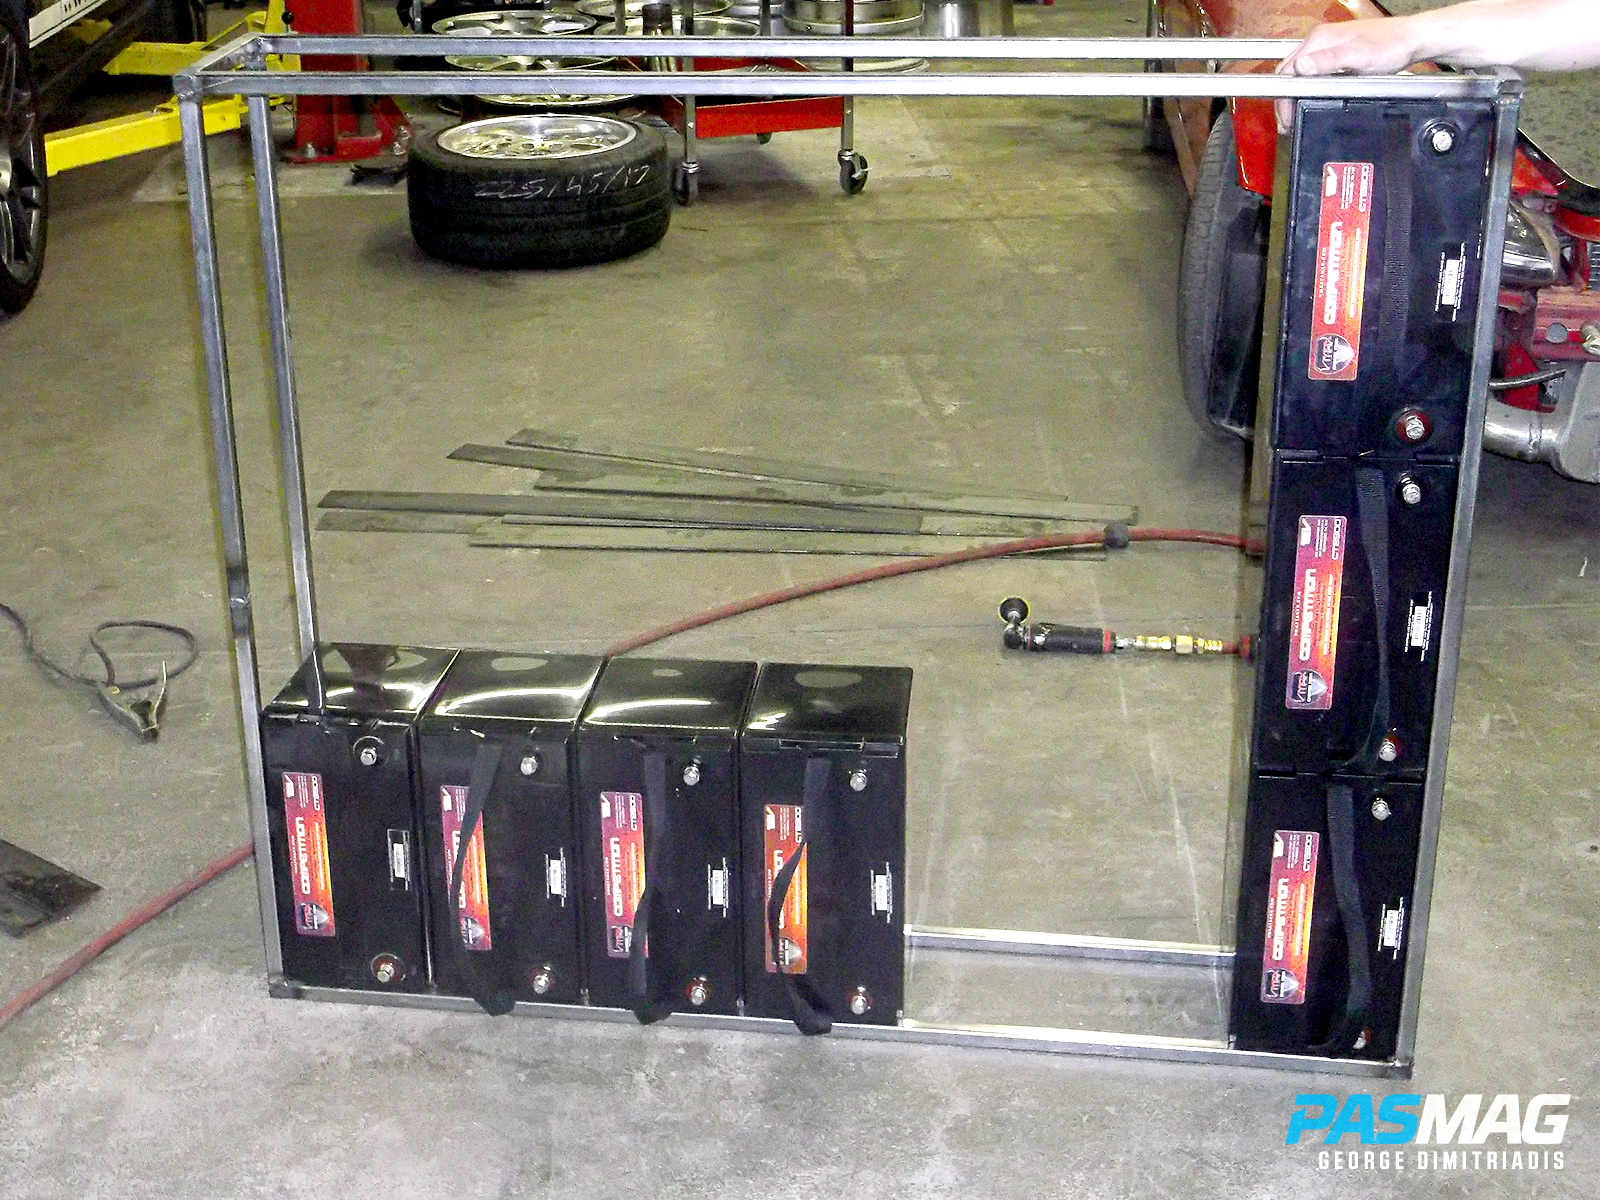
There’s an old car audio saying, “It takes power to make power.” In this case it’s going to take a lot of power. With this build I decided to run a single charging setup at 12 volts, as opposed to multiple charging setups, which I did previously. As mentioned in Phase 1, the charging system up front is comprised of four Ohio Generator 300-amp alternators, each with a total of two positive and negative runs from front to back with plans to charge the impending battery bank in the rear. One would ask, ‘Why do you need four alternators and over 1,200 A of charging power?’ The answer is simple, “I have 21 batteries to charge.”
I sat down with Nick Cimino at Core Industries and discussed our options for batteries, and what would pair well with the amplifiers we had planned to use (you’ll have to wait for Phase 5 to see the goodies). We decided on using a battery with high amp hour (AH) ratings and a low resistance rating. We opted to go with VMAX batteries. The model of choice is the VMAX Charge Tank CT 2500 with a 125 AH rating and a low resistance rating making it 99% efficient and a fast recharge rate. When it’s all said and done, there will be a battery bank in excess of 2,600 AH at my disposal with over 1,200 A of alternator charging power feeding it. This combination will make for countless hours worth of demo time.
 |
 |
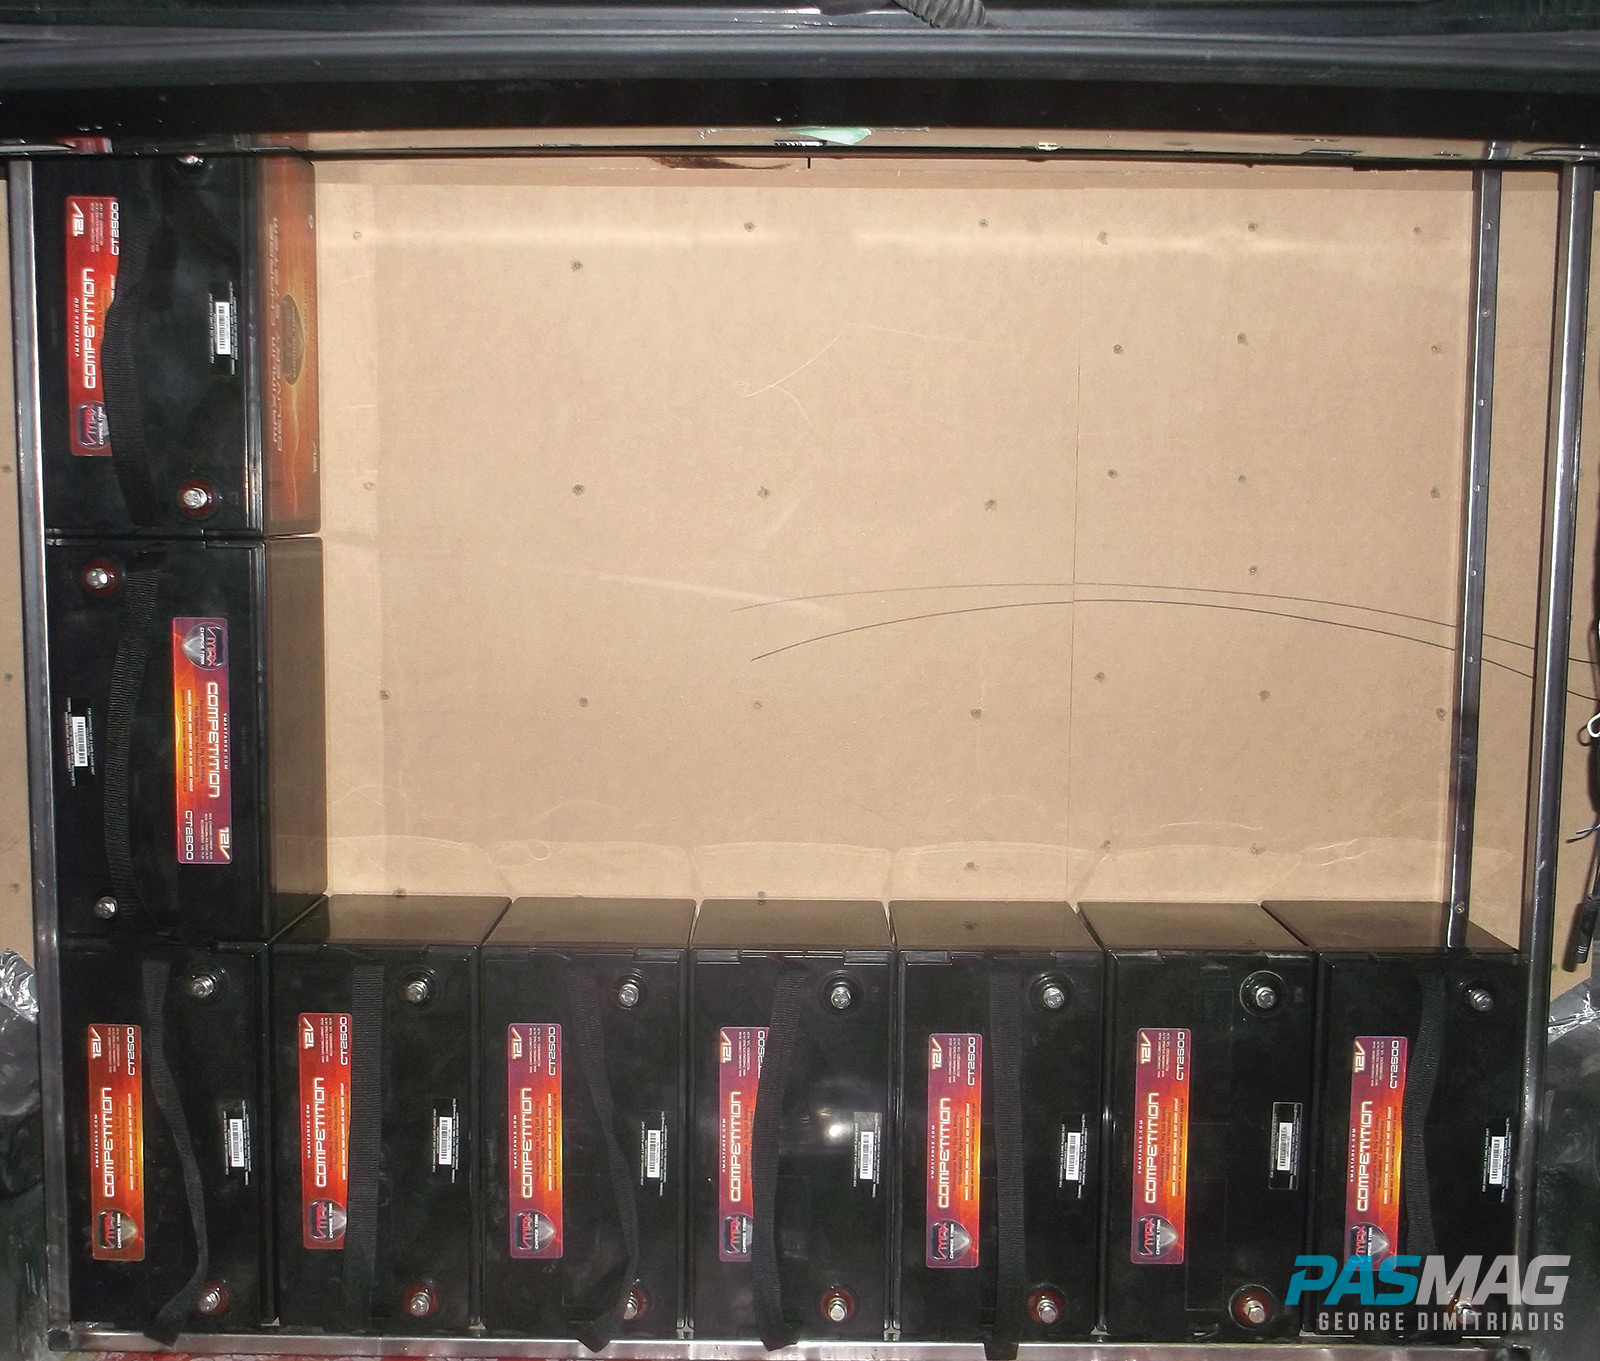 |
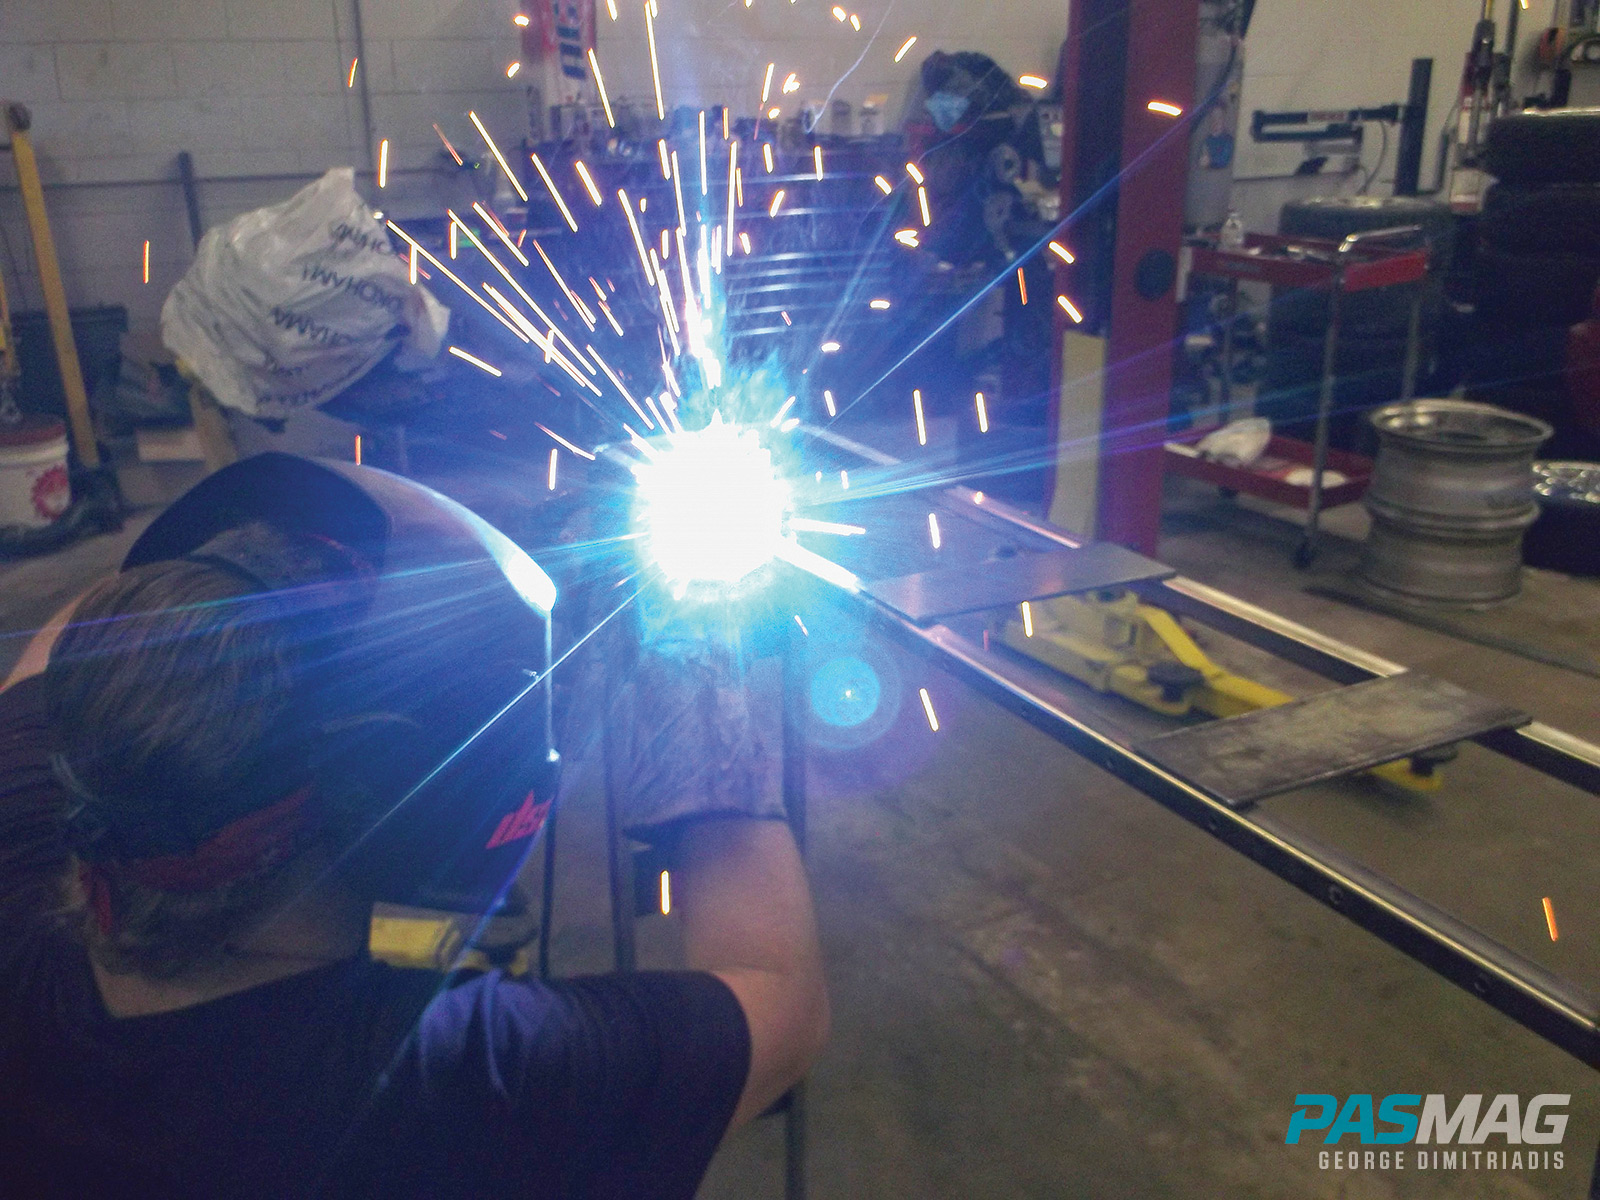
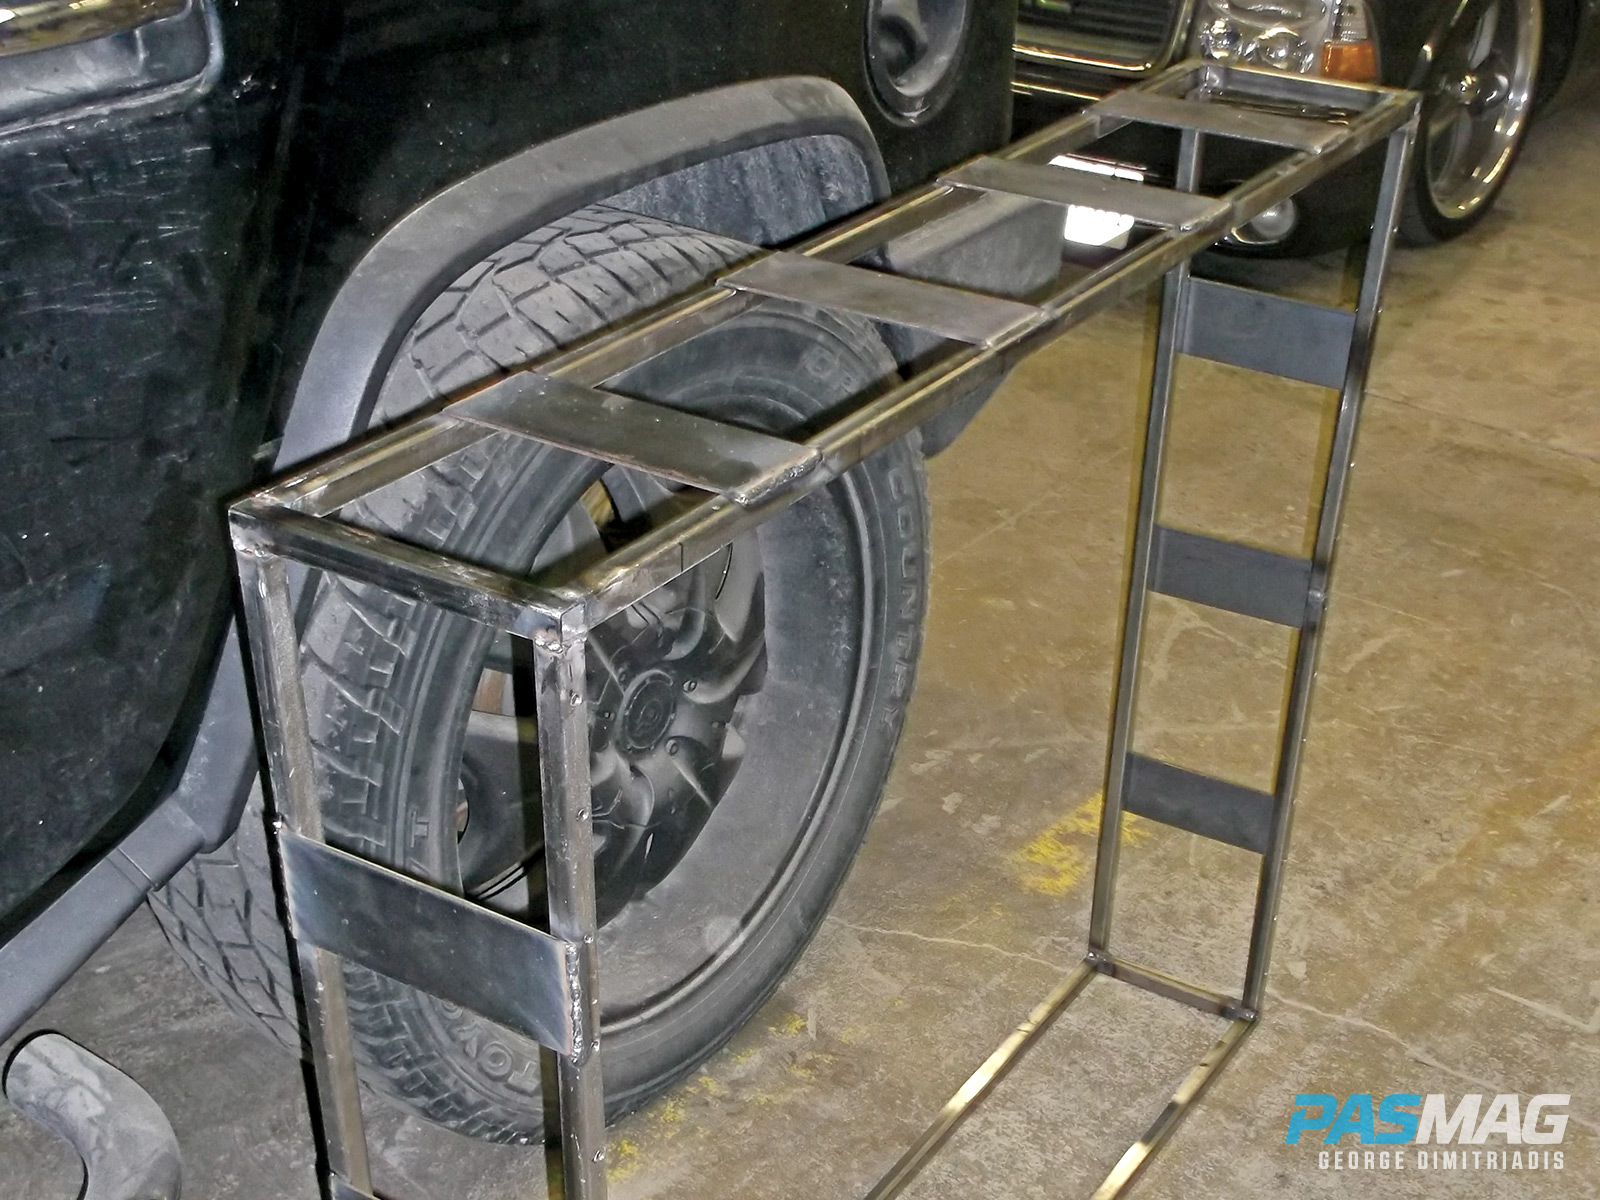
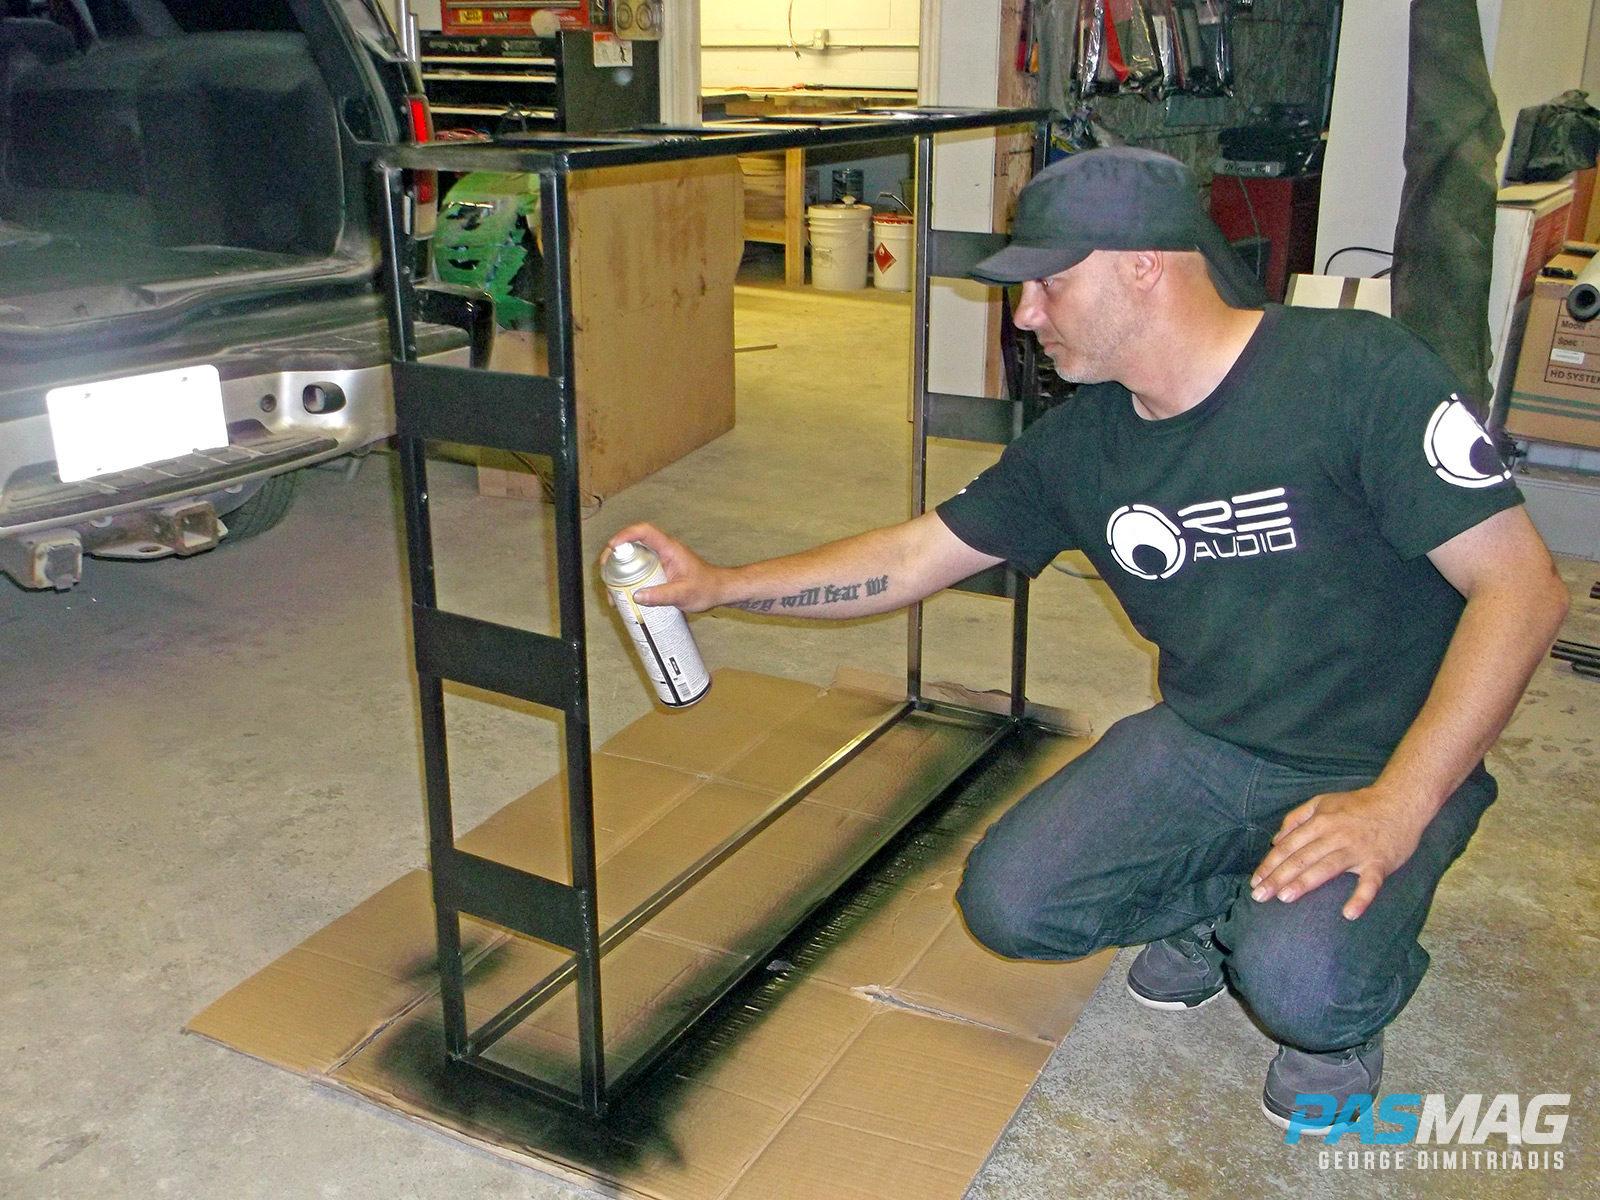
With each battery weighing in excess of 75 pounds we are looking at almost 1,600 pounds of additional weight in batteries alone. Since space is already at a premium, I decided to have the battery rack vertical (and in essence be a wall in itself). With the battery rack housing a total of 21 batteries, it needs to be extremely strong, sturdy and above all, safe. We visited a nearby steel mill and picked up some one-inch square tubing and 0.125-inch flat steel bar in order to build the battery rack. The rack houses three rows of batteries, seven batteries wide. The rack is bolted to the floor and rear wall capitalizing on the minimal space in the rear, while also acting as additional bracing and support.
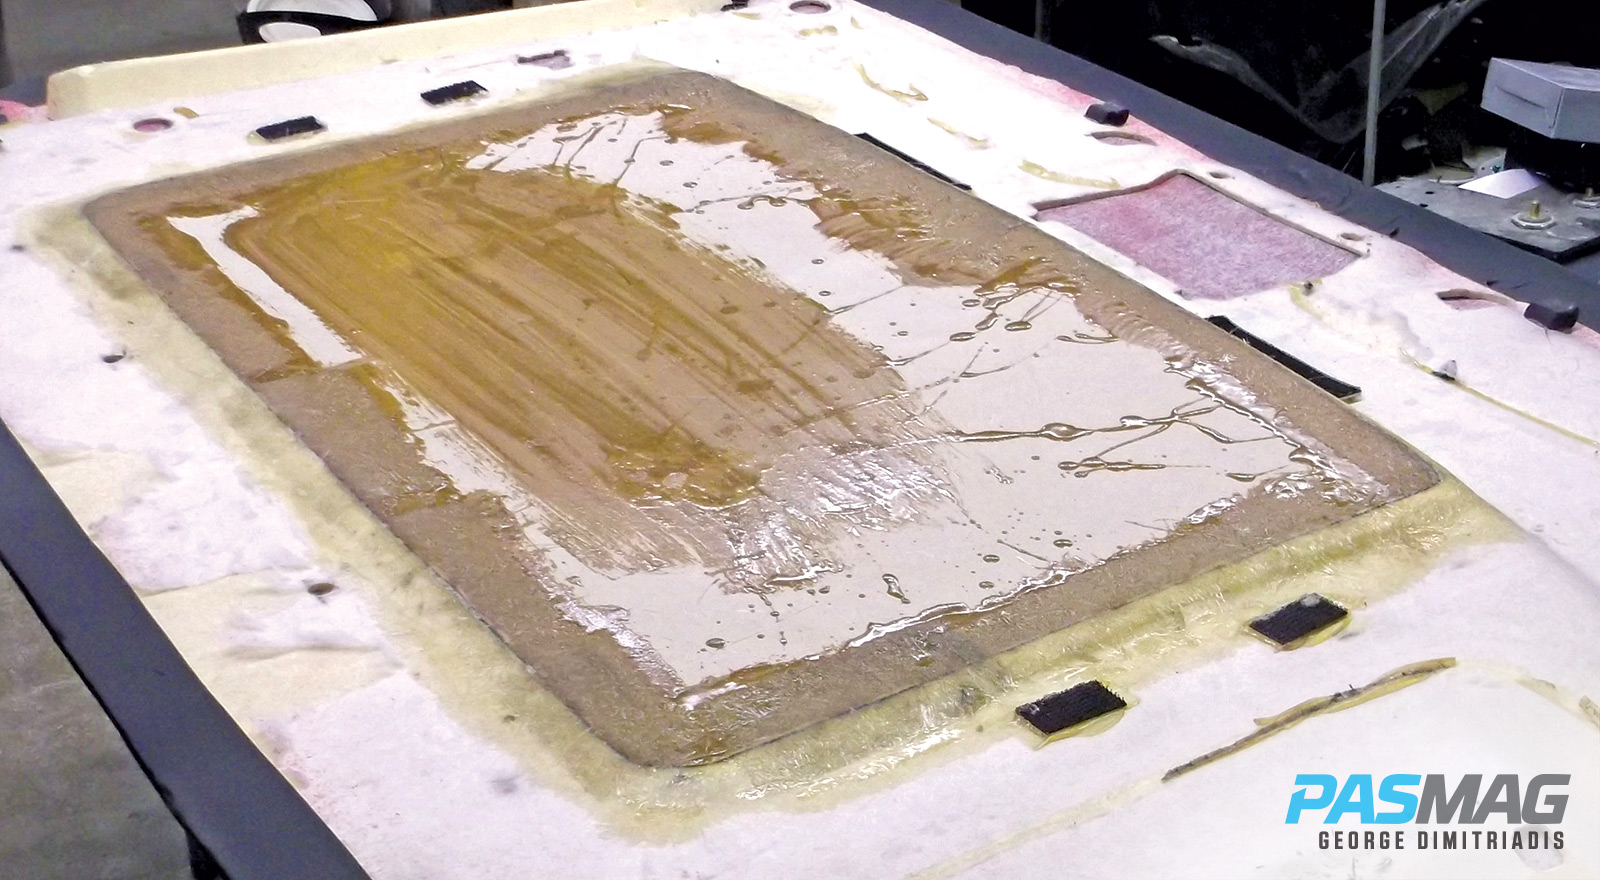
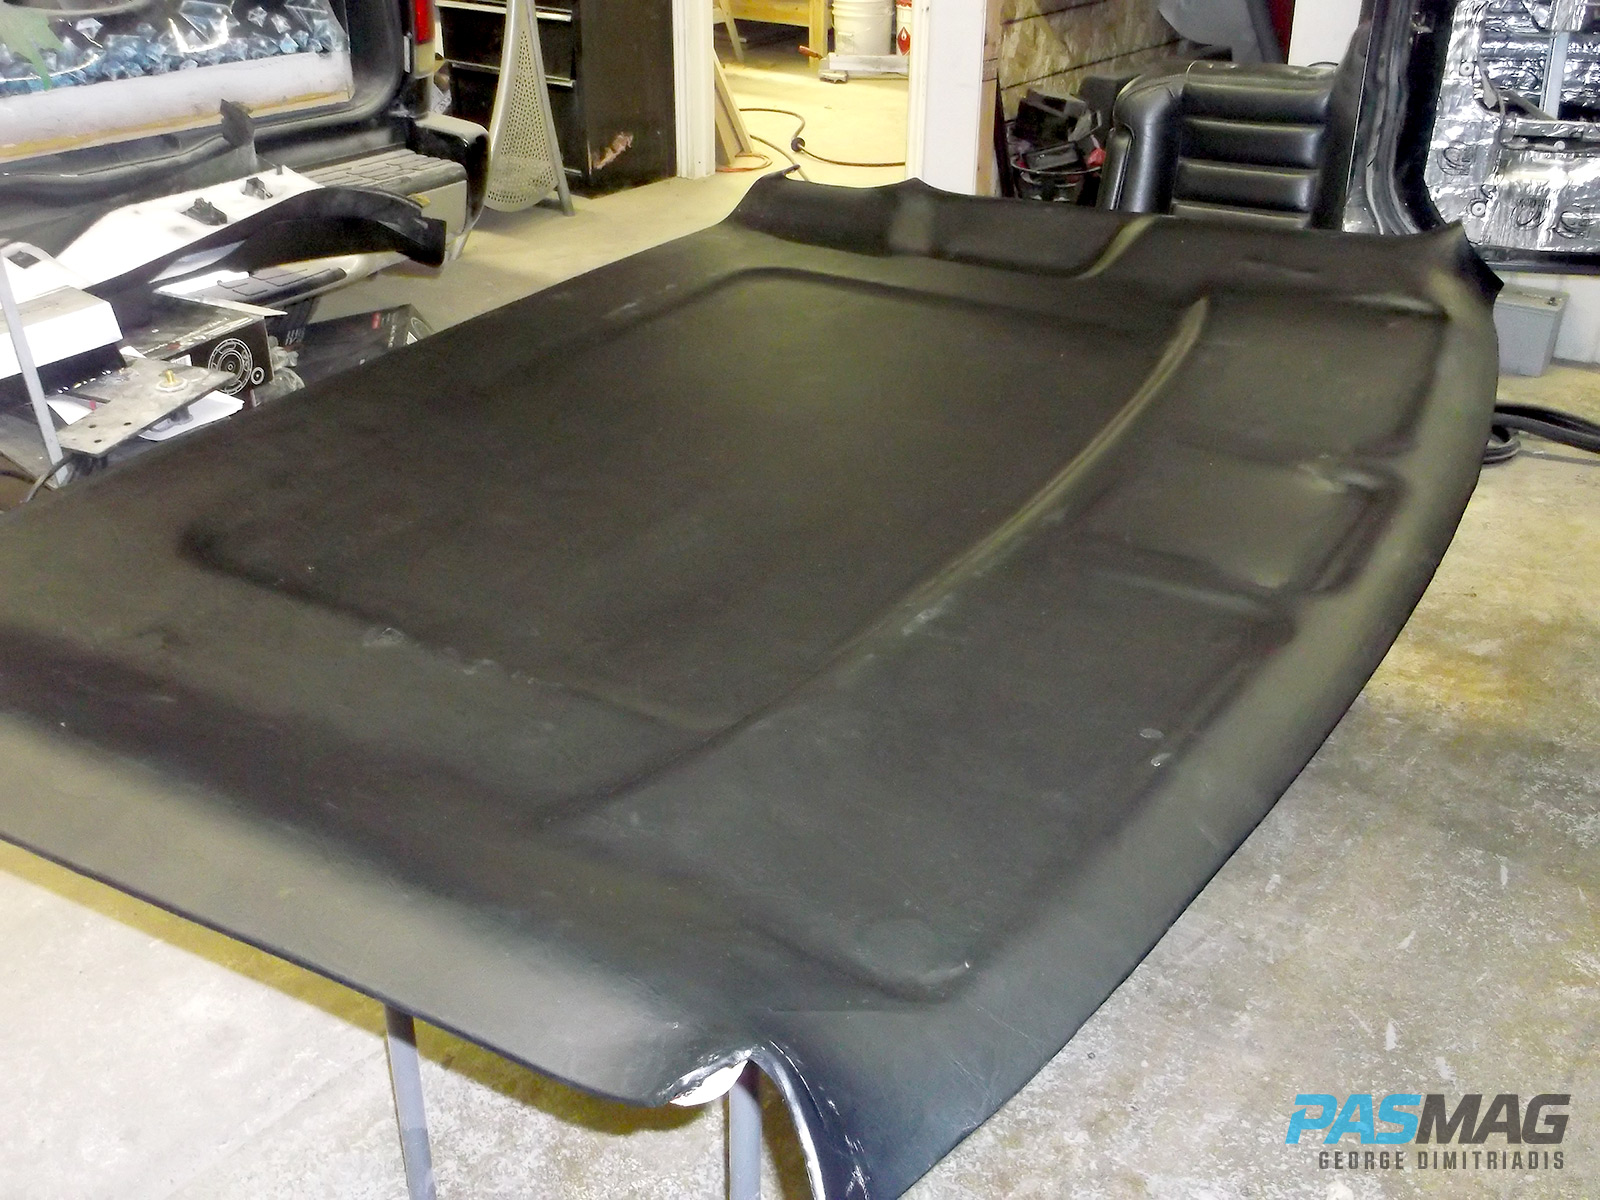
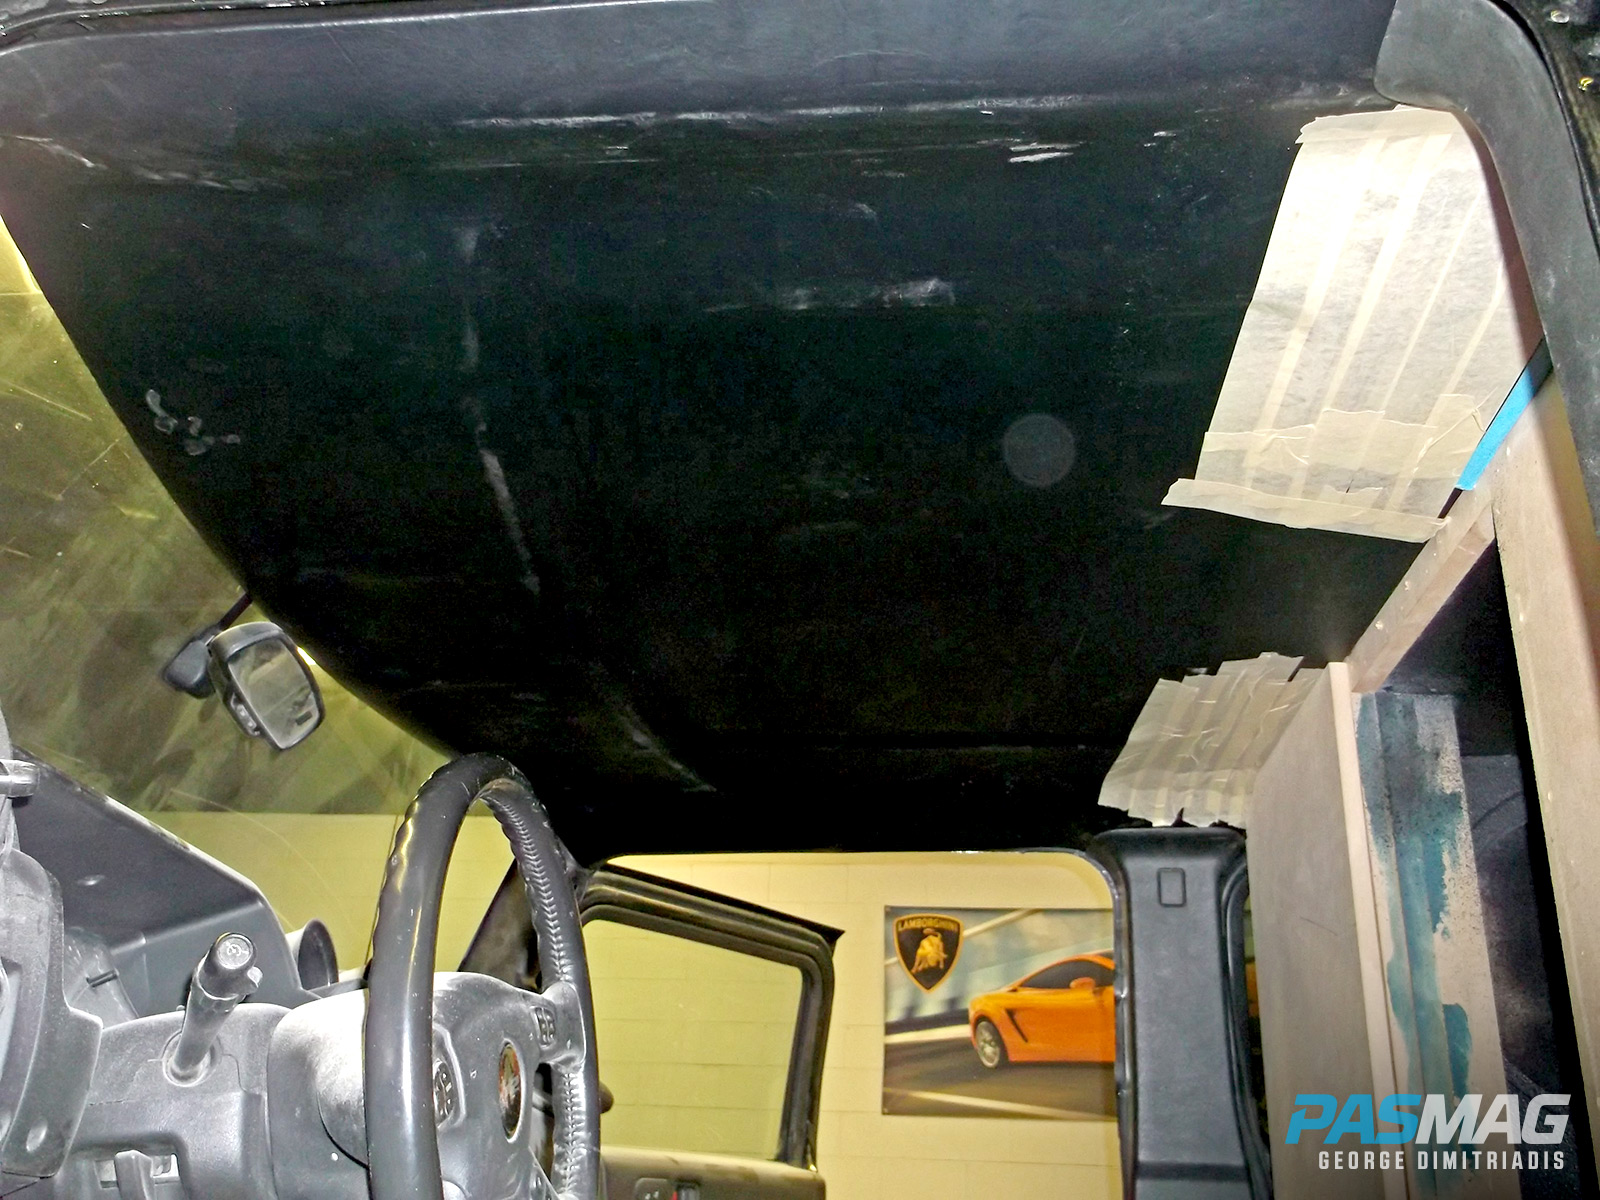
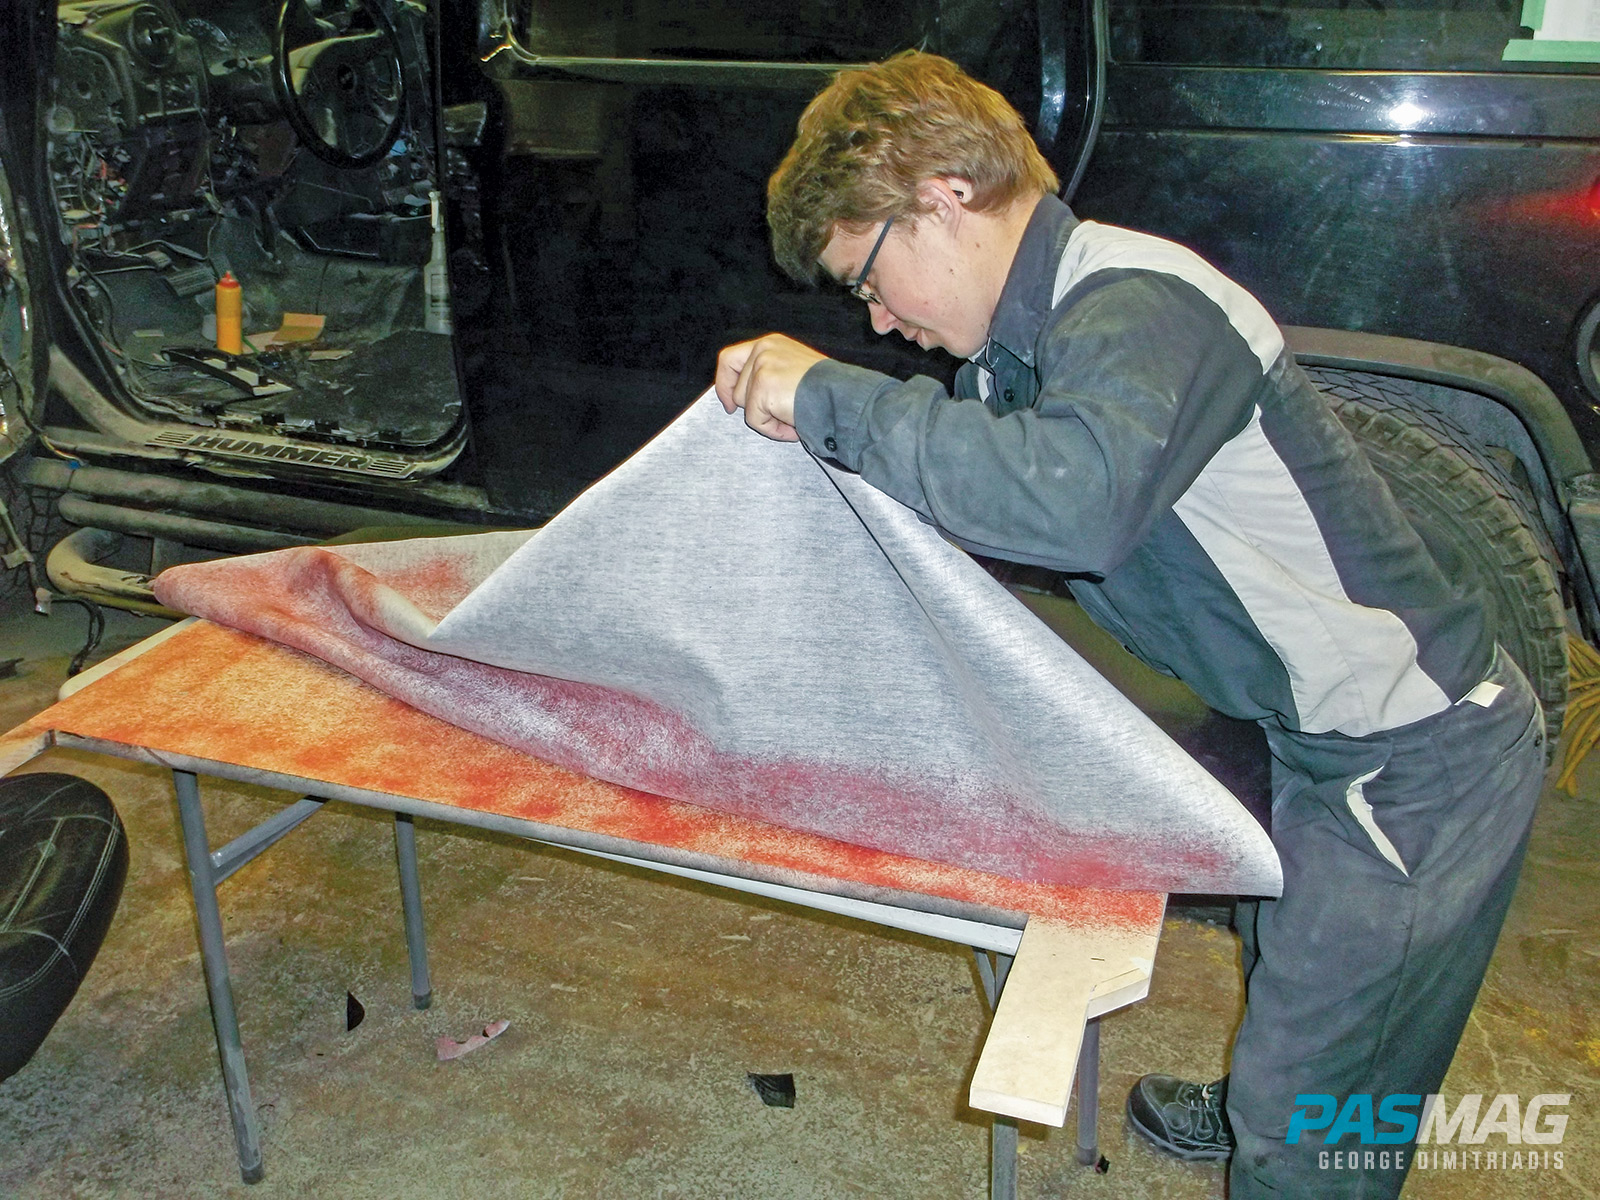
In the front cabin and the headliner situation, the sunroof is no more. With the headliner out I realized the sunroof cutout and sliding panel was of no use, so 0.5-inch MDF was cut to size and filled the once existing sunroof opening. Now it’s integrated, glassed and the entire headliner is reinforced. From there it’s been wrapped in black vinyl and test fitted. It’s rather eerie sitting in the front cabin with an all black roof, no sunroof, no rear windows and a very large wall behind you. With the headliner finished, it’s time to move to the enclosure and trim panels.
Phase 3 saw the enclosure glassed, sanded, prepped and ready for it to be finished.
 |
 |
 |
By finished, I’m referring to smoothing out the interior of the enclosure with fiberglass reinforced filler. Half-a-dozen cans later and it was ready for a final sanding. Once done, it was sprayed with a custom textured black coating. This adds to the sealing of the enclosure and also provides a menacing finish. All that was left for the enclosure was the trim panels on the front, sealing the B-pillar completely.
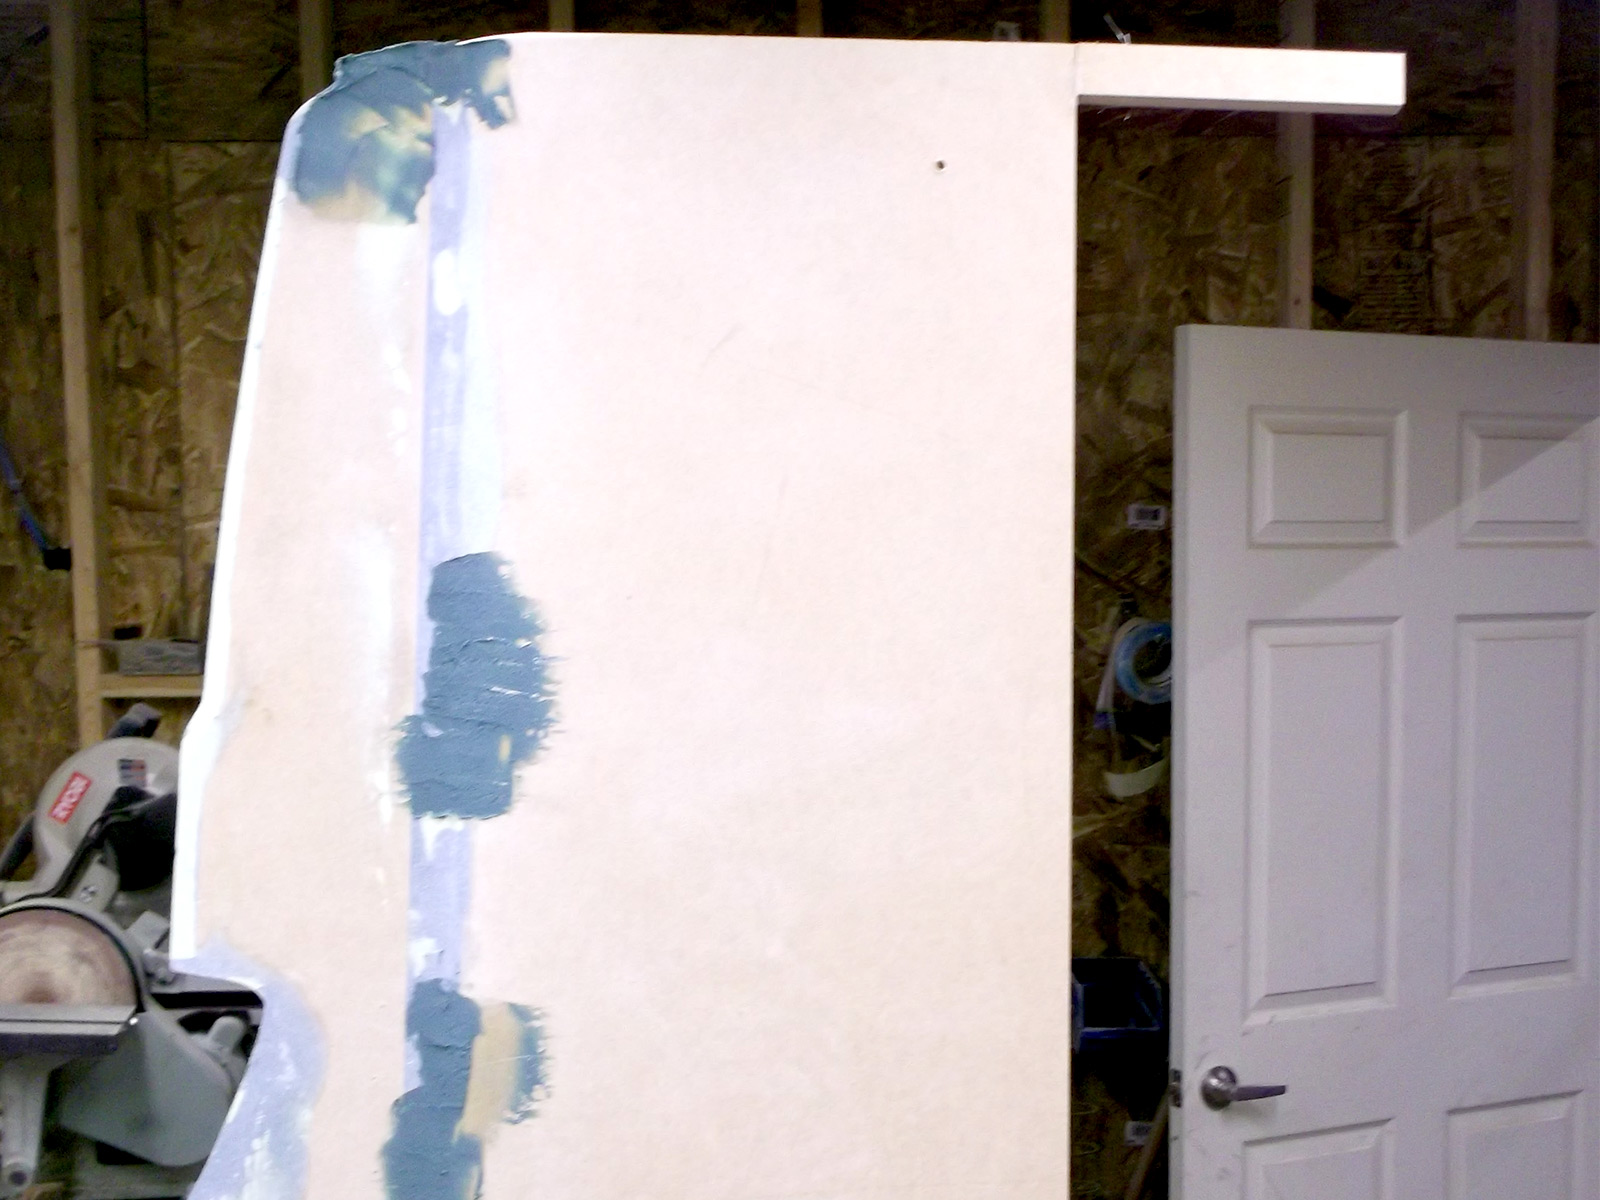
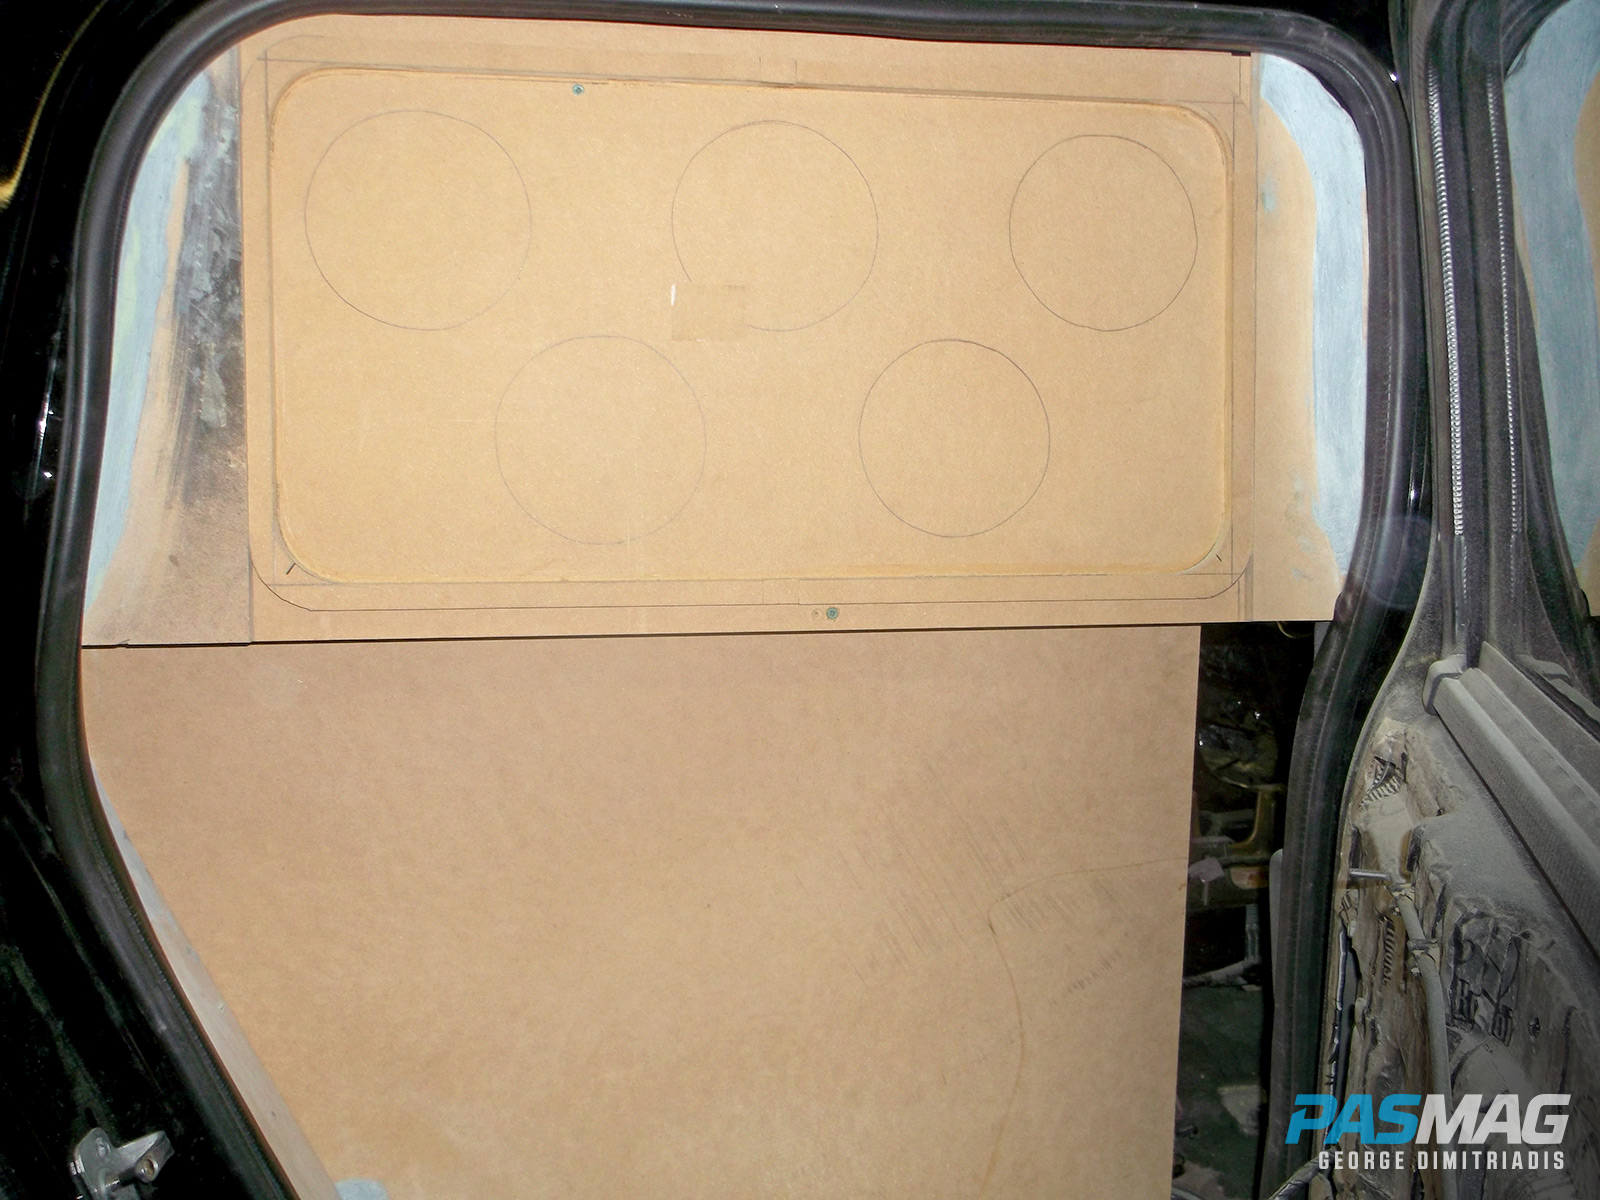
The trim panels were initially measured and traced out with a cardboard stencil. The use of cardboard allows for precise measurement of angles and curves. With the stencil complete and dead on, it was transferred to ¾-inch MDF for added strength and vibration resistance. The trim panel is made in two matching and identical parts joined at the very center of the cabin vertically. It was then wrapped in the same color-matched black vinyl as the headliner. The trim panels are fitted, and permanently adhered to the wall with heavy duty PL Premium adhesive.
 |
 |
 |
I’m going to refer back to Phase 2 when we covered the build of the door panels. Many people would think 11 component sets between the front and rear doors would be sufficient. For most people that would be – and then some. With demos being at the forefront of this build, I opted to take advantage of some space that would otherwise have been left vacant.
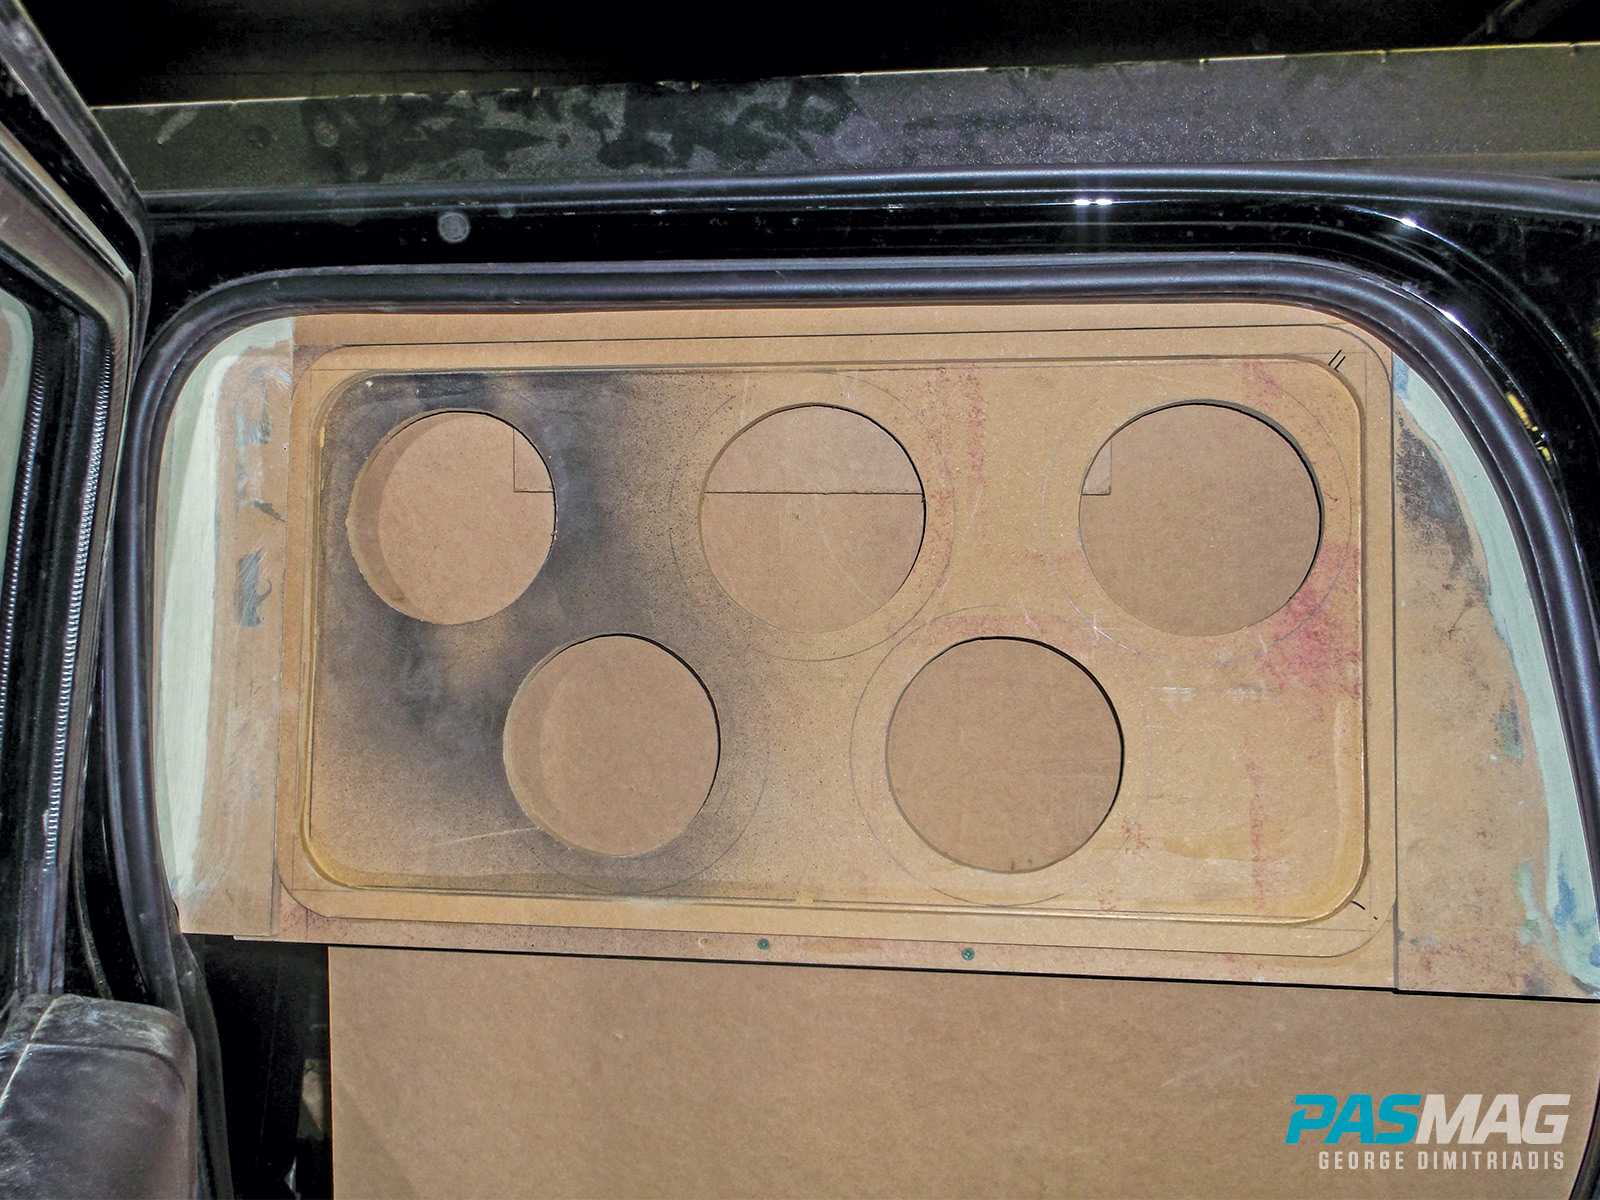
I played with the idea of integrating speakers in the rear door section above the window line where the sidewall of the enclosure is. The end result is a custom rear side window facing speaker pod. Each pod is made of MDF with molded trim panels and houses five mid-range speakers and five tweeters. Once again, the panels are wrapped in color-matched black vinyl. Adding to that is the creation of an RE AUDIO logo, embedded in the wall under the speaker pods and wrapped in the black vinyl once more. Speaker grills that match the front and rear door panel grills finish off the entire package.
 |
Stay tuned for Phase 5 and the conclusion of BIG BRUTE. The best it yet to come!