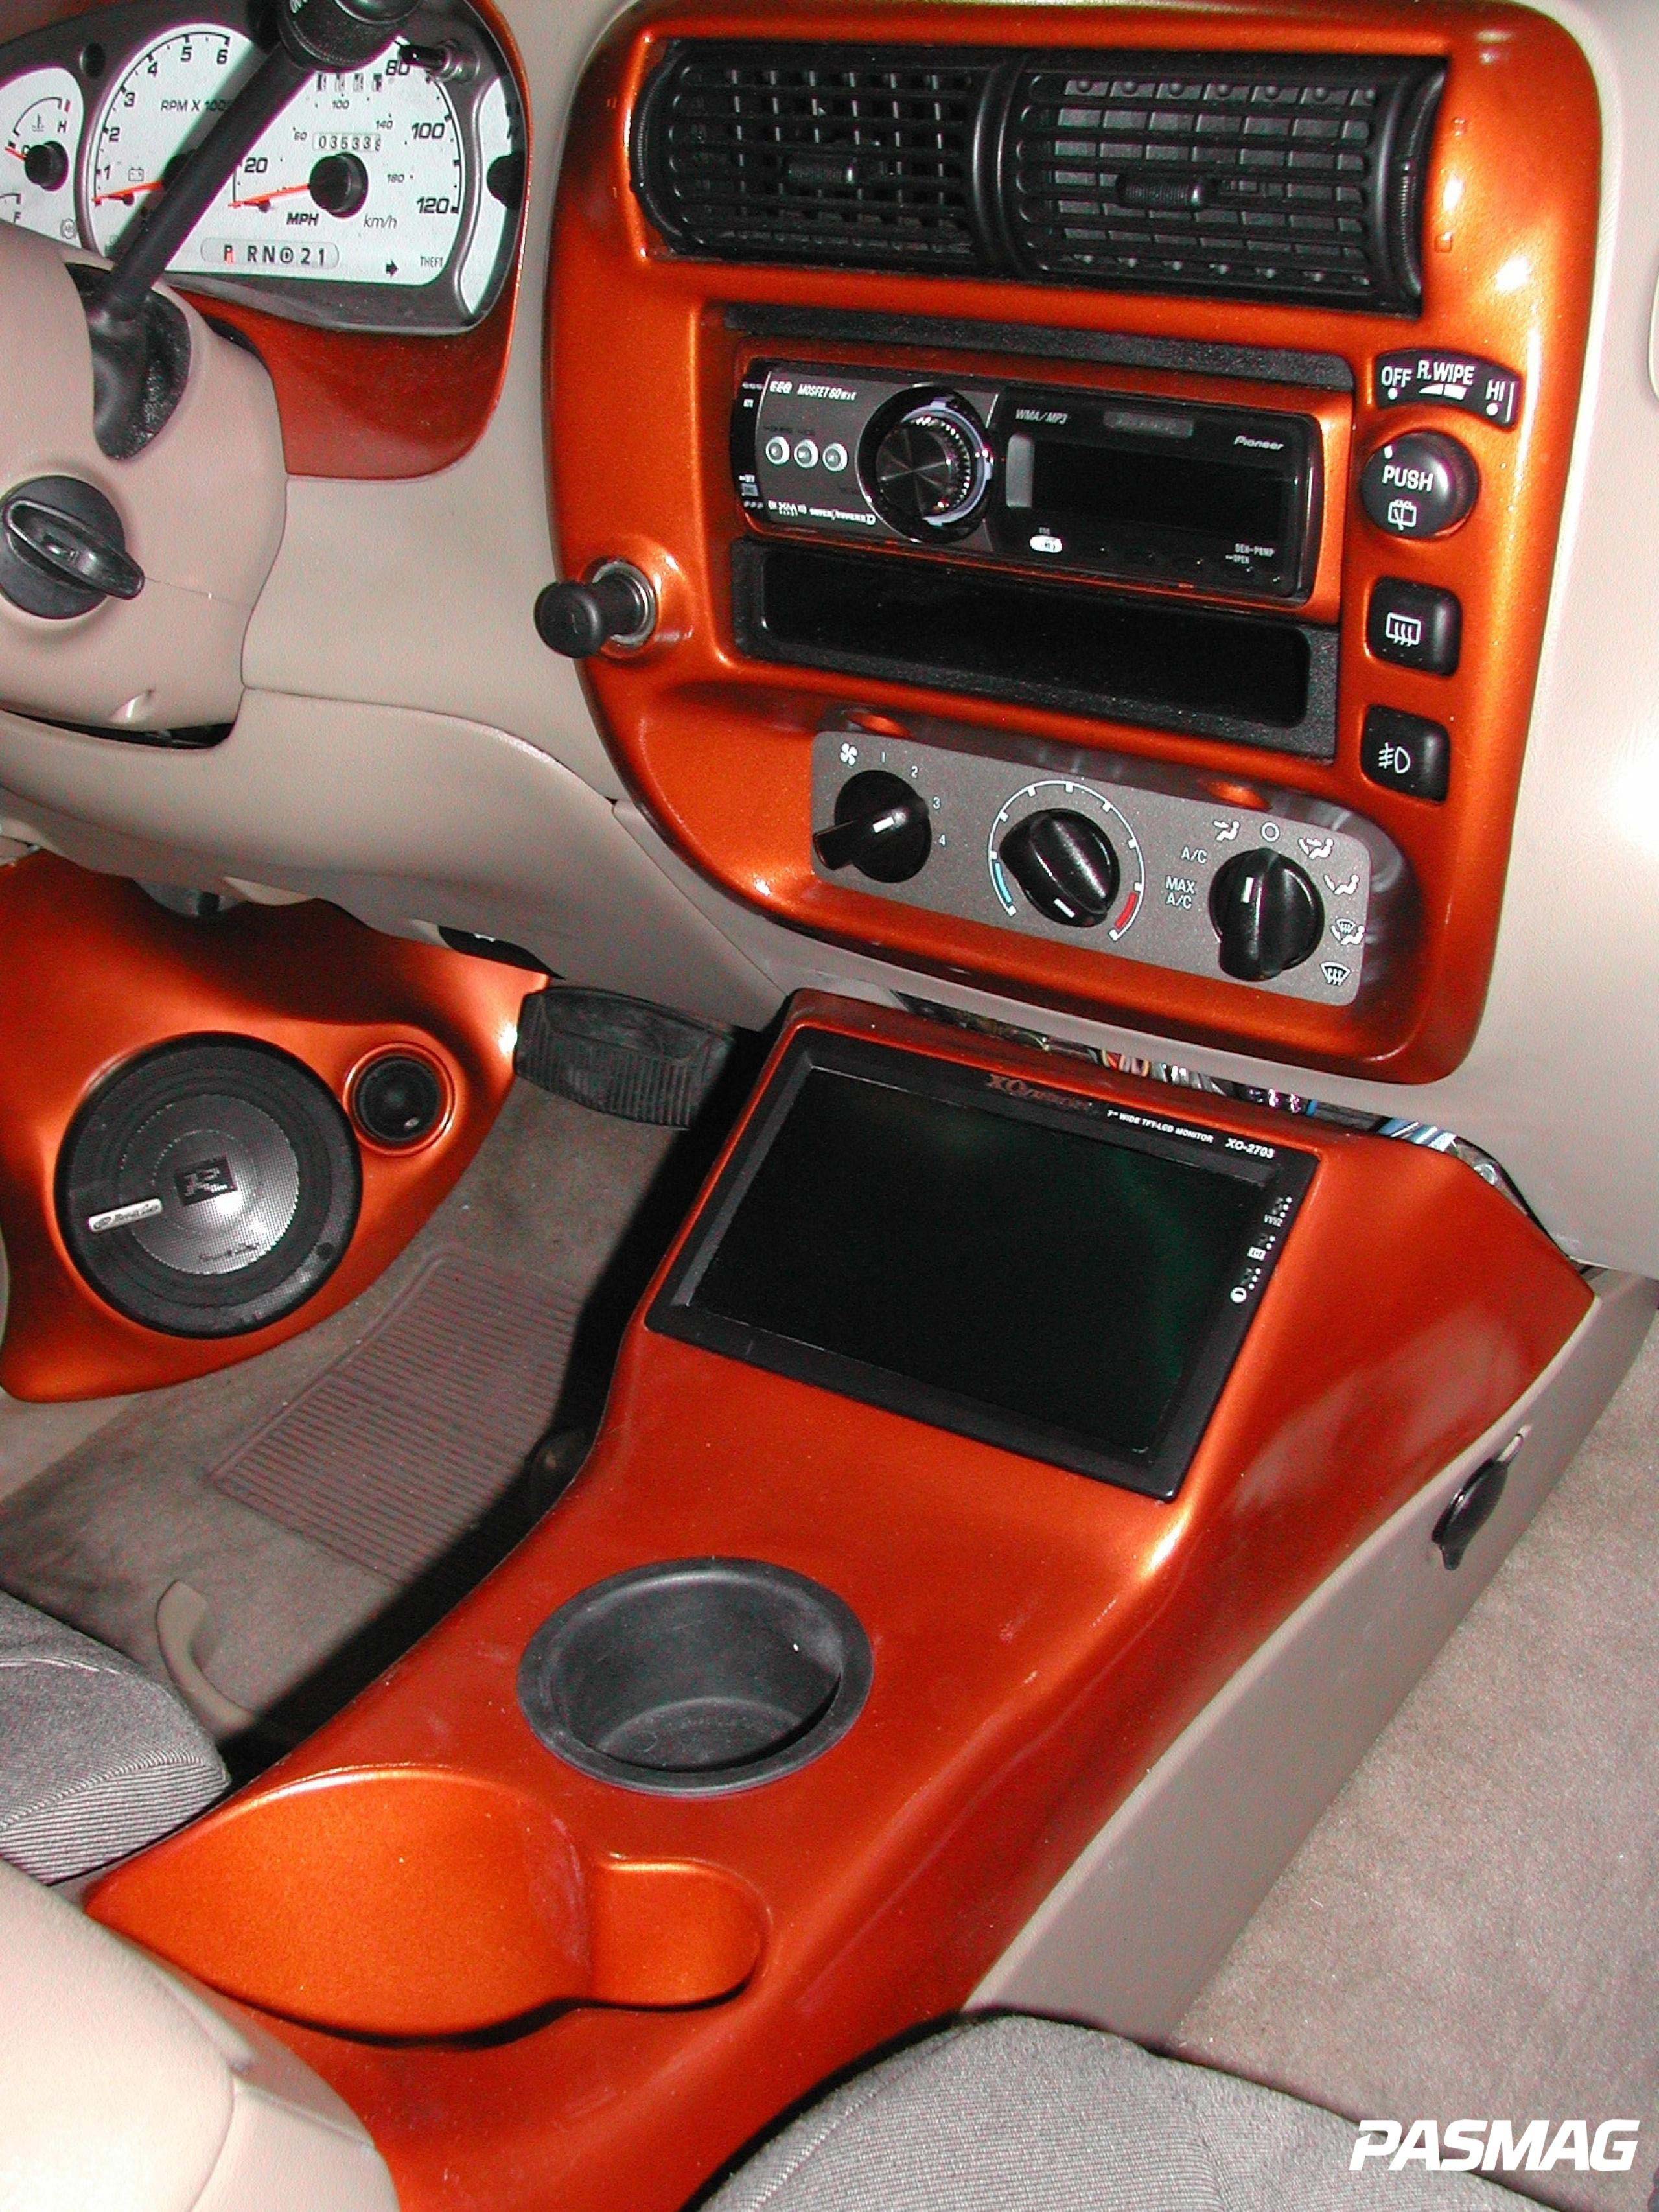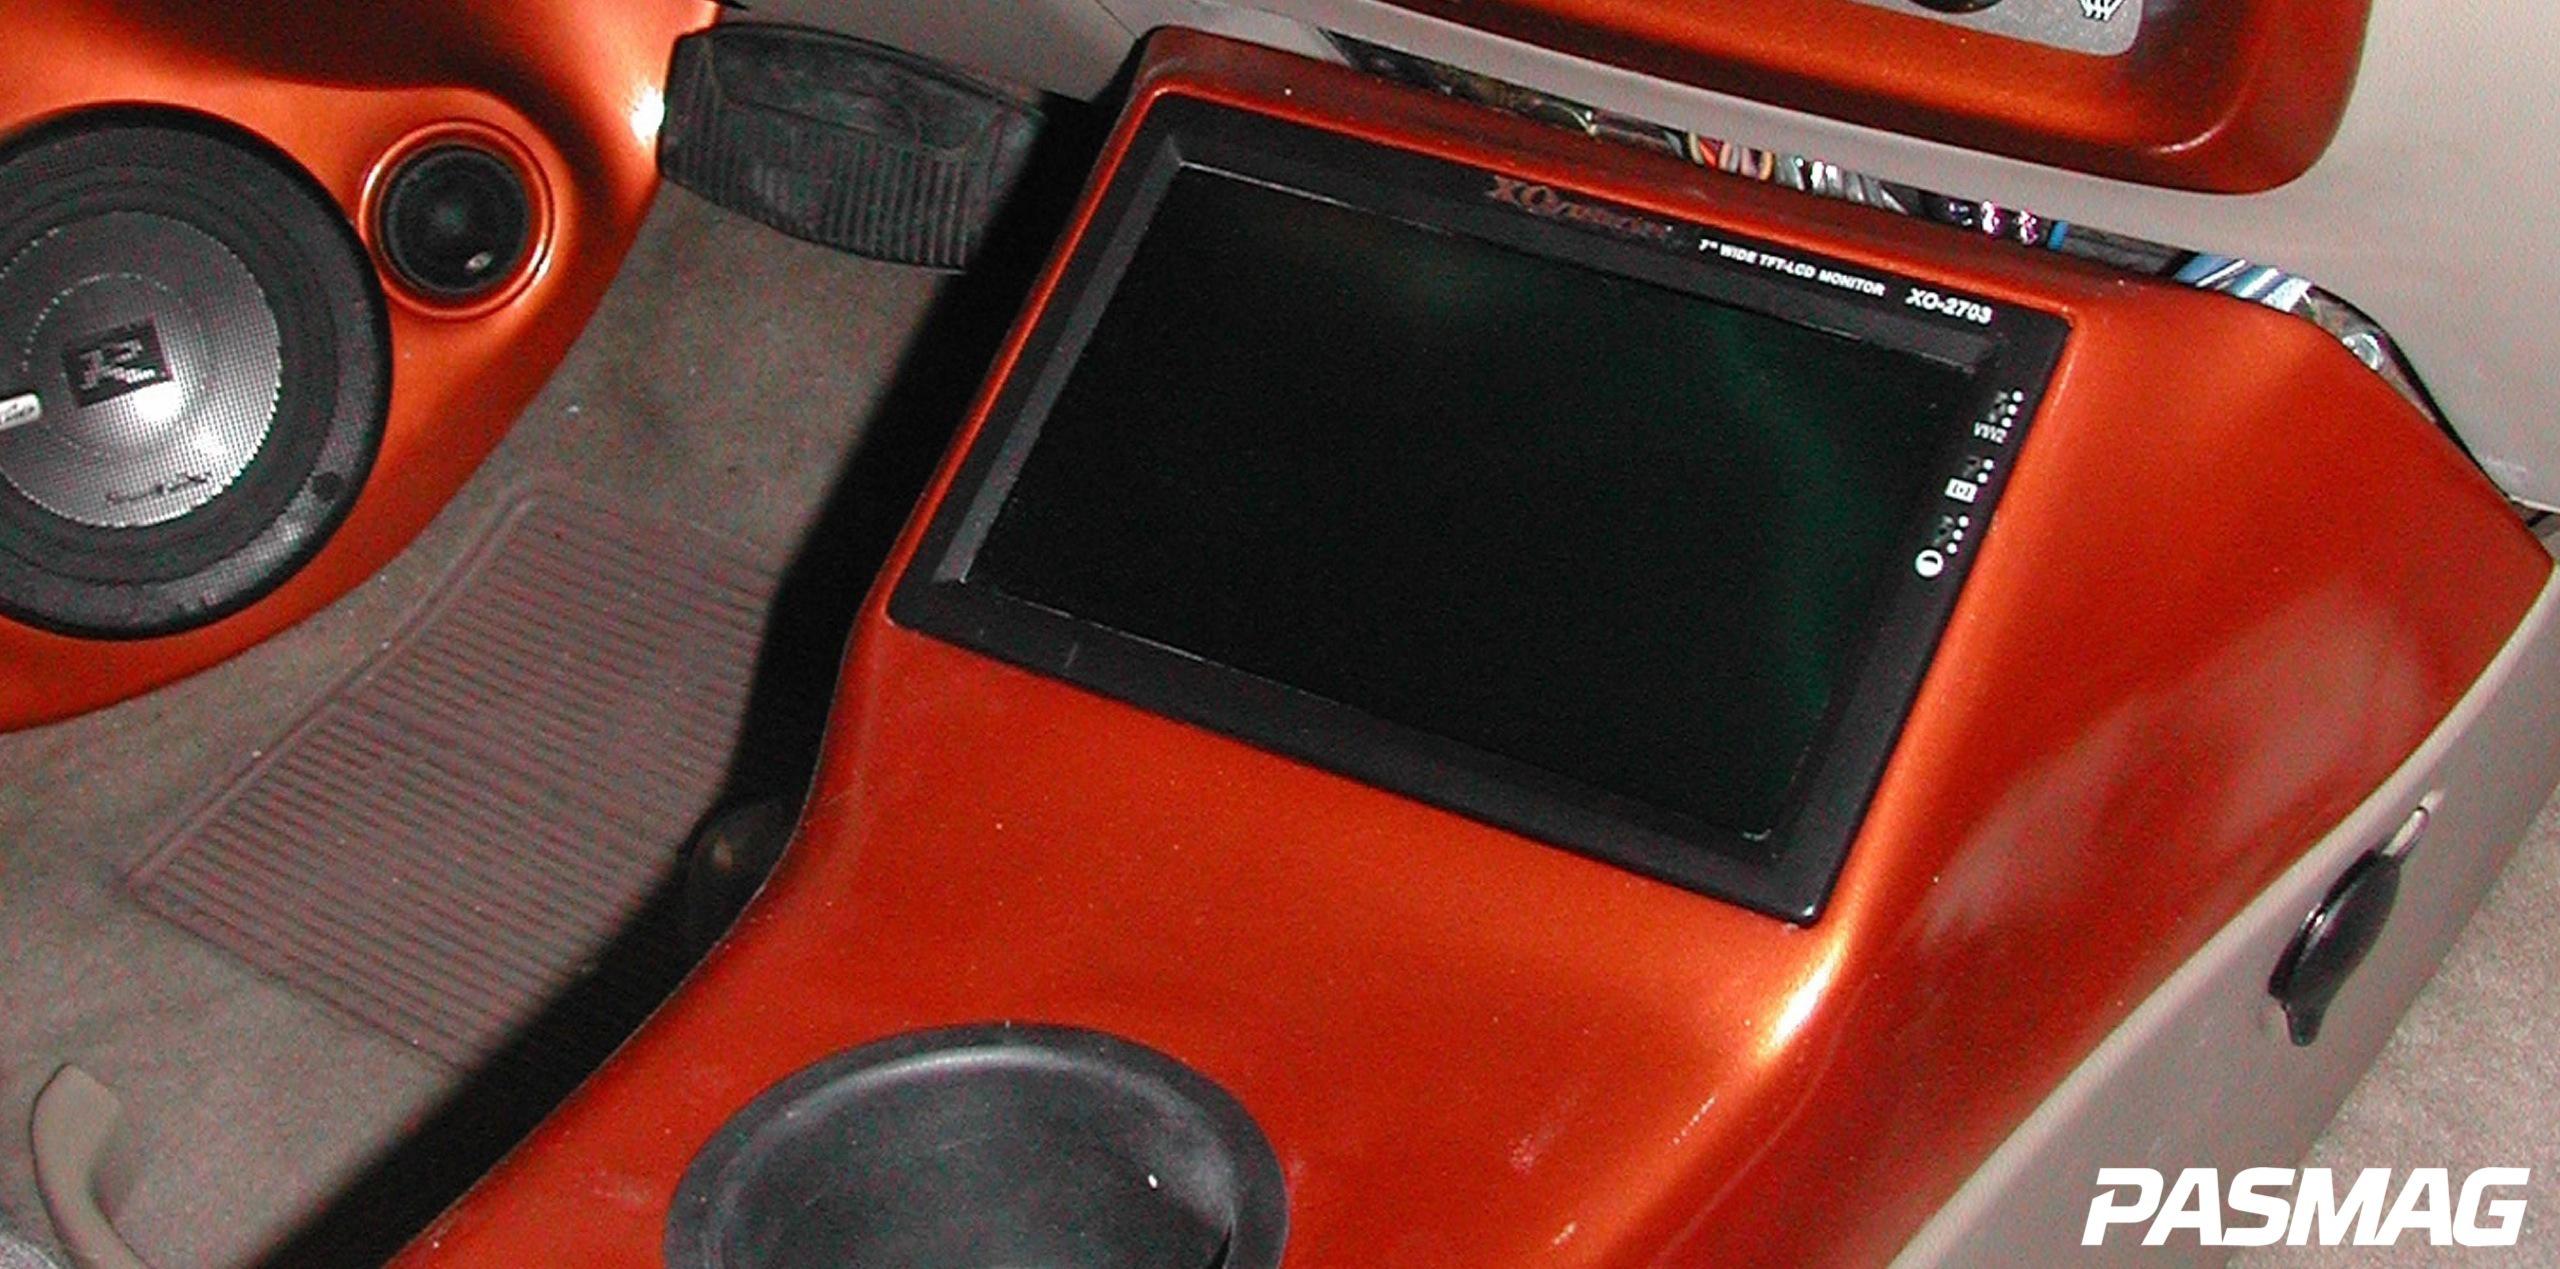
This is a "How To" I presented years ago that still holds true today so I would like to share it. If you're a shop owner, then the phrase "time is money" holds more truth than any other. The skill of your installers, and how fast they are able to finish a job will dictate your shop's profit and bottom line. This is a very easy way to dress up a simple center console and have it done in no more than five hours. The vehicle used for this tutorial is a Ford Explorer, but the concept will work with any vehicle with this type of center console.
The products and tools needed for this project are as follows:
1. (1) 7" headrest monitor with the separate shroud,
2. Air saw,
3. CA Glue or the equivalent type of super glue,
4. Duraglass or any type of heavy weight body filler,
5. Rage Gold Extreme or any type of light weight body filler,
6. Air sander or sanding block with 80, 120, 240, 360 grit sandpaper,
7. Primer,
8. Spray paint.
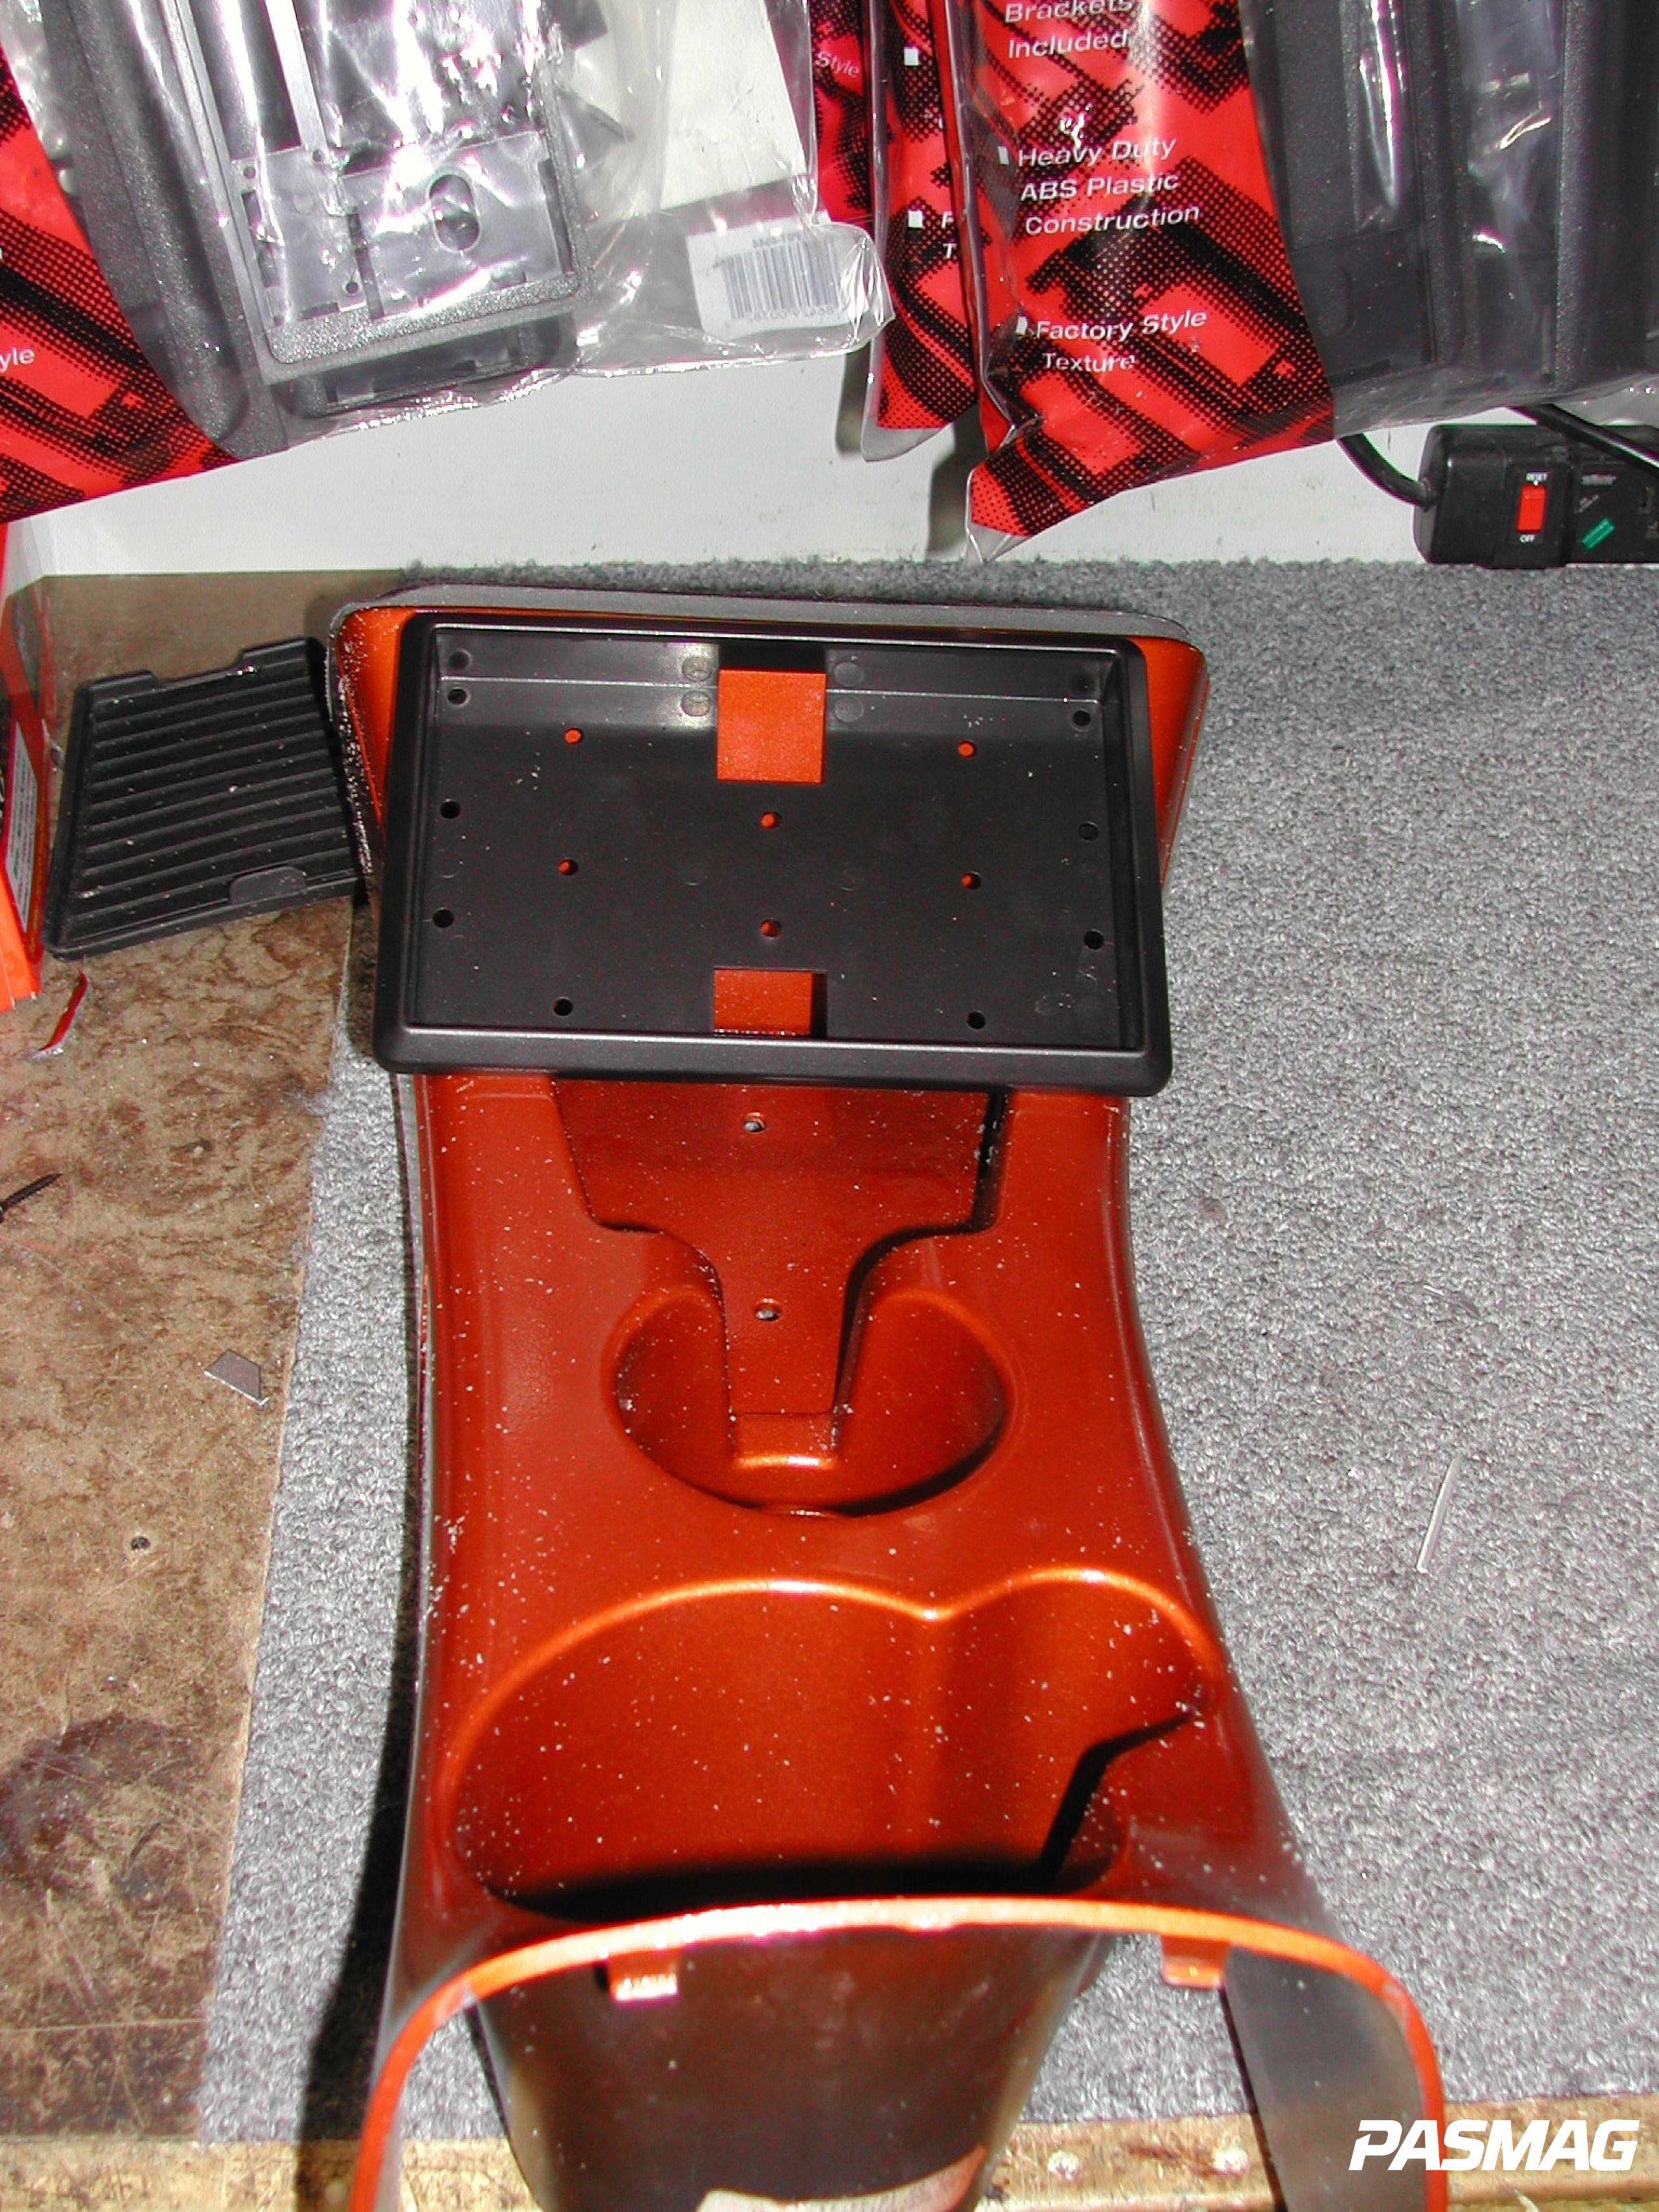
The first thing you need to do obviously is remove the center console and position the monitor frame in the location you want it. Once it's in place, use a permanent marker to mark the perimeter of the frame onto the center console. DO NOT CUT THAT LINE! You want the frame to sit in the opening, but allow the edge of the frame to still be higher than the console so it is raised a little. If you cut the perimeter line the frame will just fall through the hole and have no support.
 |
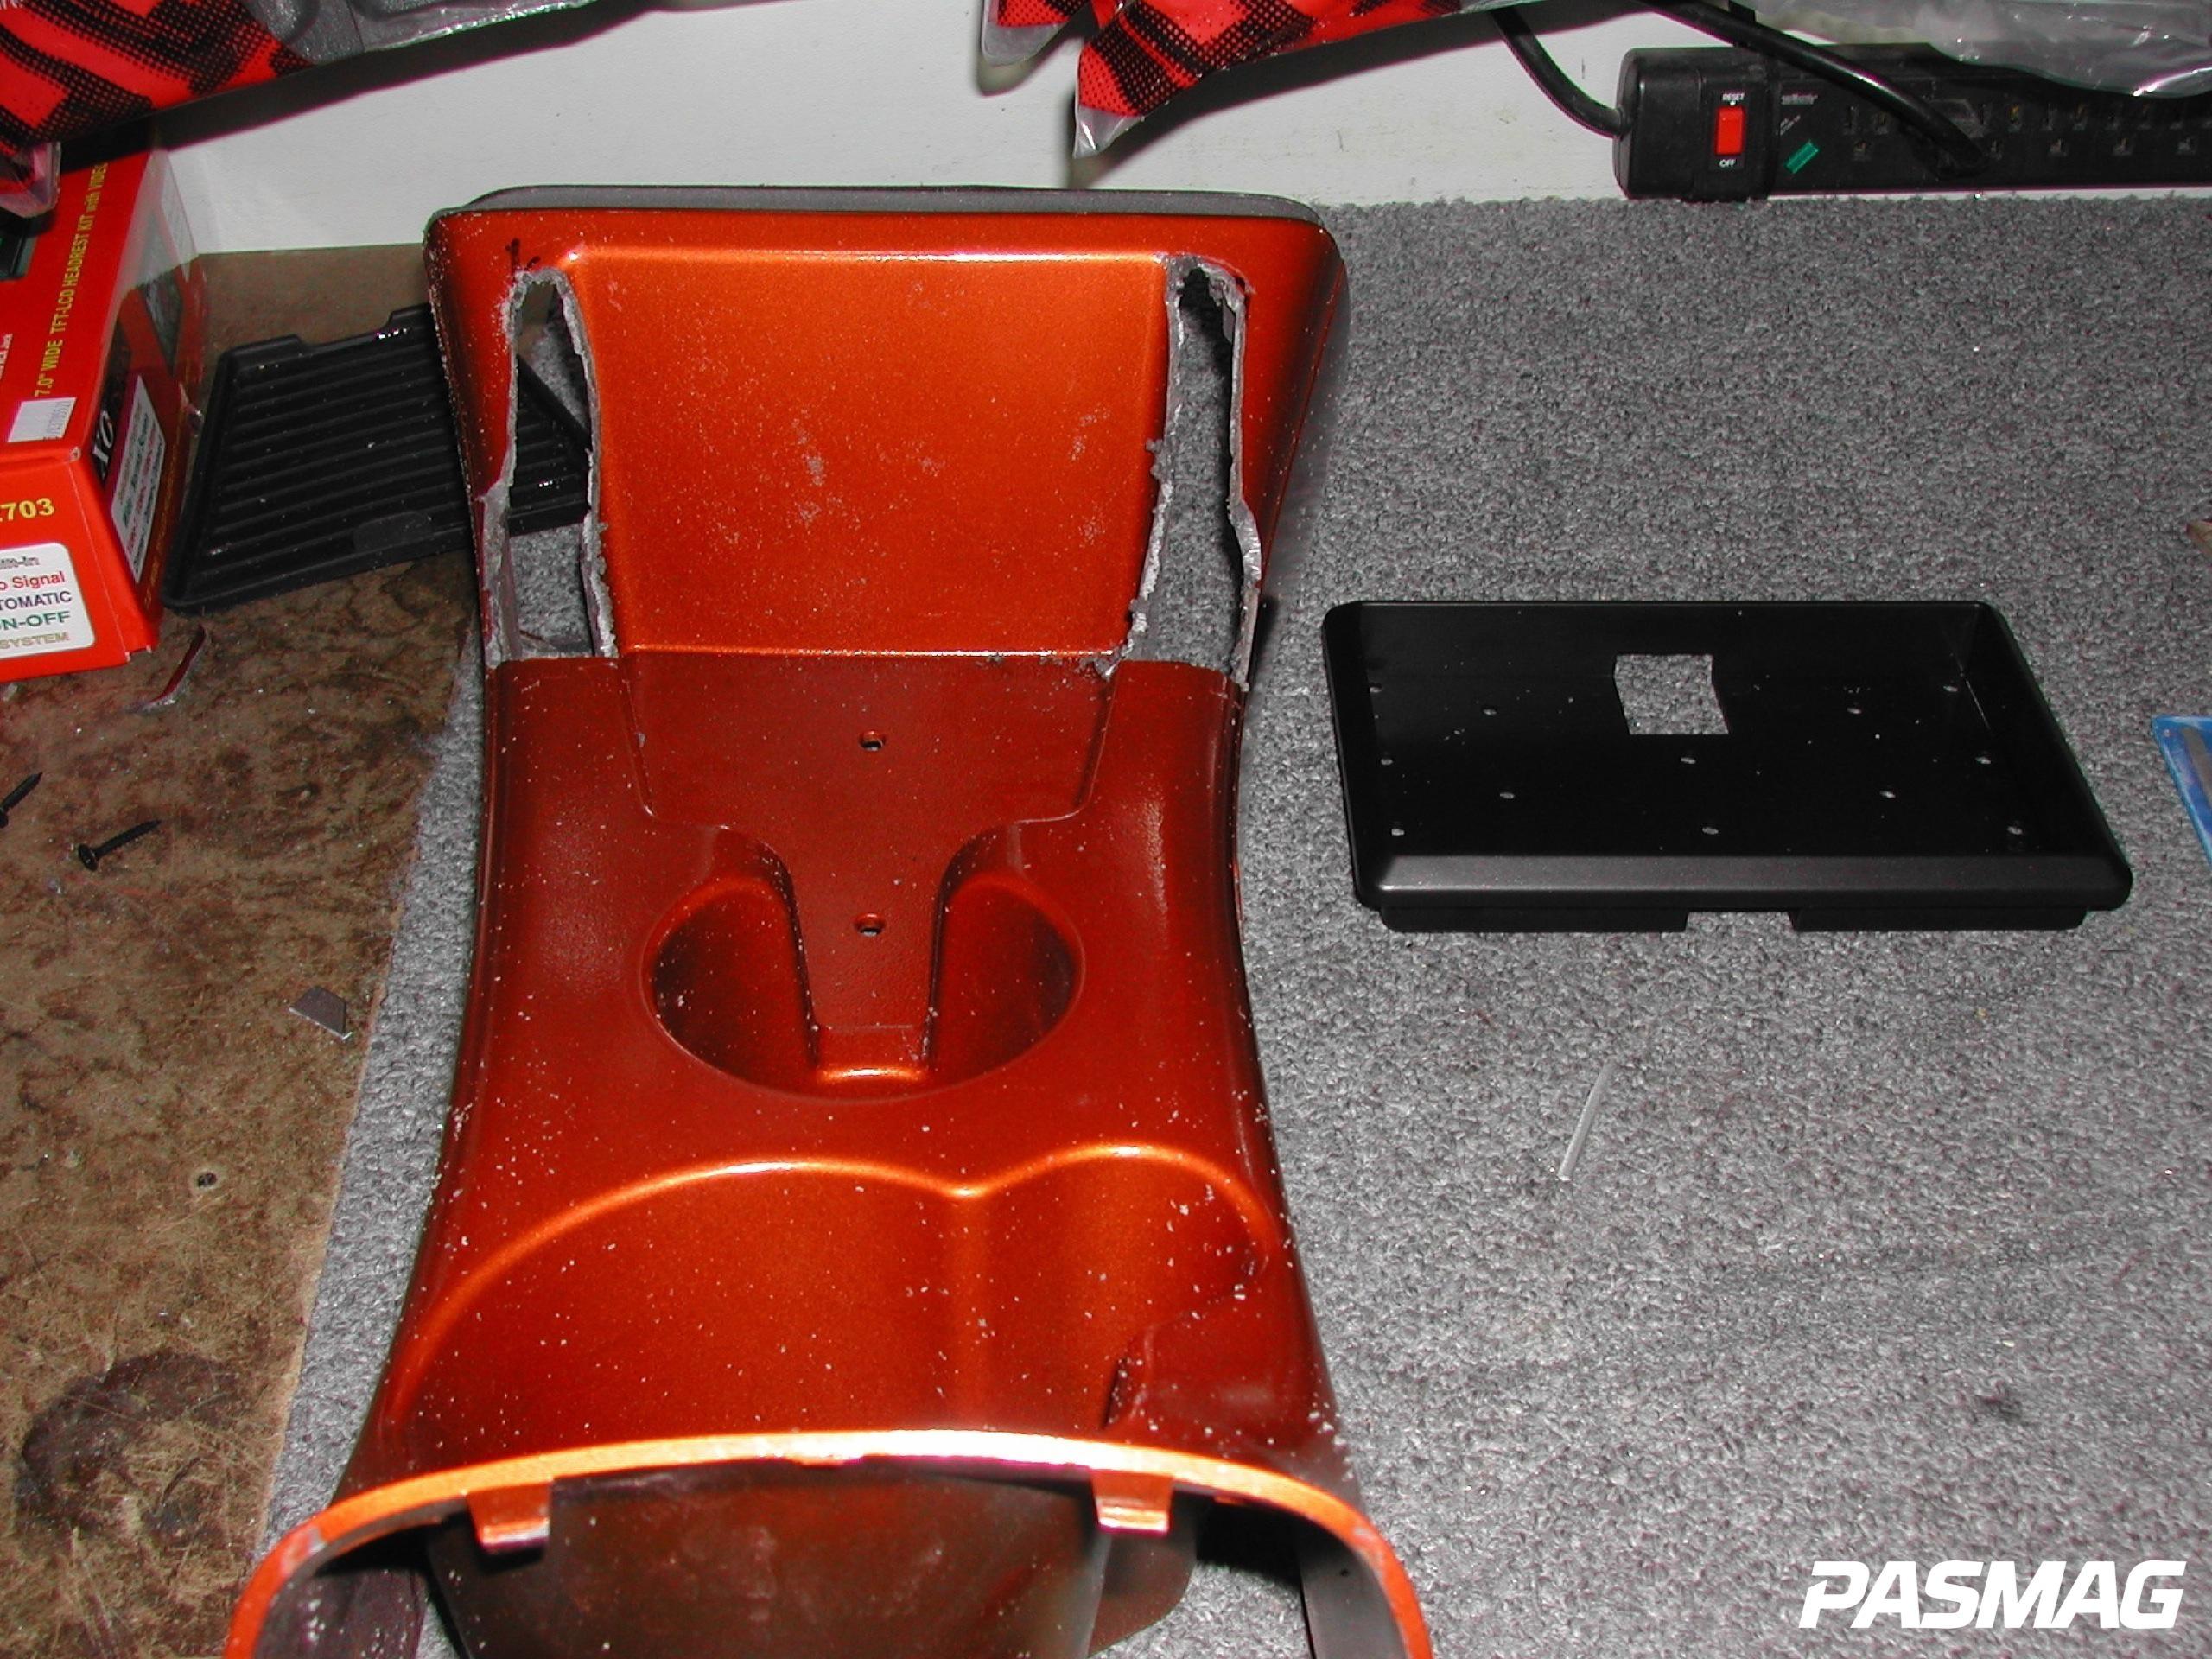 |
Once the frame is sitting flush within your cuts the way you want it go ahead use a small amount of CA Glue or your choice of super glue on the back corners to hold it in place. Make sure it's exactly how you want it and it's firm. Do a test fit in the vehicle to make sure you're not going to have a clearance issue or some other obstruction.
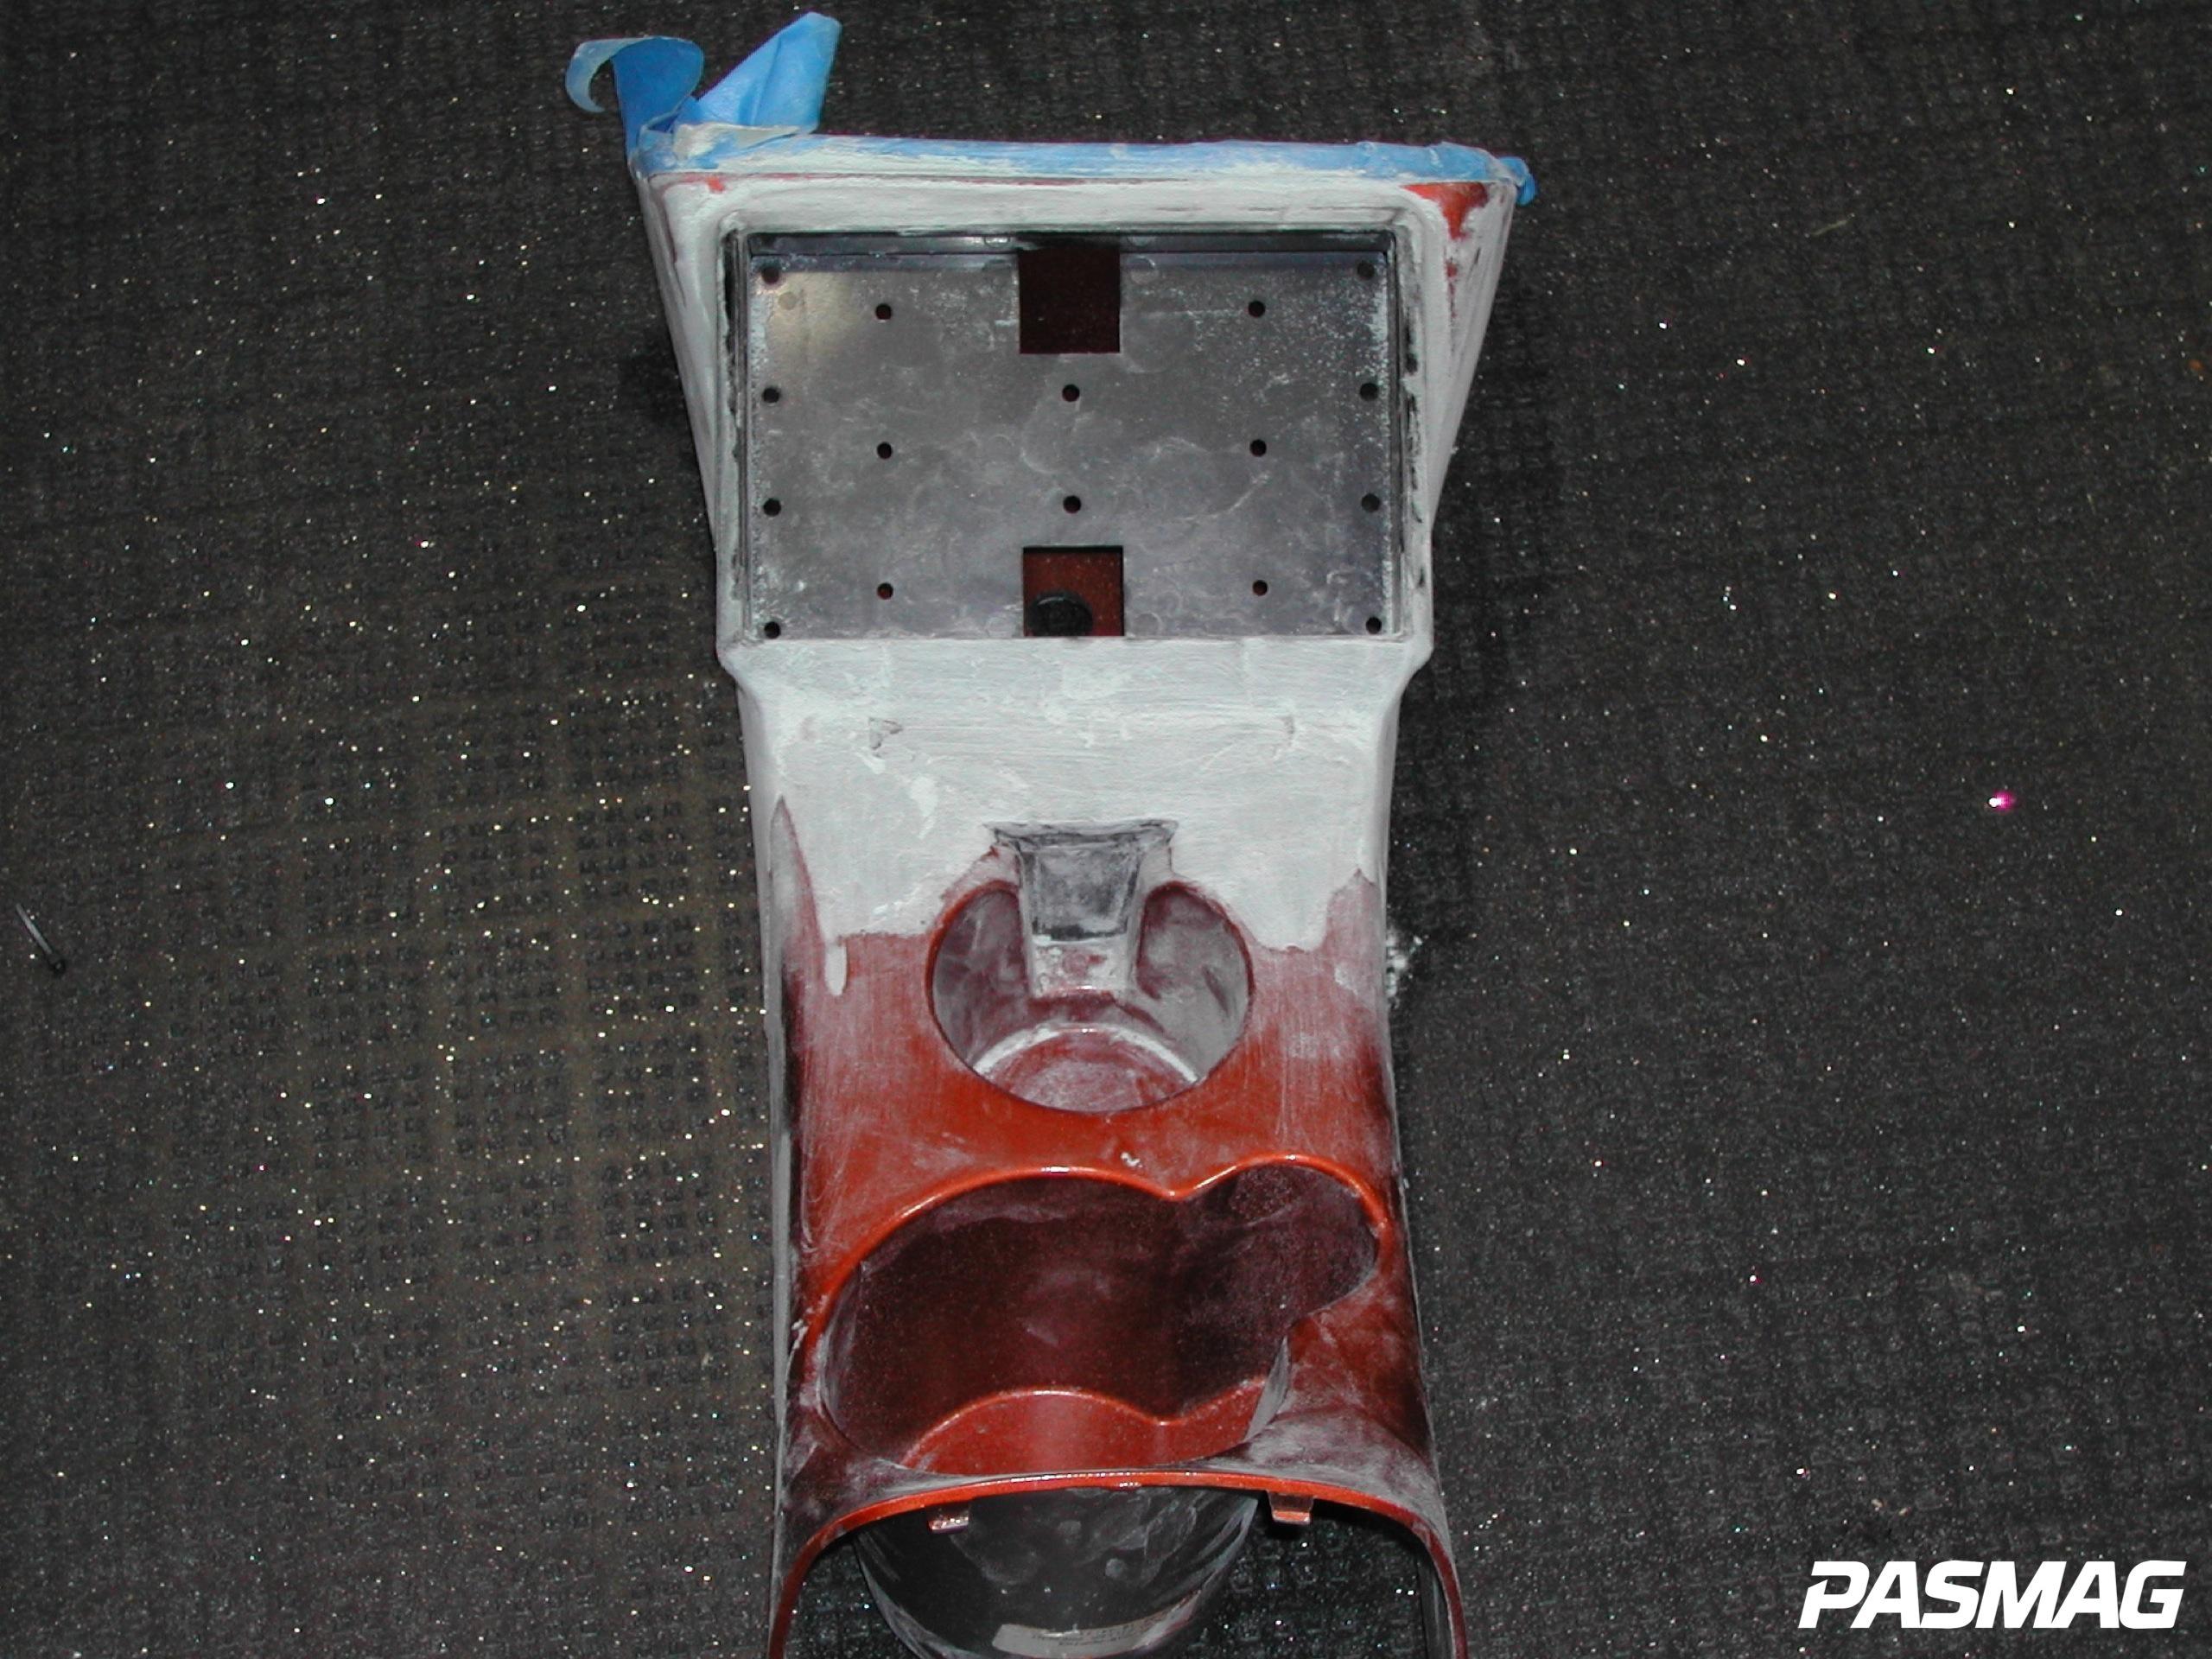
If you're happy with the mounting, it's time to body fill it in. Be sure to rough up the center console plastic around the screen about 2 to 3 inches out. This will ensure the body filler gets a good grip and adheres to the console. Mix up your Duraglass or any type of heavy weight body filler and begin spreading it on. Be sure to start away from the frame and spread towards it to keep from getting filler in the area where the monitor goes.
 |
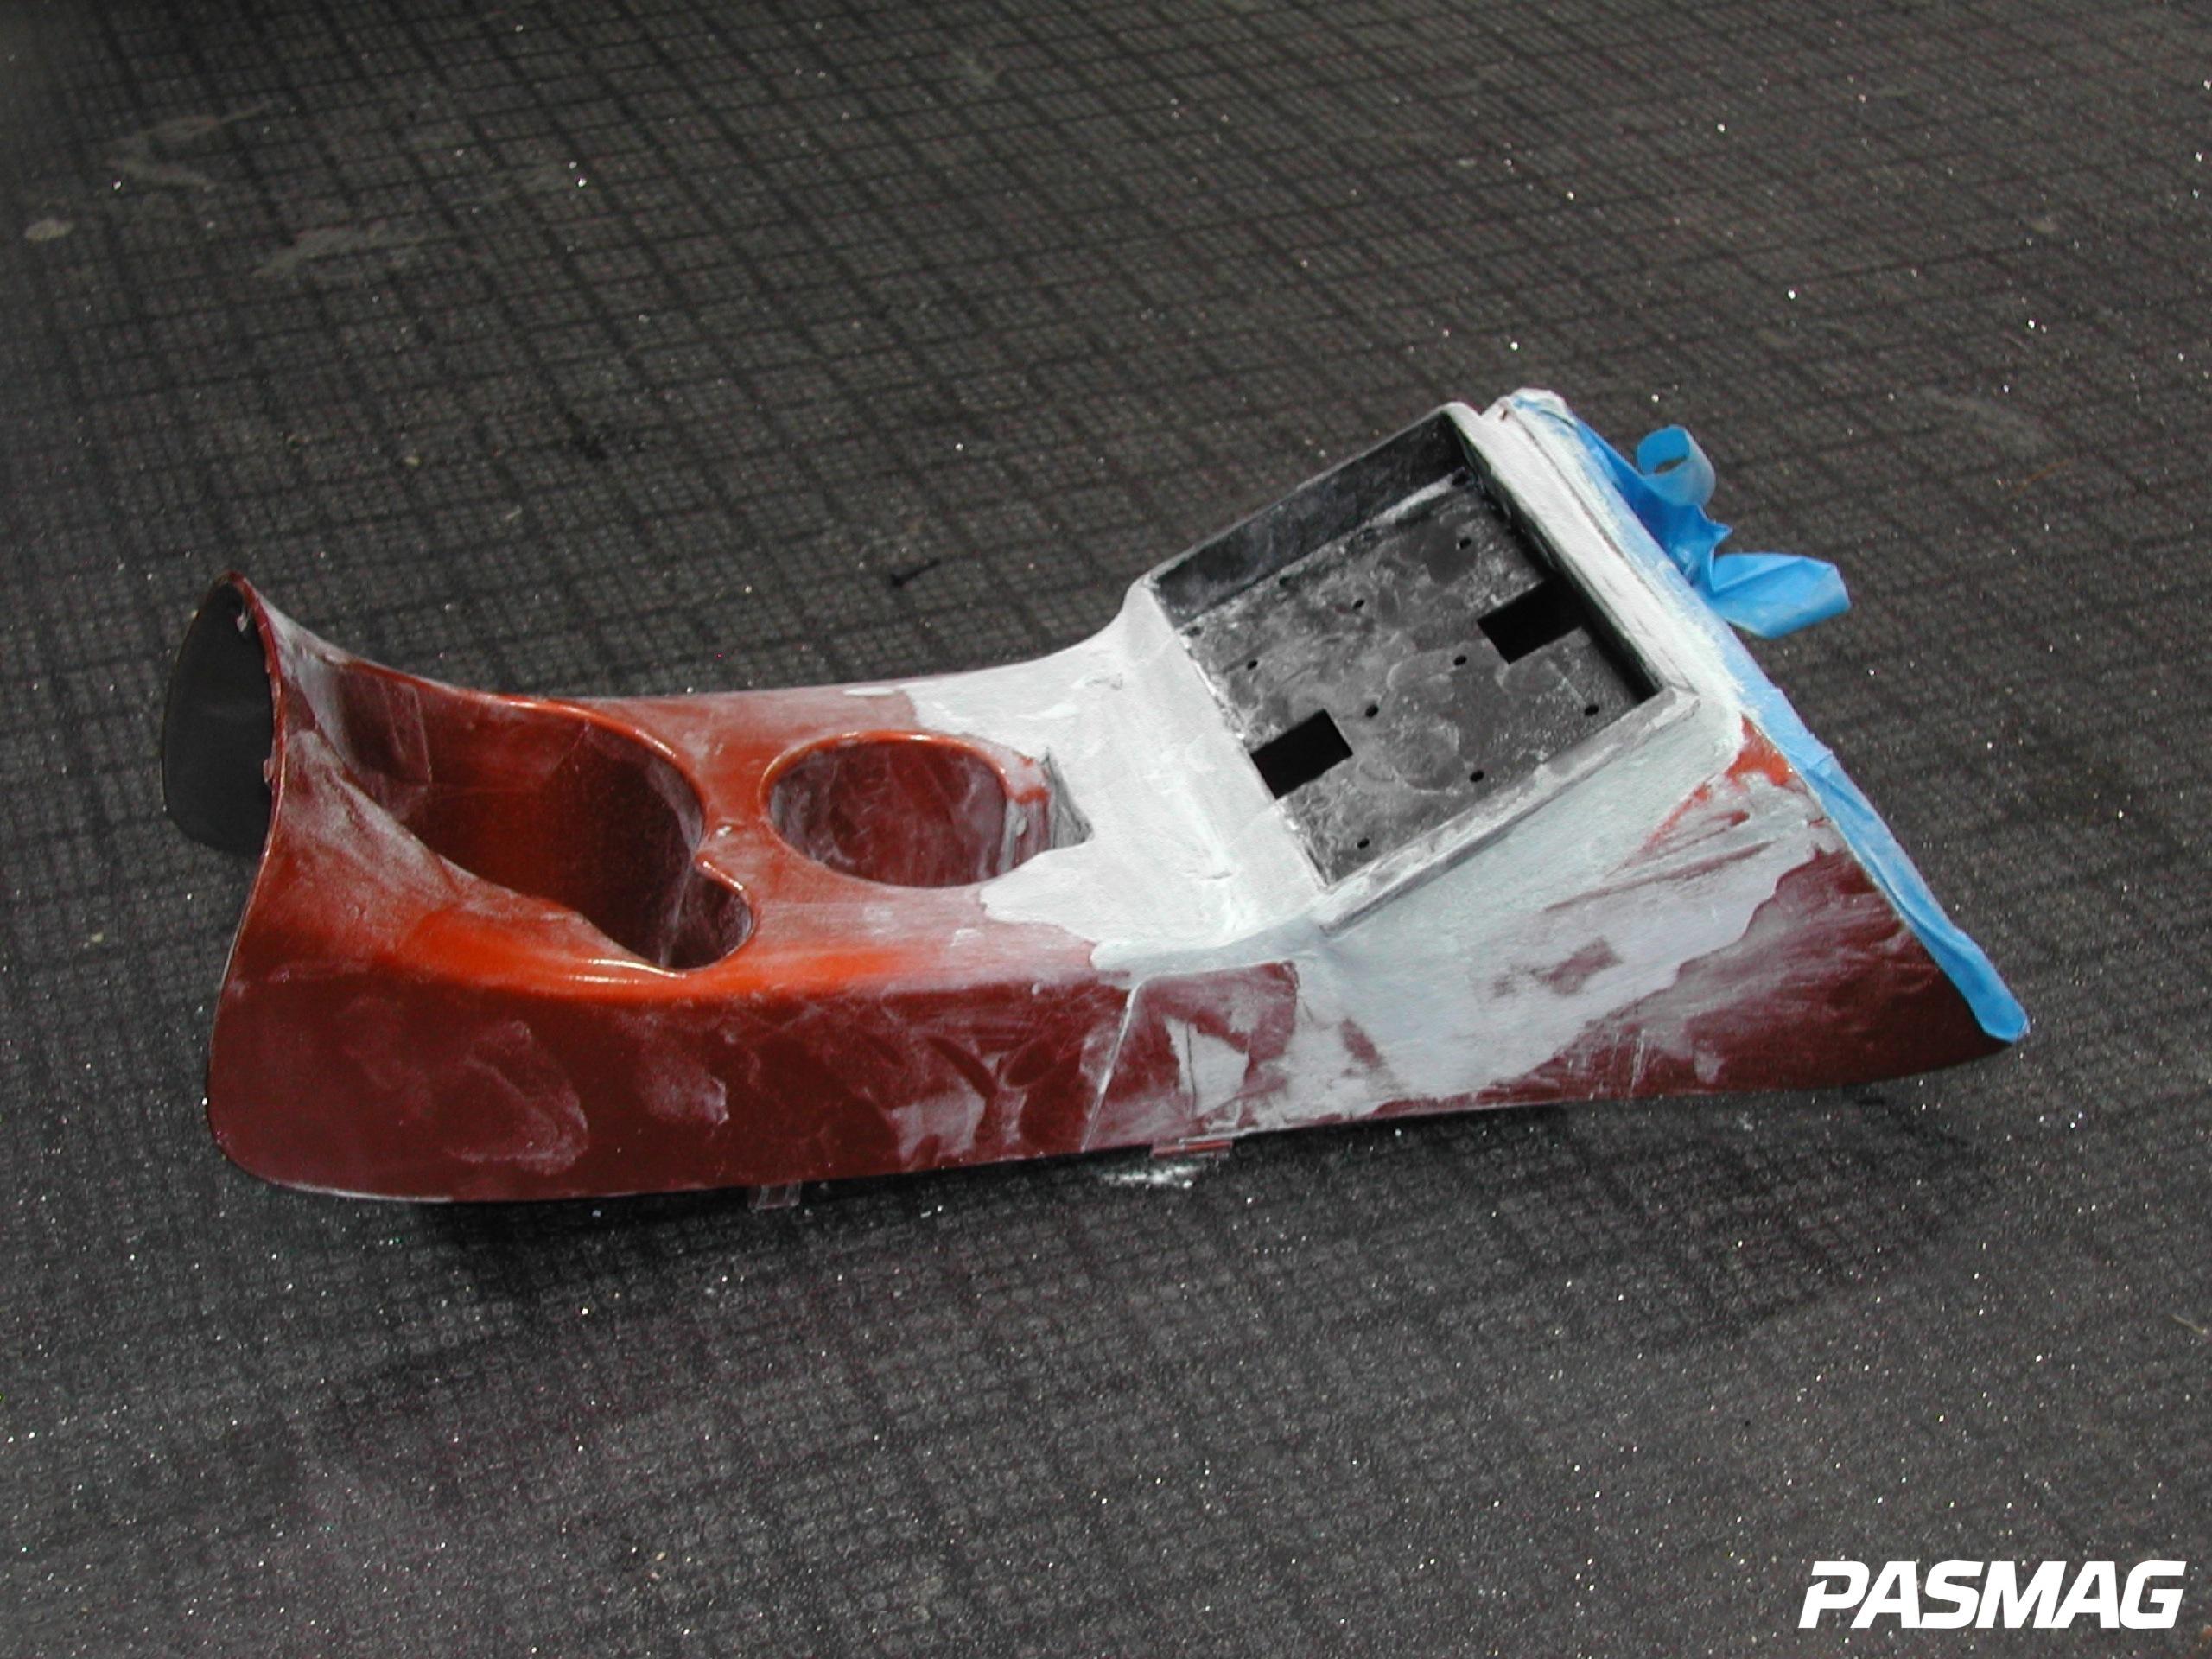 |
Once your heavy weight body filler hits the "green" stage, begin knocking it down. Trust me, you will thank me later. This usually happens about 15 min. after you have applied it. If you wait until its completely cured, you will be sanding for a while because heavy weight filler is like concrete when its fully set. After you have knocked the high spots down and have the filler somewhat smooth and shaped the way you like, it's time to add the Rage Gold Extreme or the equivalent light weight body filler. Be sure to spread the lightweight body filly on the same way you did the heavy weight. Remember this is light weight body filler and shouldn't be used to fill large voids. This is your skim coat to smooth out the rough stone looking heavy weight filler. If you have major voids then add heavy weight filler and repeat the previous process until all areas are built up. Light weight body filler also has a "green" stage that begins around 15 min. after its been applied. Take advantage of this and hand sand the light weight filler until smooth.
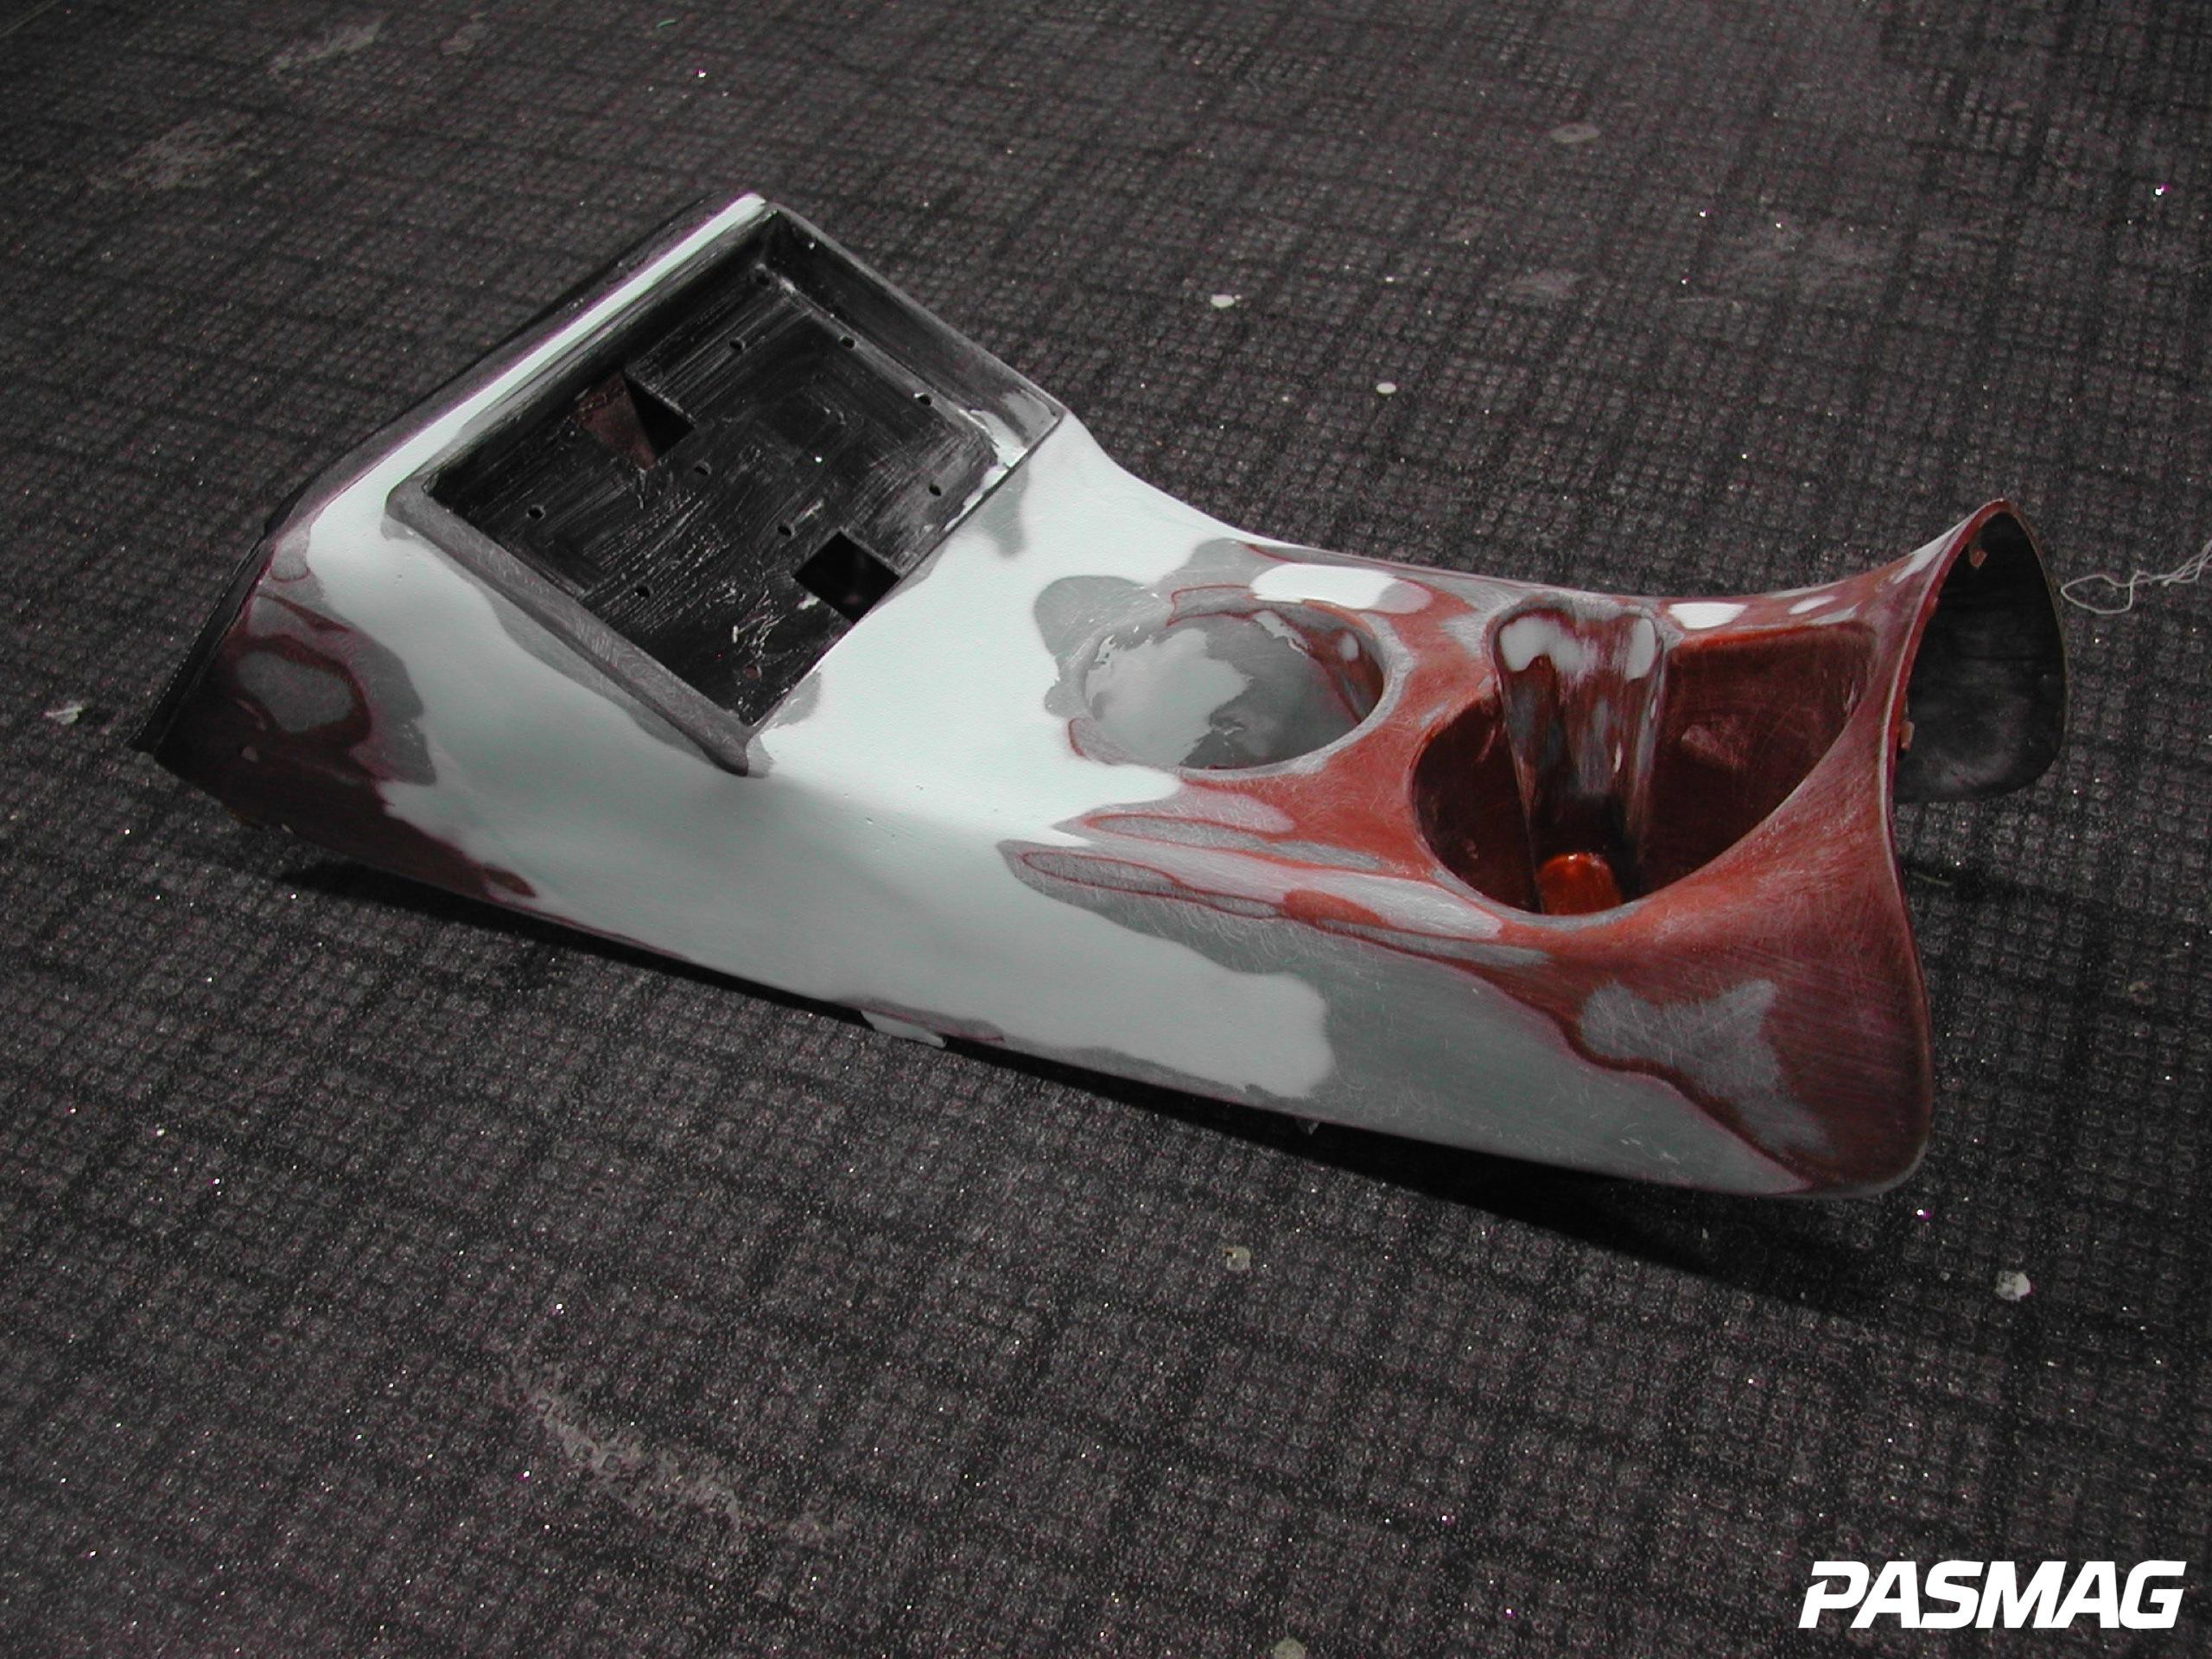
After the lightweight body filler is smooth and your transition from the console to your body filler is clean and feathered with no hard lines, it's time for primer. You can use any type of spray primer, but I would suggest a primer that has "build up" properties. This is a primer that will actually build up layers with every coat and it helps to fill little pinholes and other small imperfections.
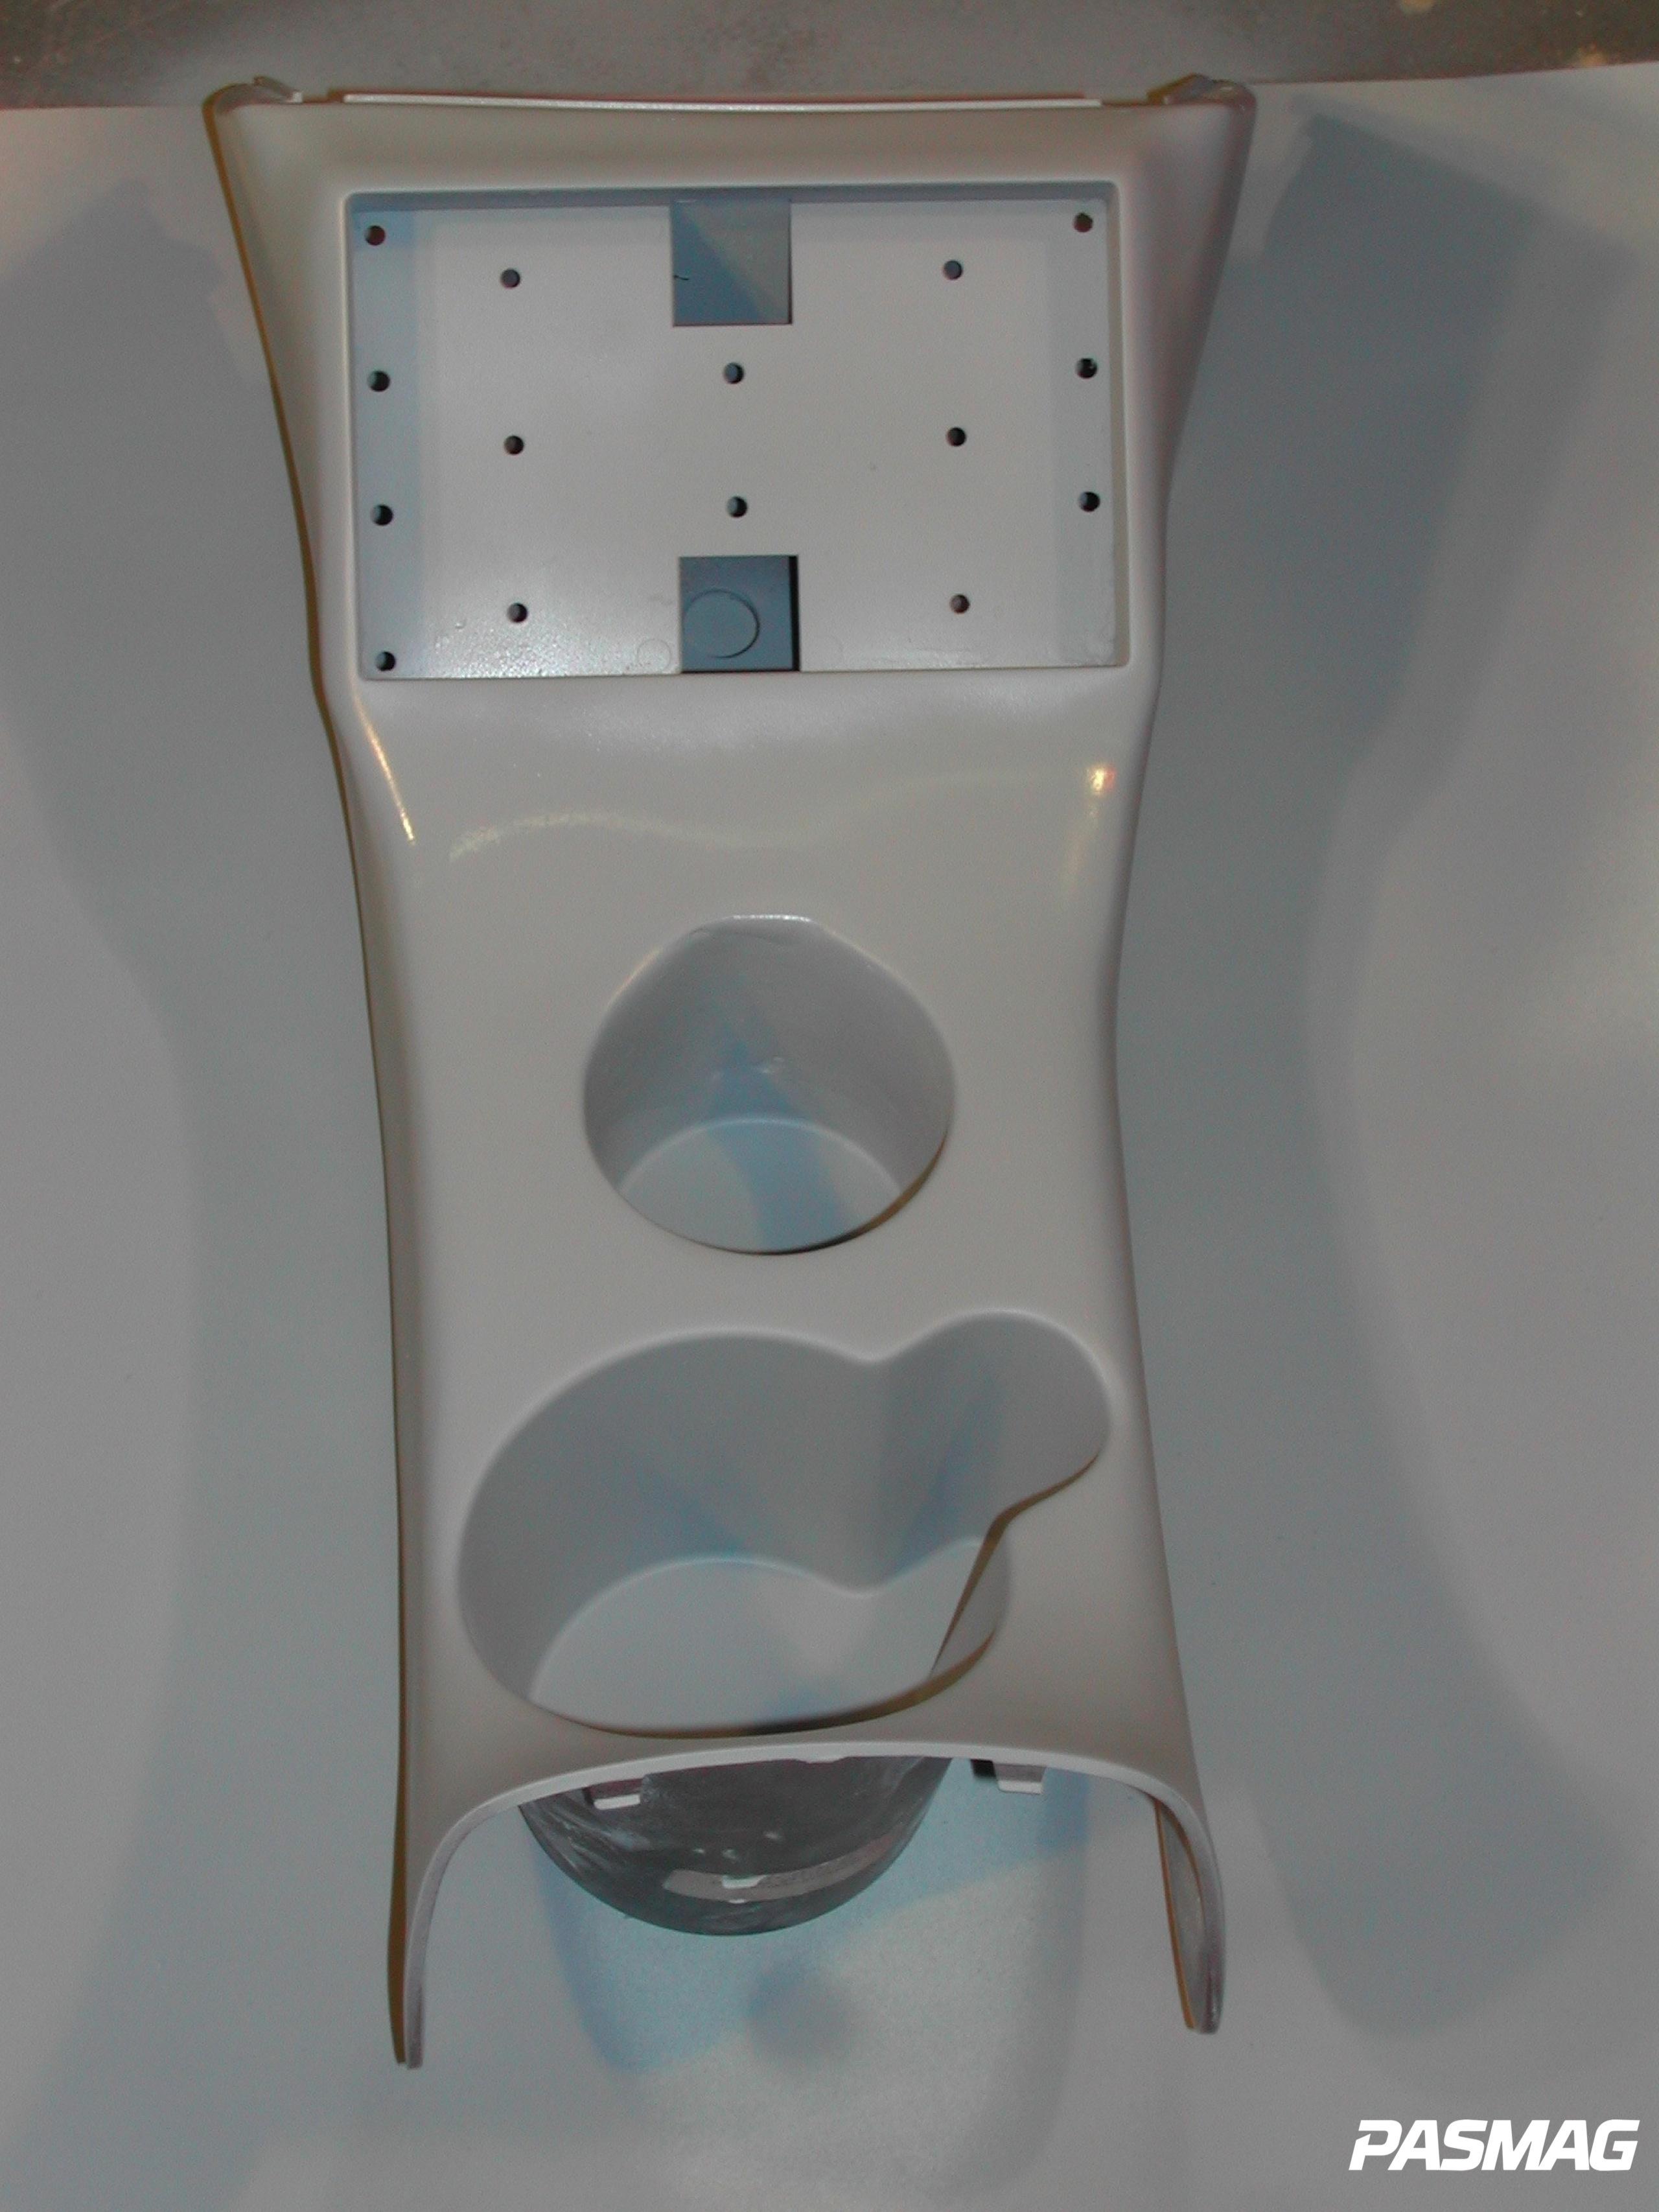 |
 |
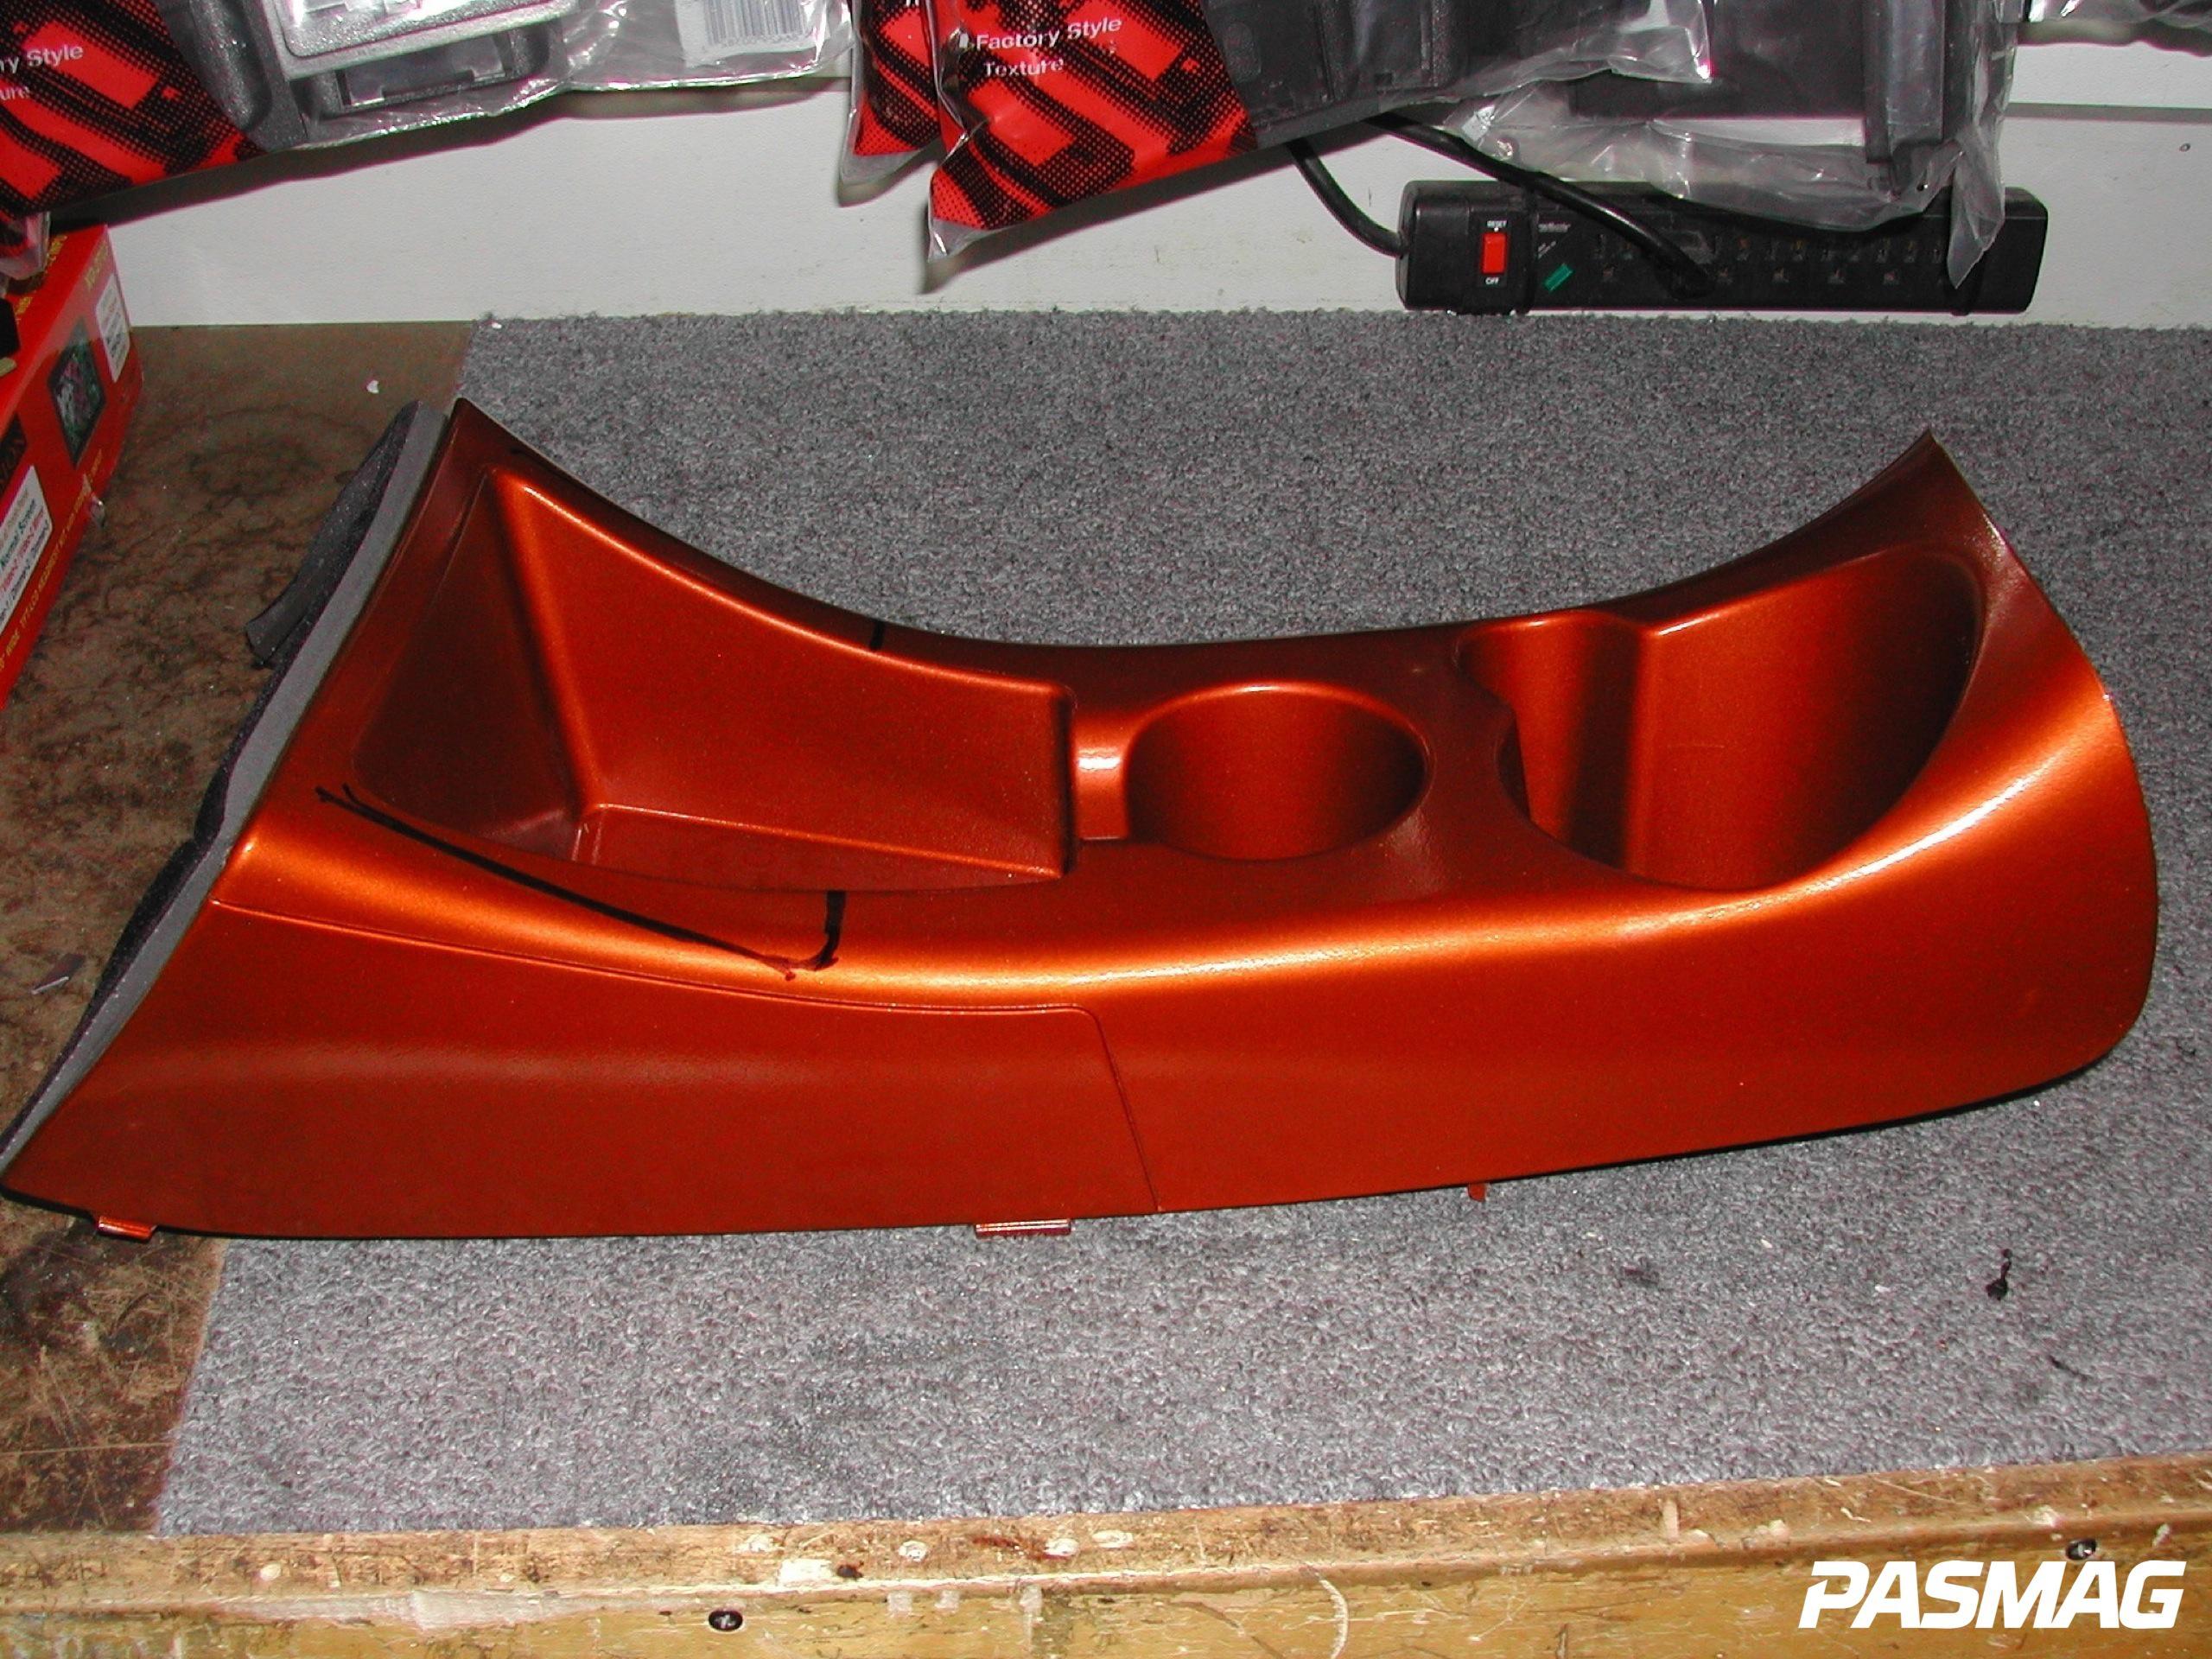
Now that you have a nice smooth primed piece you're getting excited to spray color! You should be excited, but remember to take your time. It amazes me how many people don't know how to correctly use spray paint, only to ruin a piece after all the hard work they have put in. When using spray paint you must first do a "dusting" coat. This is a very light pass where you should have hardly any coverage but rather little specks of paint. Let that flash, which is usually about 1 to 2 min. and then begin your first pass of actually applying color. The reason for the dusting is those little specks add a type of grit to the plastic that the coating pass will adhere to and help eliminate any runs. I suggest a minimum of 4 complete coats of the color. Depending on the type of paint you use and the finish look you want to achieve, you can follow the colored paint with a few coats of clear coat.
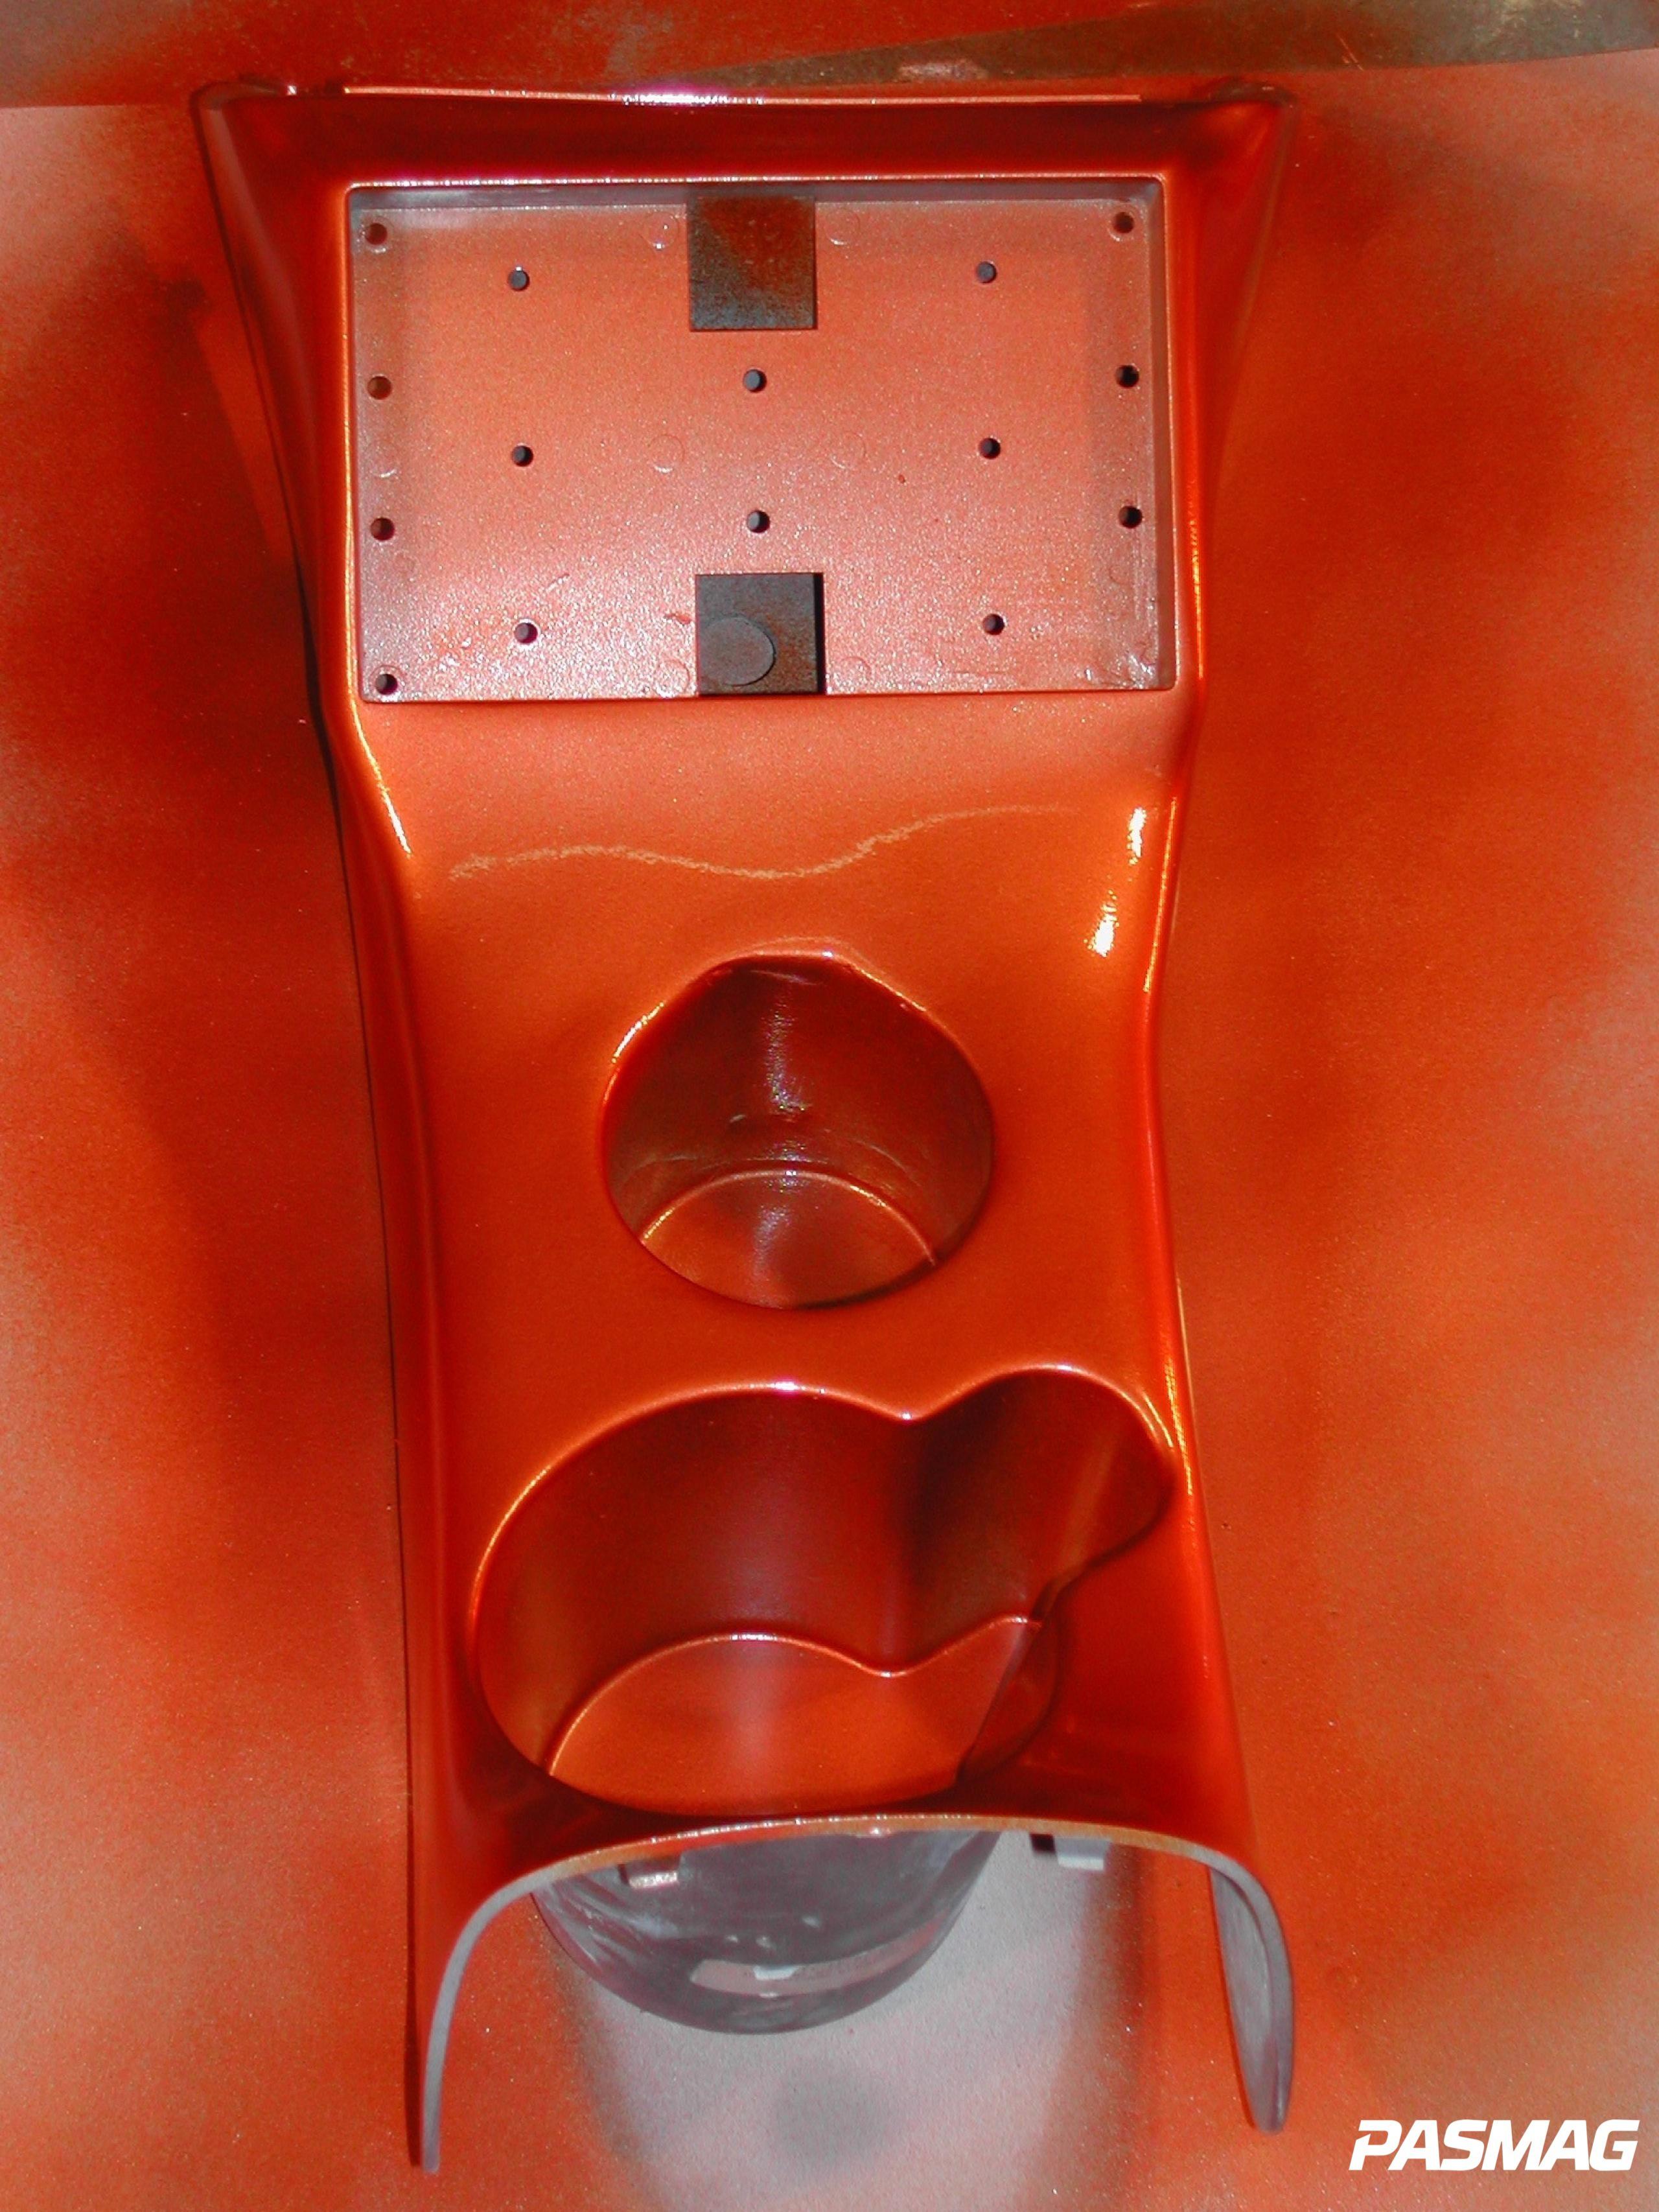
Once dry you can reinstall and marvel at your creation!