

 |
 |
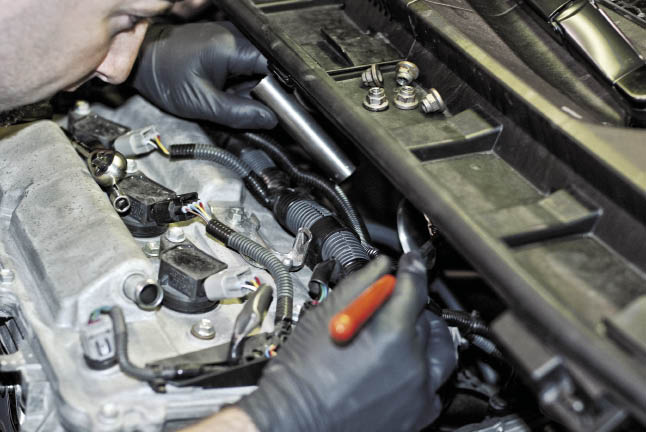
Next we will replace the factory fuel injectors with the new injectors supplied with the kit. It is important to make sure that all engine bay components are cool to the touch at this point as there is a high likelihood of spilling fuel during this step. Start by locating the factory fuel rail on the back side of the intake manifold. Locate and disconnect any clips attached to the factory fuel rail, taking notes on which clips go where so you can make sure you re-connect them properly. Next, locate and remove the bolts holding the fuel rail onto the car and slowly pull the assembly out to the point where you can access and remove the injectors. Pull on the factory injectors to remove them from the rail. Lube up the new injectors and install them into the factory fuel rail and reverse the steps to re-install the rail with the new injectors.
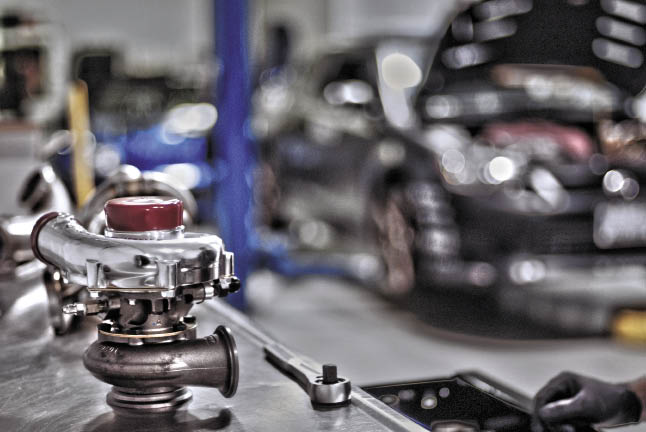
Now we’ll start the assembly process by doing some out of the car assembly. First locate the Turbonetics turbocharger and supplied turbo oil feed line kit. (2366,) Install the oil feed line kit to the turbo using Teflon tape on all male fittings being careful not to over-tighten. Locate the turbo oil drain line kit and install it onto the turbocharger using the supplied gasket, hardware, and fitting. Again, use Teflon tape on the male end of the supplied fitting. Set the supplied oil drain hose aside for future use.
 |
|
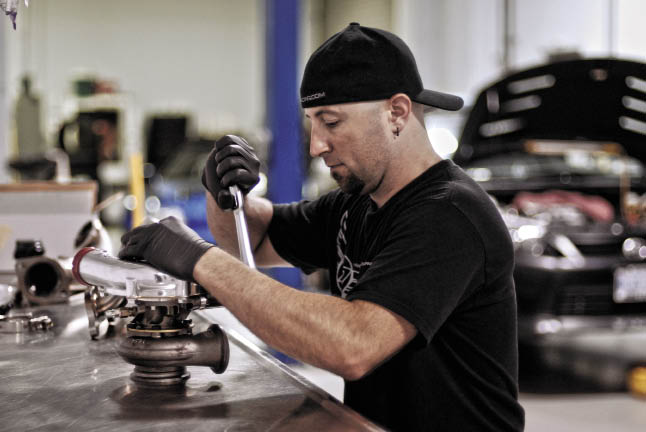
Next, loosen but do not remove the compressor housing bolts on the turbocharger so that the compressor housing can be rotated once in the car to ensure clearance. (2373) Locate the turbo exhaust manifold and one of the supplied v-band clamps. Loosely secure the exhaust housing end of the turbocharger to the exhaust manifold using the v-band clamp. Next, locate the turbocharger downpipe and loosely attach it to the exhaust housing of the turbocharger outlet using another supplied v-band clamp. Next, locate the turbocharger downpipe and loosely attach it to the exhaust housing of the turbocharger outlet using another supplied v-band clamp.
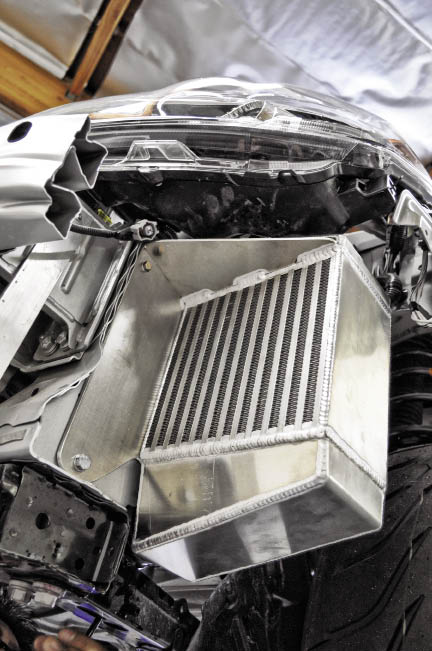
 Next we will remove the left front fender liner to begin our installation of the side mount intercooler. Removal of the left front wheel may make this task a bit easier, but it can be done in most cases by simply turning the wheel so it is out of the way as much as possible. Remove the factory inner fender liner so you can access the area behind the front bumper cover. Remove the plastic piece in the front left side of the front bumper that is blocking the opening in front of the tire. This will allow air flow to the intercooler which will be placed behind this opening. Next, install the Descendant Racing side mount intercooler to the chassis using the two supplied bolts.
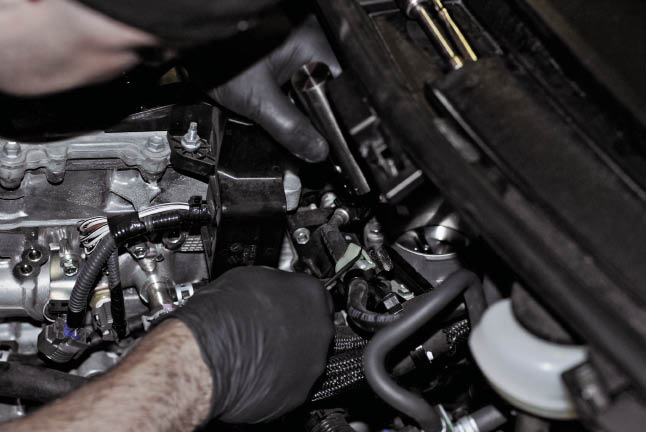
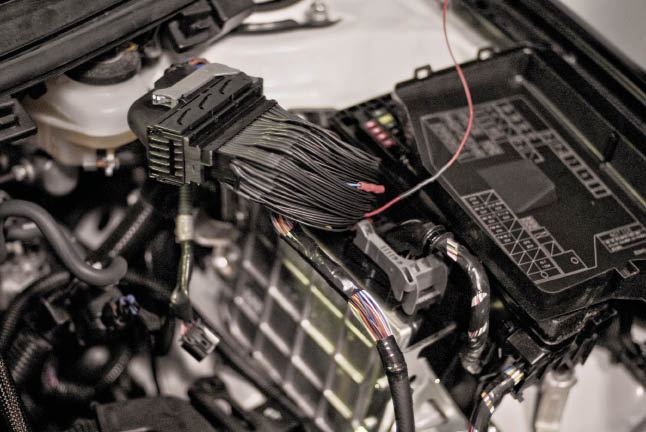
While the engine bay has open space, this is a good time to fish the wiring for the supplied AEM F/I controller 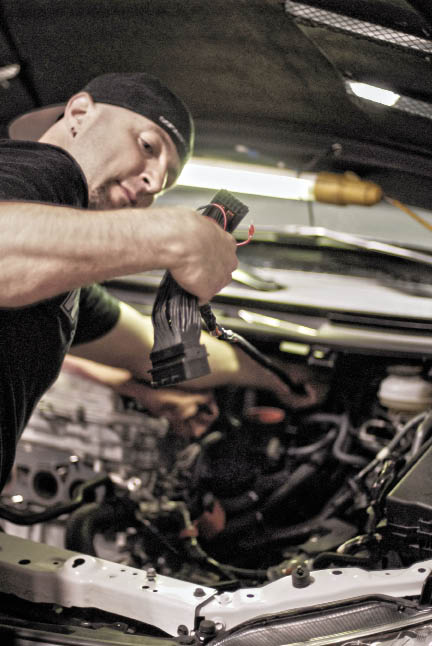 through the firewall and into the cabin. Locate a good place to penetrate the firewall, usually a point in which factory wiring passes through the firewall and punch a hole in the rubber boot large enough to insert the new AEM wiring being careful not to damage the factory wires in the process. Fish the new wiring harness through the firewall and into the cabin. Next, locate the factory ECU located on the left side of the
 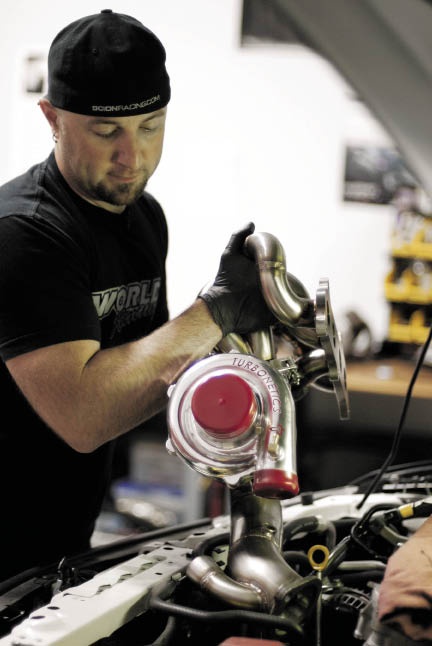 engine bay next to where the factory air intake box used to be. Unclip the factory ECU wiring harnesses and install the supplied jumper harness from the AEM F/I controller kit. Plug the AEM jumper into the factory ECU and then the factory ECU harness into the jumper. Tuck the wiring out of the way as much as possible.
Remaining on the top side of the engine bay, we will now start our final assembly. Start by slipping the supplied silicon couplings over the factory mass air flow sensor as well as the intercooler outlet. To make life easier, slip the supplied hose clamps over the couplings but do not tighten, making sure they are loose enough to allow the bead rolled piping to slip inside the coupling. Re-install the turbocharger and exhaust manifold assembly back into the engine bay and secure it to the engine block, tightening the exhaust manifold bolts from the center, outward to ensure a proper seal. Loosely install the turbo oil lines and finally, use the supplied O2 sensor extension to plug the re-located O2 sensor back into the factory wiring harness.
Moving back underneath the car, we will begin by installing our lower intercooler pipe. First, slip the silicon couplings and hose clamps over the intercooler inlet and turbocharger compressor housing outlet. Install the lower intercooler pipe, rotating the compressor housing to make fine adjustments to the angle of the outlet. Next, make sure the exhaust downpipe is in proper position and bolt it to the rest of the exhaust system. Once everything is in place, tighten the associated hose clamps and turbo housing bolts both on the compressor side and exhaust side ensuring there is proper fitment of the intercooler piping and exhaust down tube and re-install the inner fender liner.
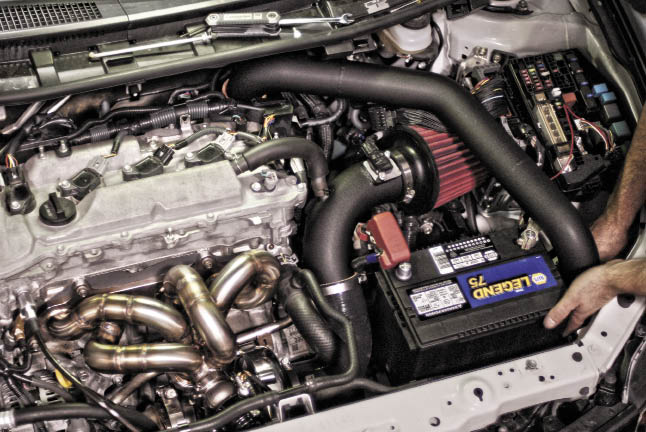
Back to the top side of the engine bay we’ll now install the supplied intake tube and air filter. First, loosely install the silicon coupling and hose clamps onto the turbo air inlet followed by the intake tube and filter. Position everything accordingly and tighten the hose clamps. Next, re-install the factory crank case pressure tube to the bung on the new intake pipe. Finish by installing the factory mass air flow sensor into the new intake tube.