The first Datsun 240Z became an instant success when it debuted in the American market as a ’70 model. The body featured a very distinctive fastback design that captured the hearts and minds of Americans. The little car was tight, it handled fantastic and the straight six-cylinder engine developed 150-horsepower giving the lightweight Z-car respectable acceleration. The Datsun company officials (The name was eventually changed to Nissan) were 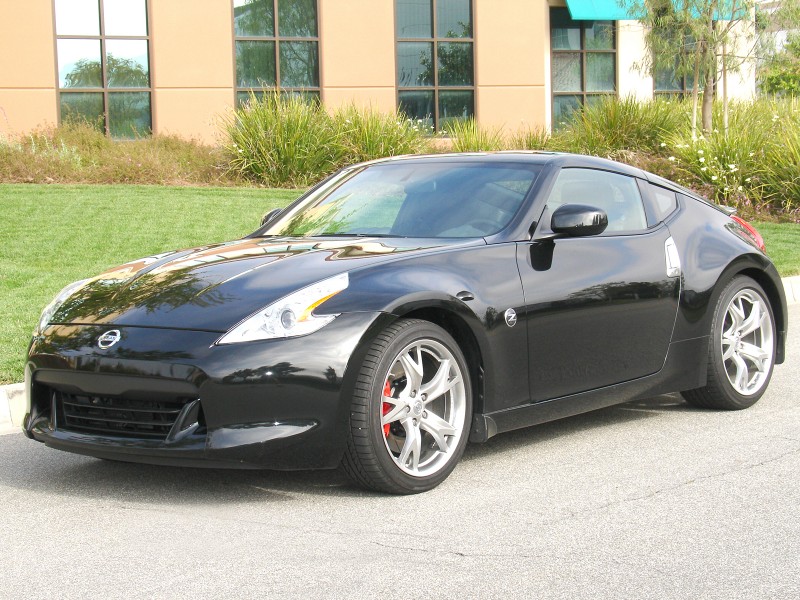 amazed at the car’s immediate success and the company was having a difficult time meeting the demand. In general, Americans purchased the car for daily transportation, but a few people purchased the low priced sports car for track action and it was the top performer in its class. The first generation Z-car was successful because it was nice looking, it handled well, it had spirited horsepower and the car had an affordable $3,500 price tag. The car provided exciting sports car driving for about half of the price of a Corvette.
The second generation Z-car lost some of the attributes that made it successful. This design ran from 1979 to 1983 and it was called the 280ZX. The car was bigger, heavier, and the engine horsepower was down to 135hp. This car was slower, heavier and was not as attractive as the first generation. Things did improve in 1981 when the Z-car had an optional Turbo and that increased horsepower to 180. The third generation Z-car that ran from 1984 to 1991 had an improved design, more attention was given to handling and it received a new V6 engine that that developed 160 horsepower in normally aspirated form and 200 horsepower with a turbo. The only drawback was the selling price was steadily increasing.
The fourth generation Z-car ran from 1992 to 1996 and it was dramatically restyled. The new Z-car body design was state-of-the-art for the time period and it featured a smooth and aggressive appearance. Like the first Z-car, this one will go down as a classic because it not only looked fantastic it delivered a 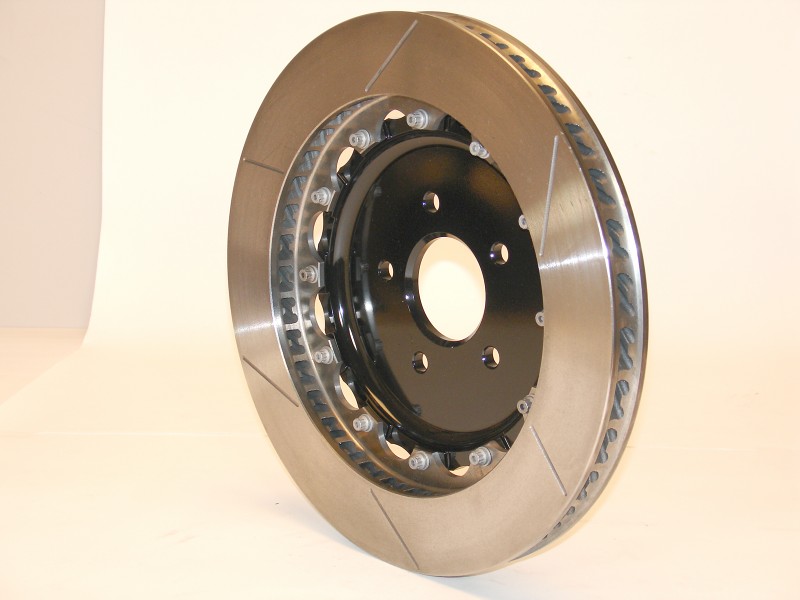 major improvement in handling and horsepower. The standard engine delivered 222 horsepower and the twin turbo version cranked out an amazing 300 horsepower. In simple terms, this car was miles above the rest but Nissan moved away from its initial low cost concept. The twin-turbo Z-car was selling for over $45,000 and that was more than the price of a new Corvette. The high price of the Z-car and the public’s interest in the new SUV market caused the sales of the car to drop dramatically and in 1996 the Z-car was dropped from the American market.
Nissan went through reorganization in the late ‘90s and one of the cars the company wanted to bring back was the Z-car but this time they wanted to go back to the original concept of a top quality sports car for an affordable price. In 2003 the car returned as a two-seat 350Z sports car with a beautiful and aggressive body style, good handling and spirited performance. This was the fifth generation Z-car and Nissan was back on track. The new car sales were good and the buyer can purchase one optioned according to his or her affordability.
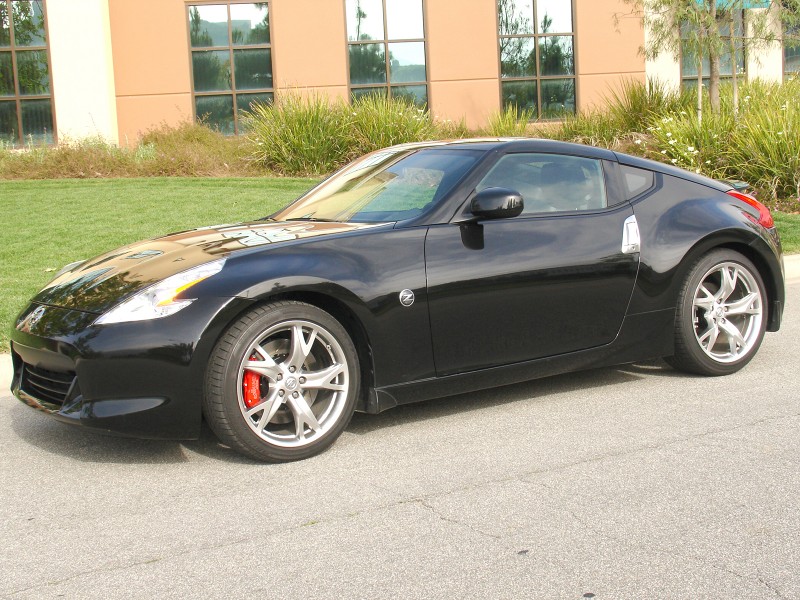
That brings us up to the new sixth generation Z-car that we will see in this article. This car is actually slightly smaller than the previous car, it is built with aluminum suspension and body parts to keep the weight down, and it has a very smooth and aggressive body style that is similar to the previous model but has design improvements. This new model features a 3.7-liter engine that delivers 332 horsepower. It can go from 0-60 in 5.1 seconds and it turns the quarter mile in 13.4-seconds at 104.6 miles per hour. A special edition 350 horsepower Z-car is also available for those who want to see plenty of on-track action, but as you would expect it also costs more.
The fellow who owns this beautiful black 370Z drives it for daily transportation and spends plenty of time cruising the twisty Southern California mountain roads. He also takes it to the track on occasion and uses all 332 horsepower when he does. After doing that he realized that a brake improvement would make the car even more fun to drive. He contacted Wilwood Engineering and purchased a part number 140-9192-R brake kit along with the corresponding part number 220-9196 brake hose kit. This brake installation was done in the Wilwood R&D facility by the head technician, Tony Porto. Wilwood recommends that disc brakes should only be installed by someone experienced and competent in the installation and maintenance of disc brakes. A hobby builder can install this kit if the has good mechanical knowledge and ability, car building experience and a good assortment of tools. You will need a floor jack, jack stands, an impact gun, a metal hand shear or three-inch cut-off wheel, metric wrenches and sockets, a ratchet wrench, an inch-pound torque wrench and a foot-pound torque wrench. Other items that come in handy include a bottle of Loctite 271, Teflon tape, and Wilwood Hi-Temp 570 Racing Brake Fluid, or Wilwood EXP 600 Plus Hi-Temp Racing Brake Fluid. It would also be a good idea to spread out the parts, and check them with the instruction sheet parts list. Make sure you have everything that is required. We are going to show you how this installation is done so you can decide for yourself if you can perform this installation or if it would be better to have a professional do it for you.
The 140-9192-R brake installation kit comes with a pair of Superlite 6R calipers, caliper brackets, aluminum hats, 14-inch diameter slotted rotors, BP10 Smart Pads and all of the hardware required to finish the installation.
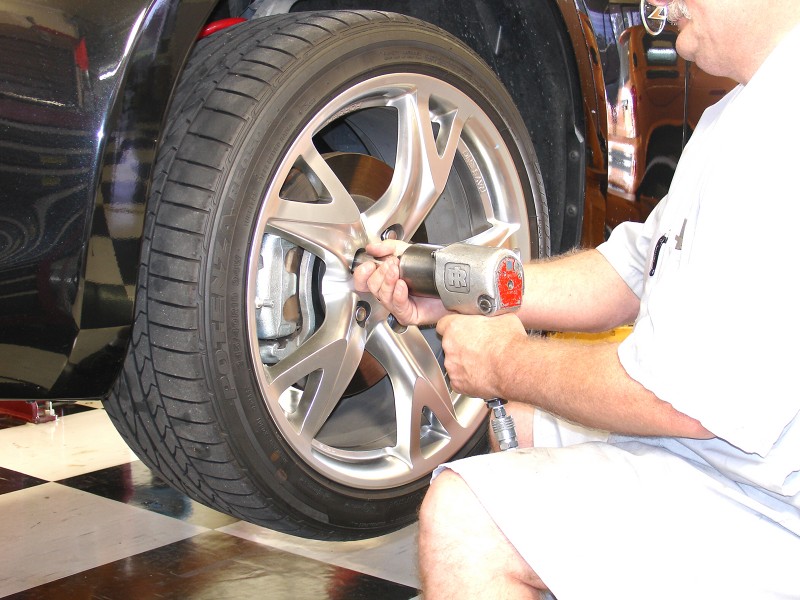
The car was elevated on a lift and then the lug nuts of the 19-inch diameter factory wheels were removed with an impact gun. After the nuts were disconnected the wheels were removed.
The caliper bolts were removed using a breaker bar and the correct size socket. Most of the suspension parts were made out of aluminum to keep the car’s weight down.
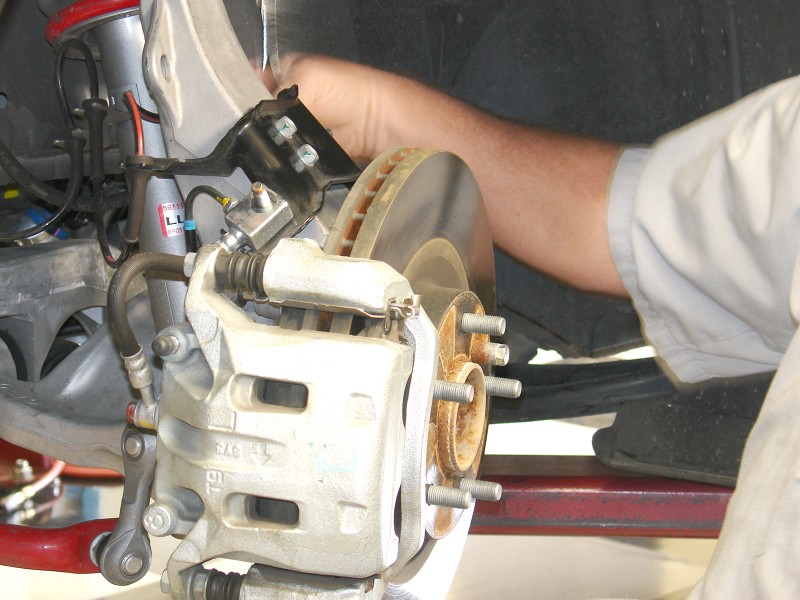
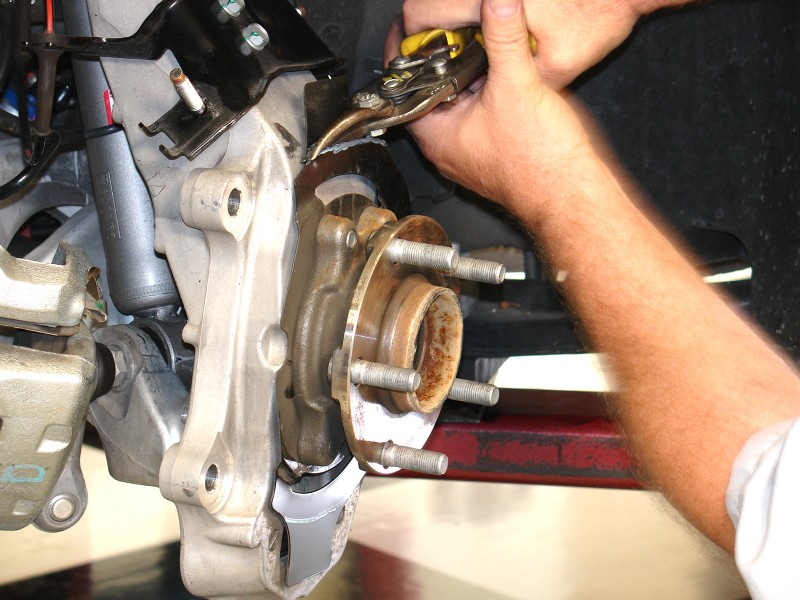
You can’t see it from here but Tony is removing the caliper brake line with a line wrench. This car has a very unusual front brake line engineering.
After the line was removed and the bolts were disconnected, the caliper was moved out of the way for now.
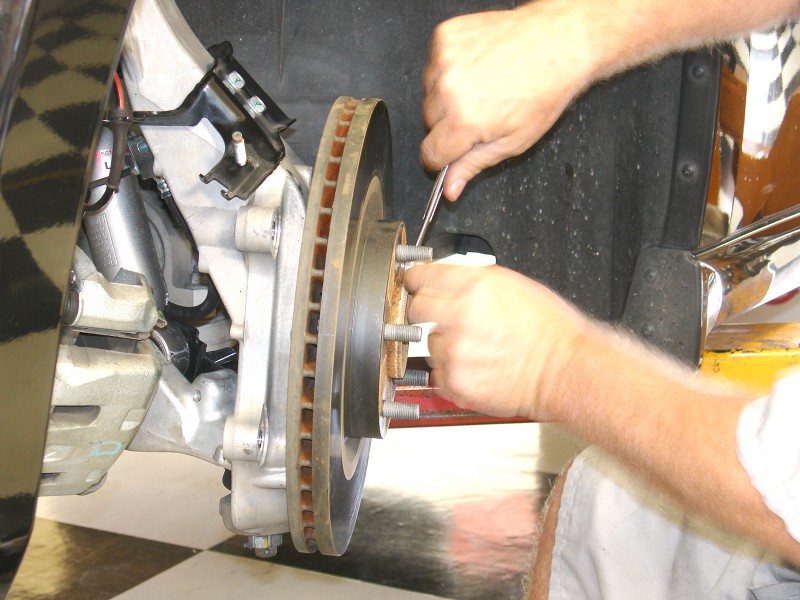
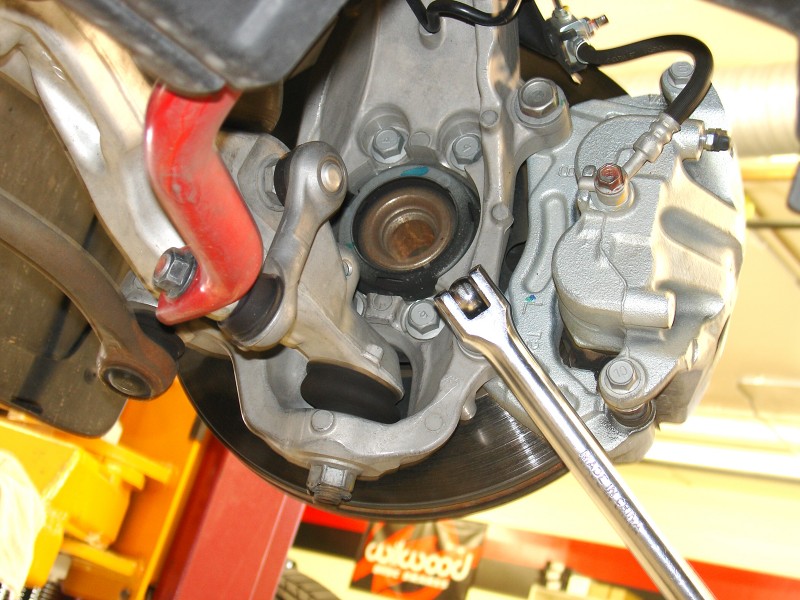
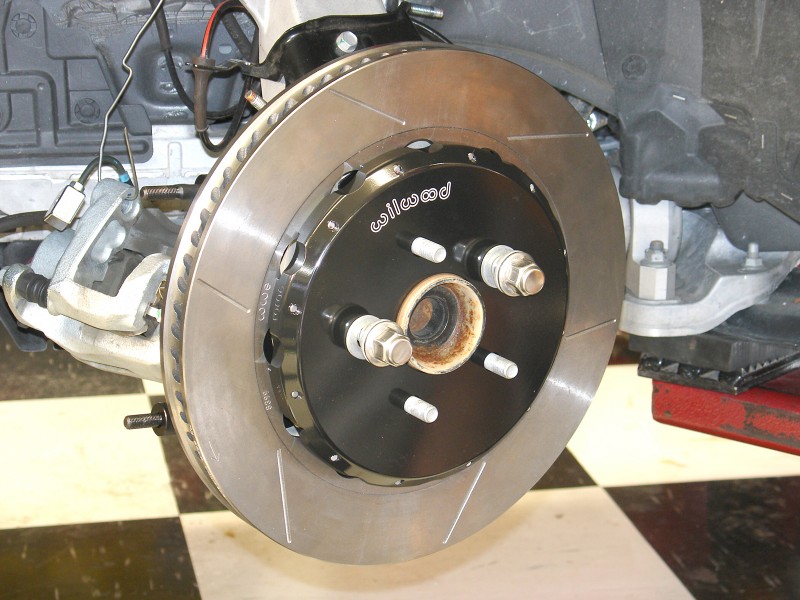
The small bolt that connects the rotor to the hub assembly was removed with a small open-end wrench.
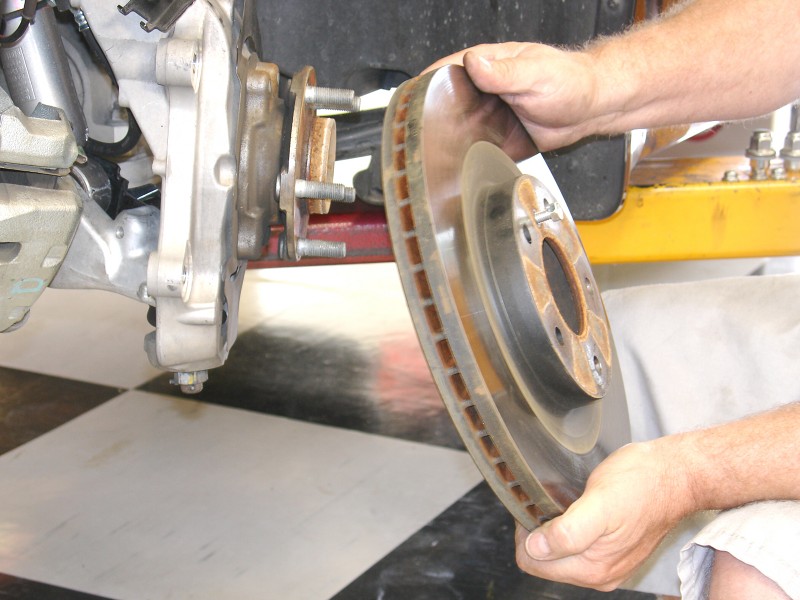
After the mounting bolt was disconnected the rotor could be removed from the hub assembly.
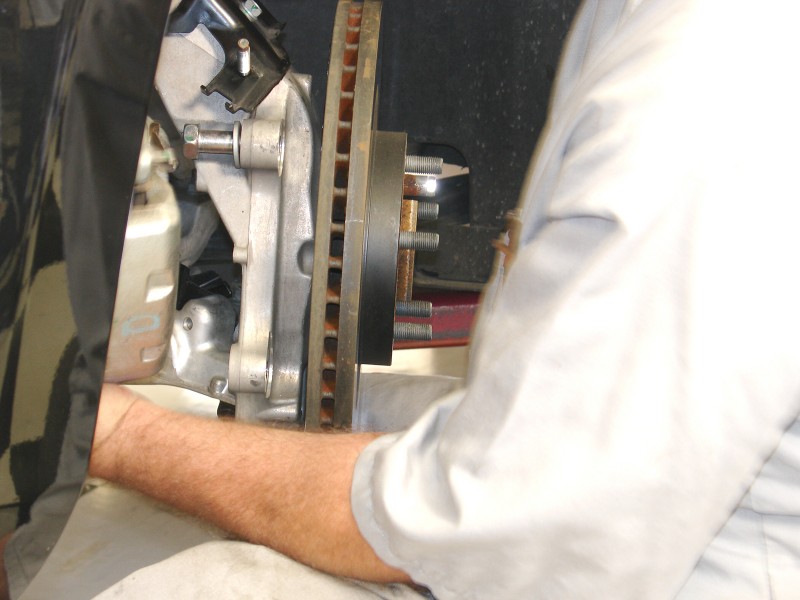
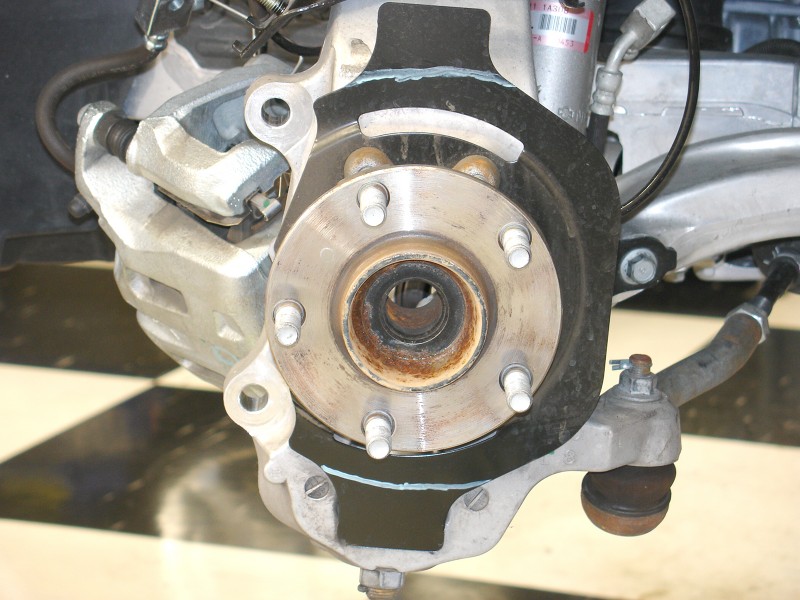
The hub assembly mounting pad was cleaned with a wire brush so that the new rotor can seat perfectly against it.

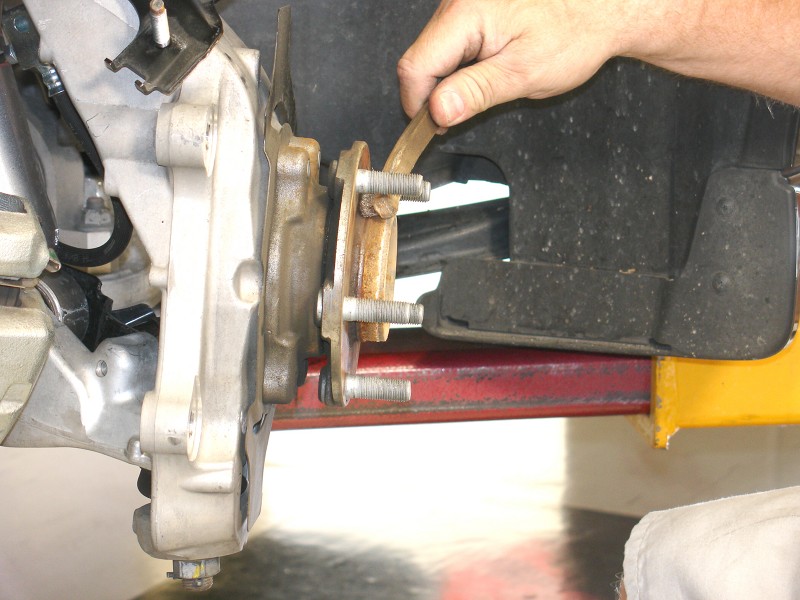
The dust shield will have to be trimmed, so a guideline was drawn where the metal will have to be removed.
Here are the lines showing the two metal tabs that will have to be removed. The lines are used as a guide to follow when the cutting is being done.
The metal can be removed with a three-inch cutoff wheel or with hand shears. Tony selected the hand shears because it is faster for a small operation like this.

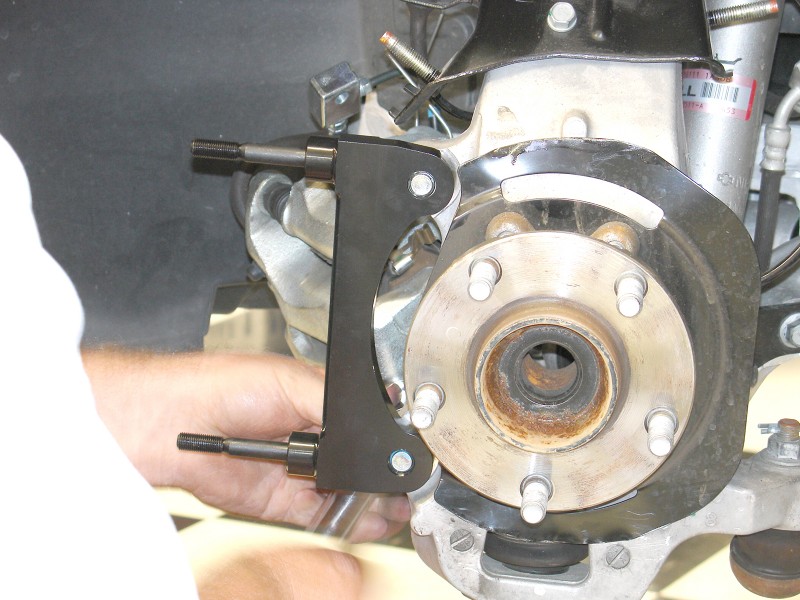
The caliper bracket mounting bolts were installed in the bracket ears and then they were loaded with two thin shim washers.

Here you can see the two caliper bracket bolts and washers loaded into the original caliper mounting ears.
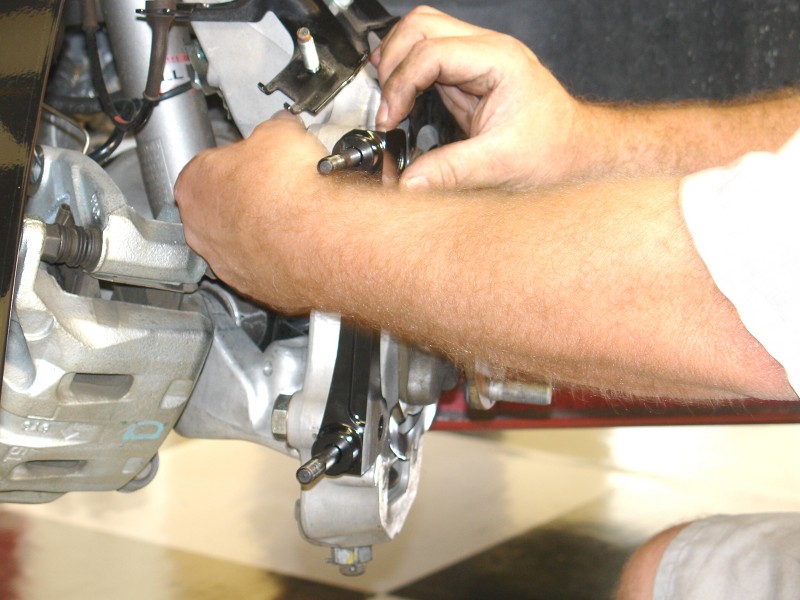
The bracket was held up against the mounting ears and the bolts were hand tightened into the bracket. Care was taken so that the washers stayed on the bolts when this operation was being done.
After the bracket was in place the bolts were tightened with a socket wrench. After the caliper to rotor centering is checked and correct, the bolts should be coated with Loctite 271 and then they can be tightened to 75 ft-lbs.
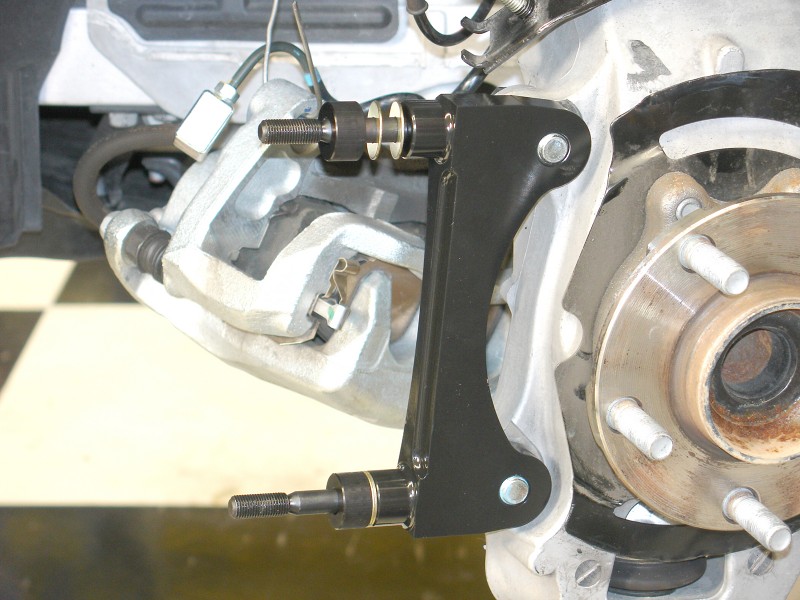
Two washers and a spacer were installed on the caliper mounting bracket studs before the caliper was installed.
The rotor was bolted to the hat with the ¼-inch bolts and washers found in the kit. The bolts were coated with Loctite 271 and then they were tightened to 85 in-lbs. After the rotor was finished, it was installed on the hub and it was secured with two lug nuts.
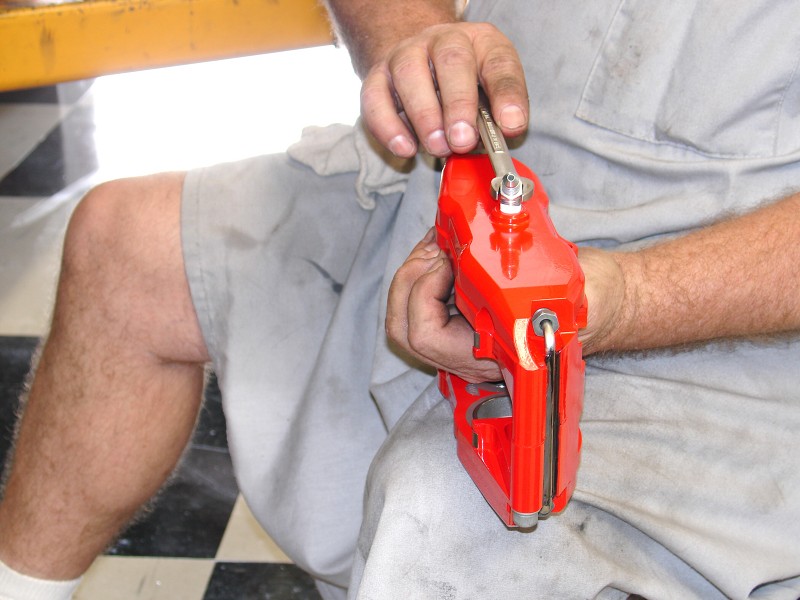
The caliper inlet fitting threads were wrapped with Teflon tape and then the fitting was screwed into the caliper. Here it is being tightened with a small open-end wrench.
The caliper was mounted on the studs and the rotor was perfectly centered on the first try. Adjustments can be made by adding or subtracting shims between the caliper mounting bracket and the original mounting ears.
Since the rotor was centered, the caliper could be tightened. The studs were lubricated and then the washers and locknuts were installed. The nuts were tightened to 35 ft-lbs.
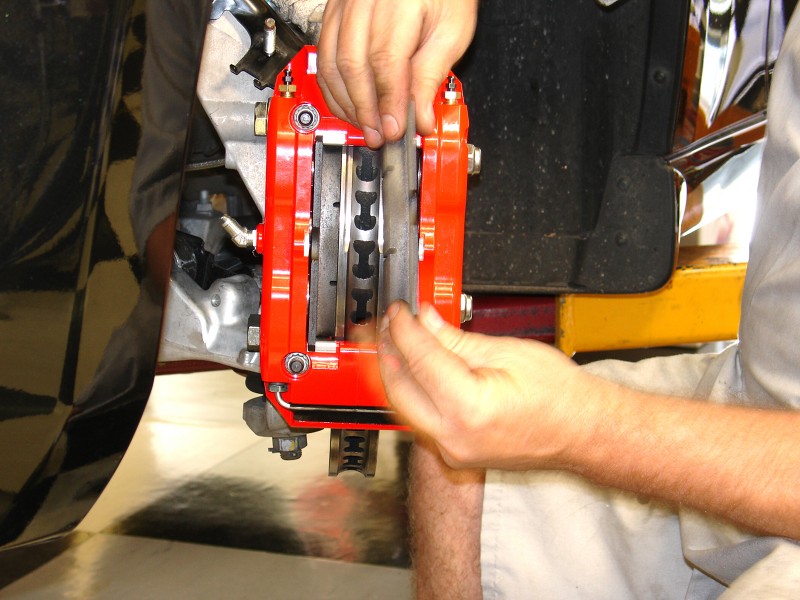
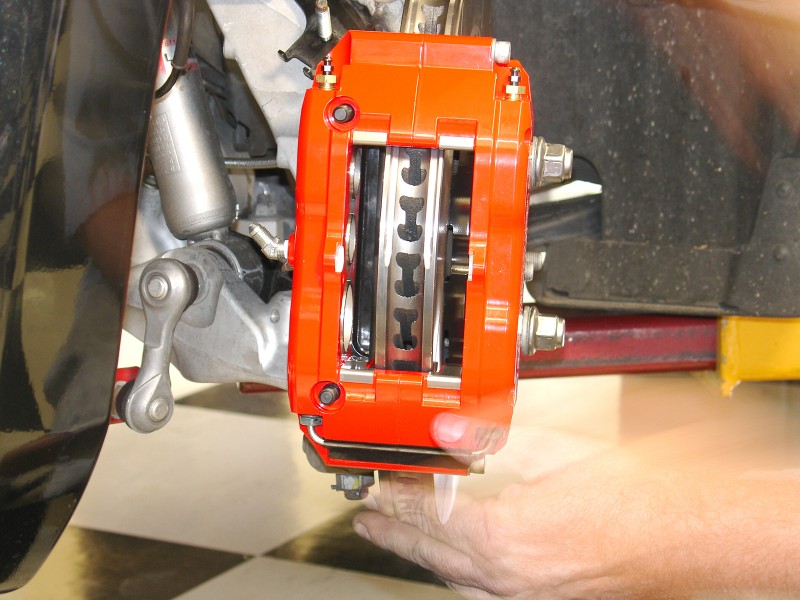
After the caliper was secure the BP-10 brake pads were installed in the caliper. The brake pads load from the top of the caliper.
After the pads were in place the pad retaining bridge bolt was connected. Here you can see the perfect alignment of the pads and rotor.

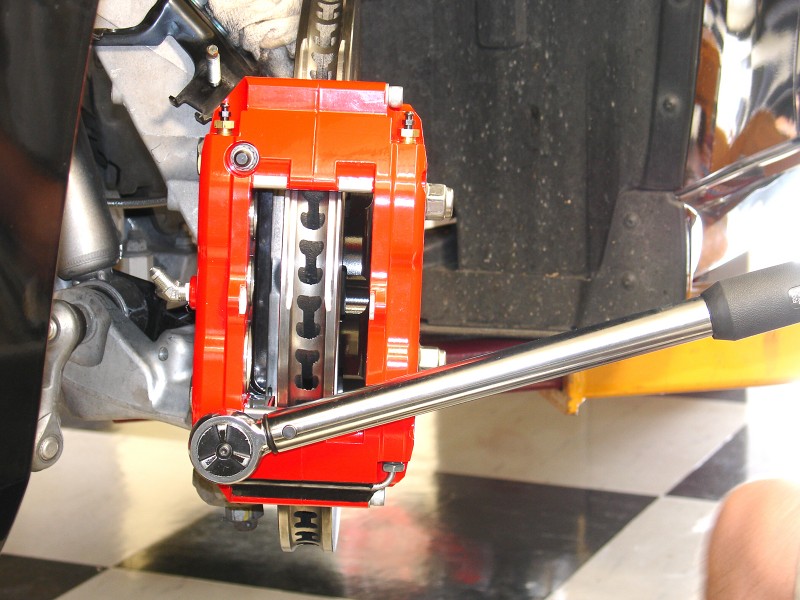
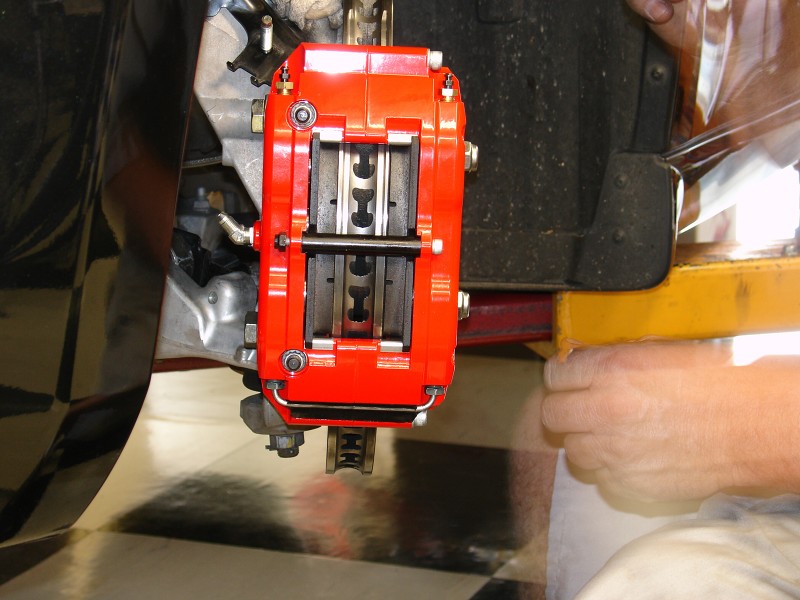
The caliper bridge bolt was tightened with a small open-end wrench and an Allen head wrench. Notice that the radius of the rotor is in perfect alignment with the radius of the brake pads.
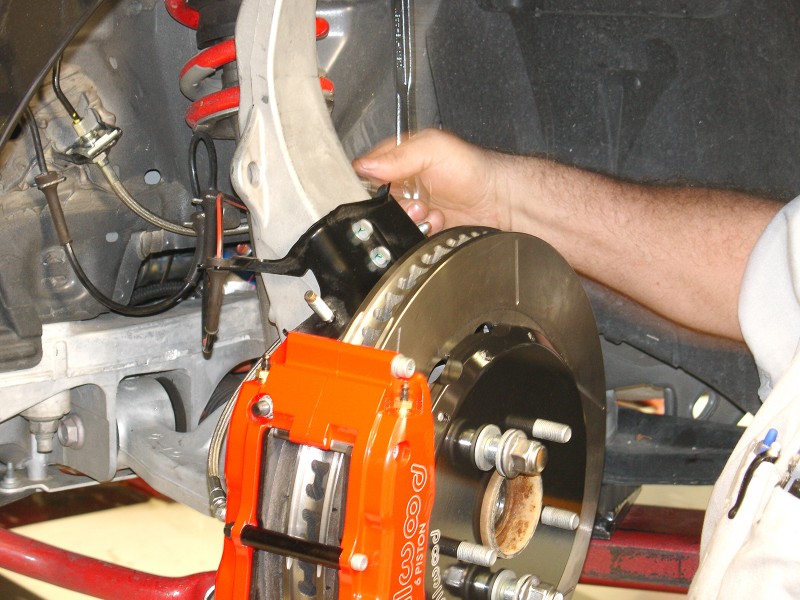
The Wilwood 220-9196 braided steel line was connected to the caliper inlet fitting and to the hard line connection of the other side of the upright.
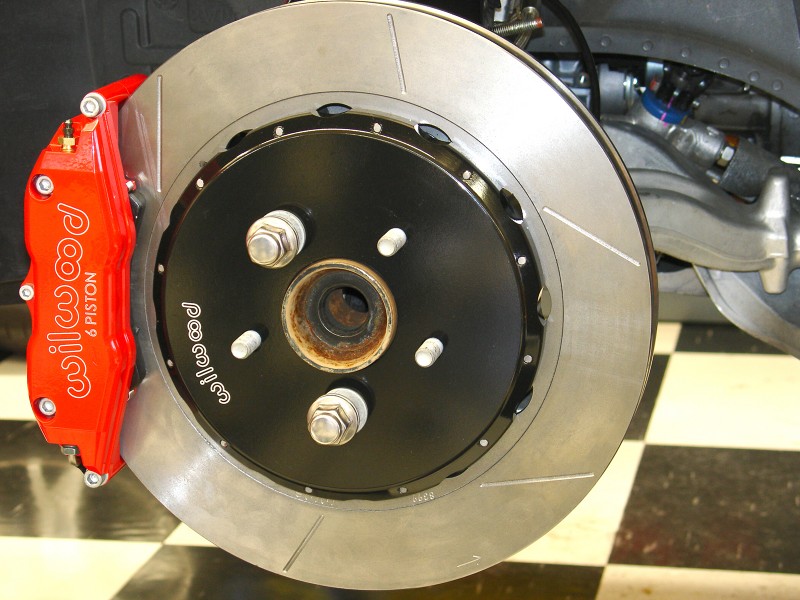
Here is the finished brake installation that features the red Superlite 6R calipers and the large 14-inch slotted rotors. This new system should make a big improvement in the Z-cars stopping ability plus it is also a more attractive brake system.
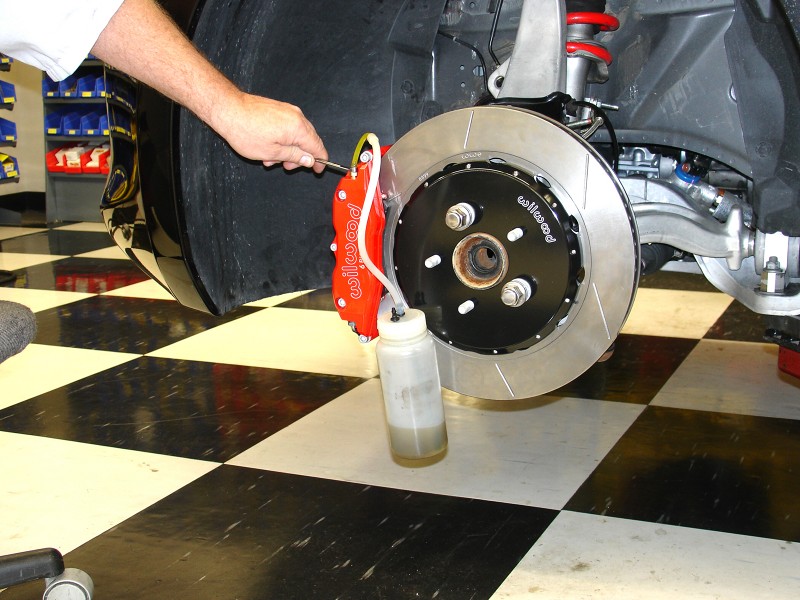
The brakes were bled before the pads were bedded in. Nothing high tech here, a hose is connected to the bleeder screw and it runs into a bottle that is ¼-filled with brake fluid. It’s the old pump and open method of bleeding the brakes.

After the brakes were bled Tony installed the factory large diameter wheels and tires. The wheels were installed on the lug studs and then the lug nuts were installed and were tightened with an impact gun.
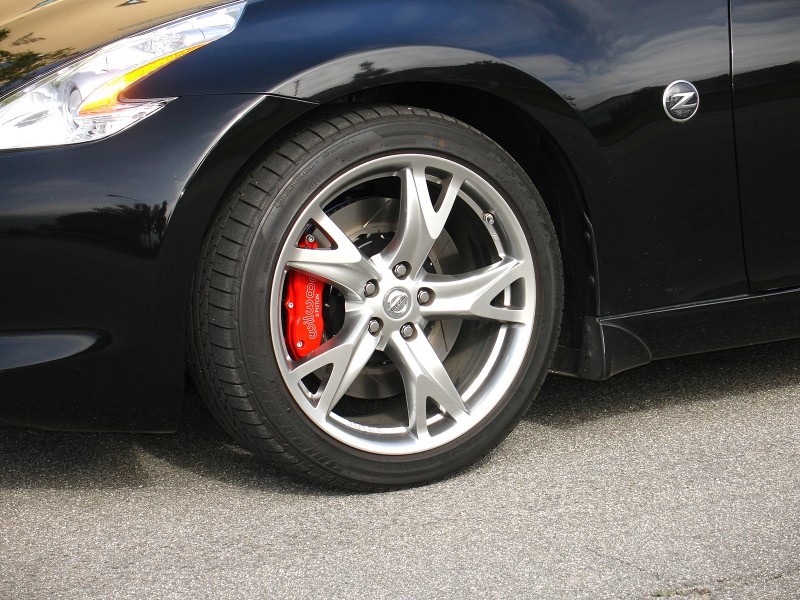
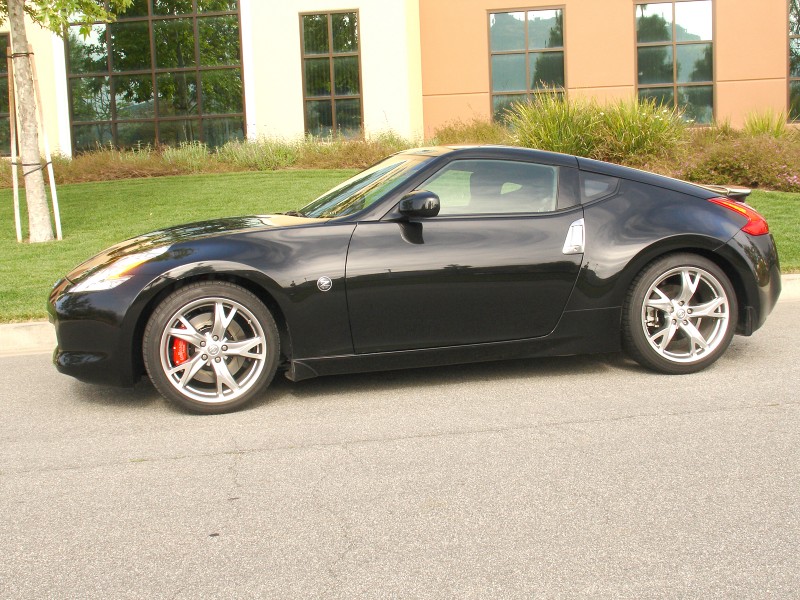
This black 370 Z is very aggressive looking with the new body design and the wild wheels and tires. Here you can see the bright red Wilwood caliper behind the custom wheel.
Source:
Wilwood Engineering
Performance Disc Brakeswww.wilwood.com