

One of the very first modifications that any tuner enthusiast does soon after the initial power-up of intake and exhaust is the suspension system. For most the look of their vehicle with a low stance is more than enough, but for others the ability to adjust both ride height and dampening is what the switch to coilovers is all about.
Below, is a step-by-step explanation on how International Automotive and Custom (IAC) in Woodbridge, Ontario removed the stock suspension from the PAS-SONY Scion tC. Turning it from a nice looking sports coupe to a menacing racer with the simple switch to a TEIN coilover suspension system supplied by Johnston Research Performance (JRP).
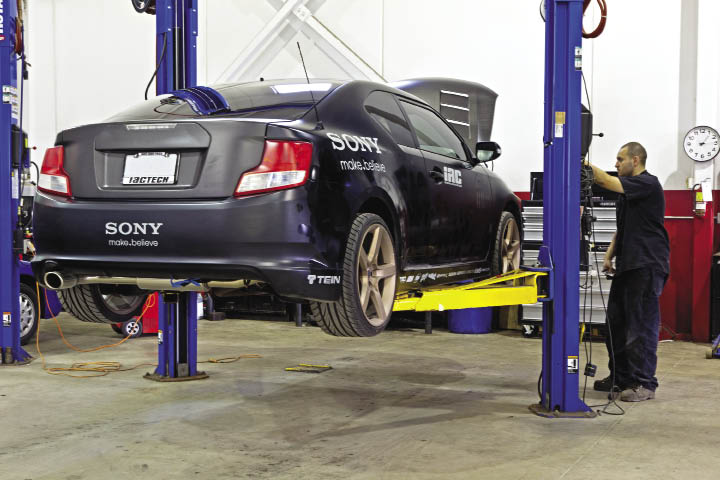
Step 1: Prepare vehicle
- Get car positioned for the hoist and remove wheels
 |
 |
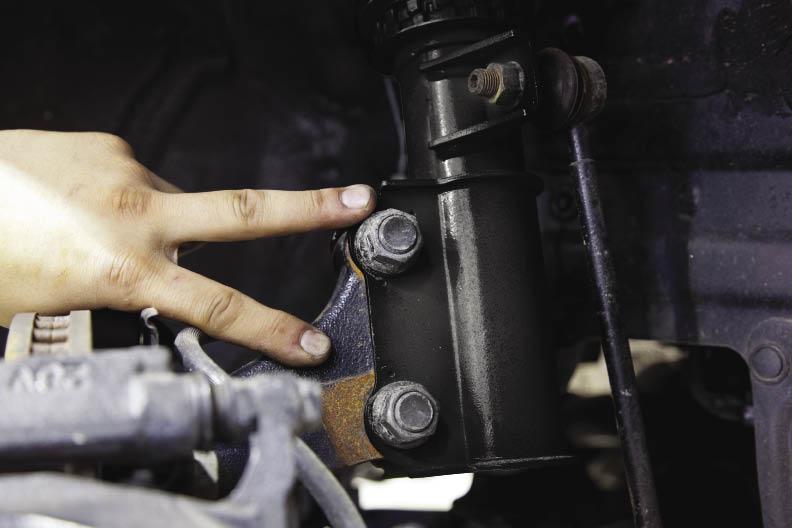
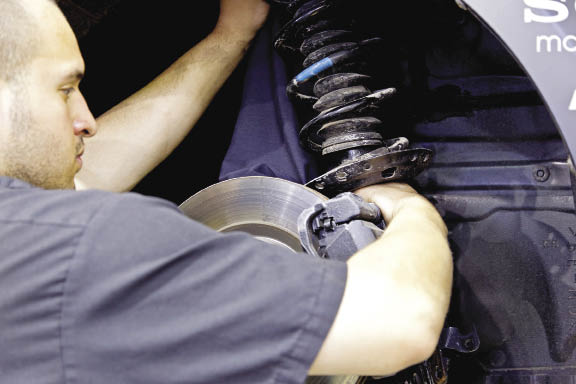
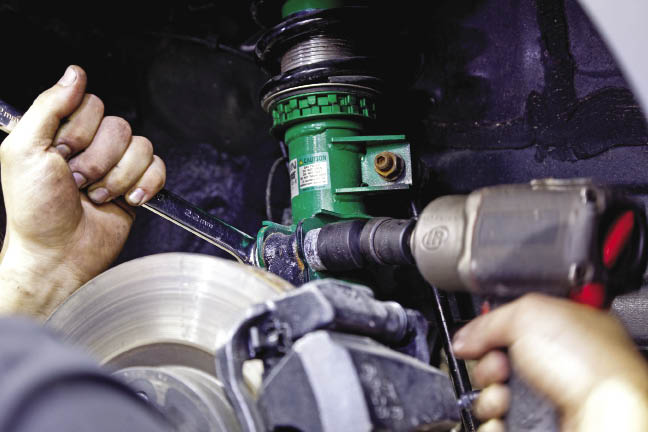
Step 2: Remove factory front suspension
- Begin by removing the nuts that secure the front sway bar links, brake line and ABS sensor.
- Next, remove the two (2) lower strut bolts and three (3) bolts on the upper strut tower. *A penetrating lubricant might be required as most nut and bolts seize with time
- Wiggle out suspension until cleared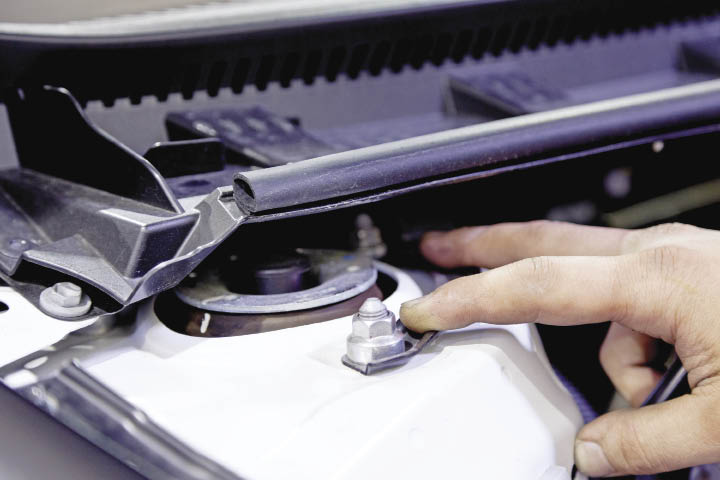 |
 |
 |
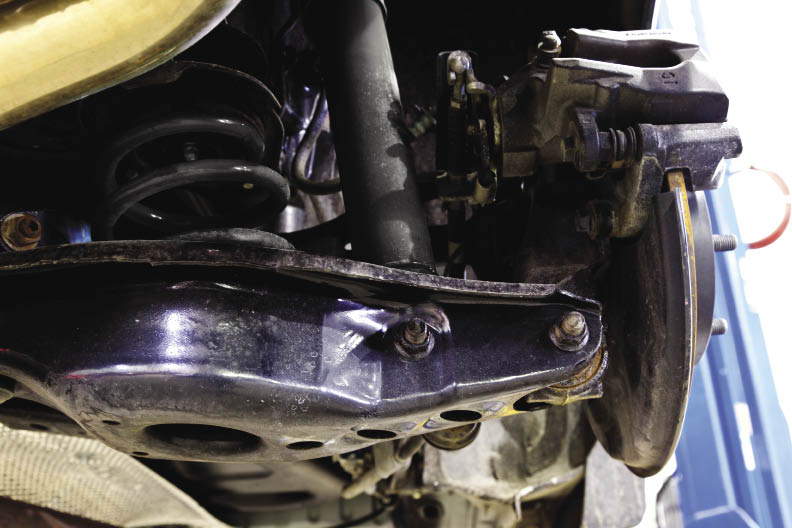
Step 3: Remove factory rear suspension
- Begin by jacking up the lower control arm so that spring does not dislodge
- Next, remove the two (2) lower bolts located at the shock and knuckle.
- Lower the jack stand and remove the factory spring.
- Open trunk and remove plastic covers to access the nuts on the factory shock strut tower
- Follow instructions on removal of factory front suspension to remove the remaining bolts
- Once the suspension pieces are accessible, wiggle out until cleared
 |
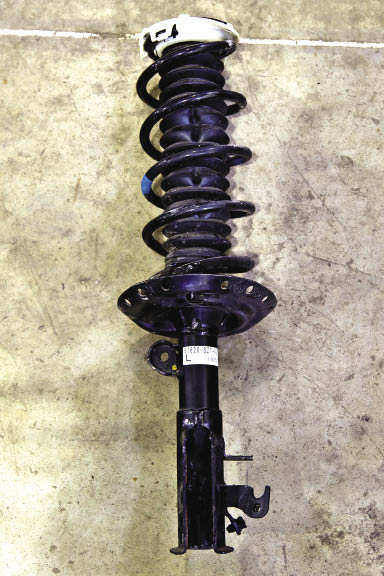 |
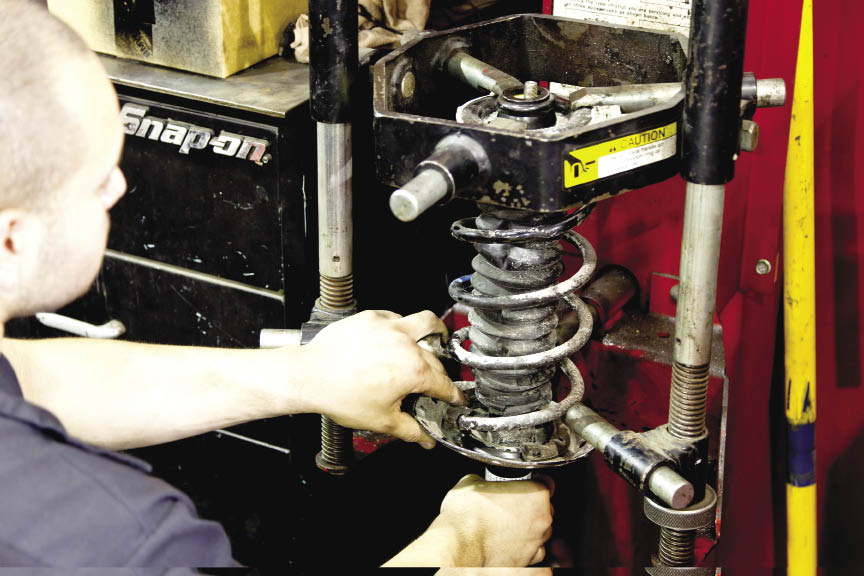
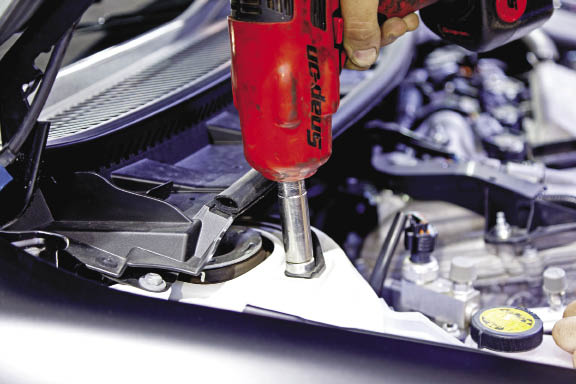
Step 4: Preparing new suspension
- Take factory suspension to the spring compressor (if available) and remove the upper strut mounts (hats).
- Transfer and re-install upper strut mounts (hats) to new coilover setup and tighten.
 |
 |
Step 5: Installing new suspension
- Install new coilovers in the same fashion that the factory suspension was removed, starting from inserting the top first into the strut tower then the bottom to the suspension mounting points.
*When installing new bolts, pull as far out as possible before tightening to avoid any camber issues
 |
|
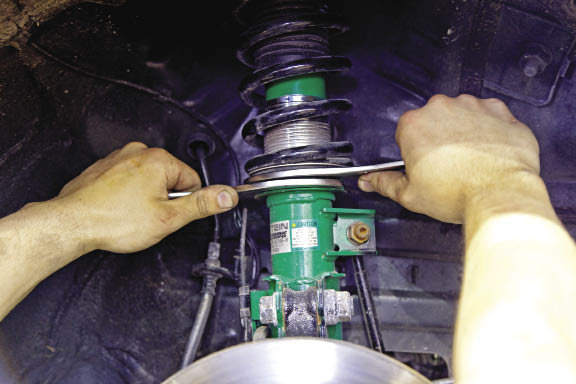
Step 6: Final adjustments of new suspension
- Adjust ride height on coilover suspension with sprocket keys. Each key locks onto a ring on the shock and turn in the direction against each other. *Assistance might be required for this.
 |
 |
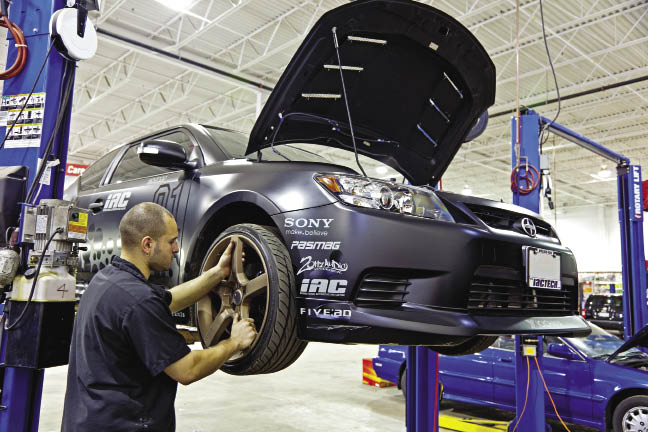
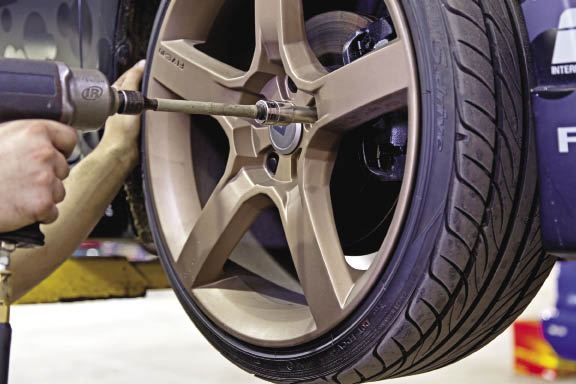
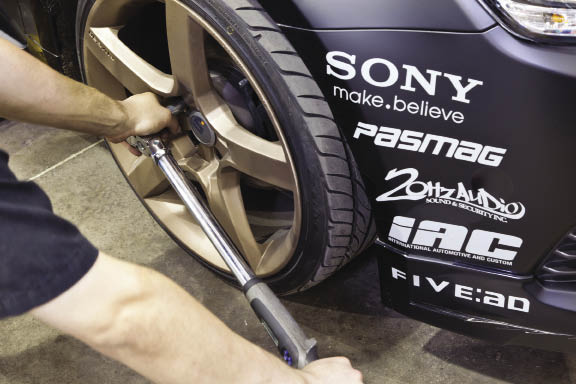
Step 7: Re-installing wheels and lug nuts
- Put wheels back on vehicle and tighten lug nut with air tool (if available) if not with proper tool
- Lower vehicle from hoist and / or jacks and tighten wheel lug nuts with torque wrench. Make sure to meet proper tightening torque measurement (Psi) as per factory specifications.
 |
 |
Step 8: Notes and Tips for lowered vechiles
- A full alignment is necessary when suspension install is complete.
- Before driving the vehicle, check for all 4 wheels for clearance.
- Drive vehicle for a few minutes with windows down and listen for any unusual noises. Be sure to take driveways on an angle now that the vehicle has been lowered.
- If vehicle is too low or high, make ride height adjustment with sprocket keys by removing the wheel and following Step 7.
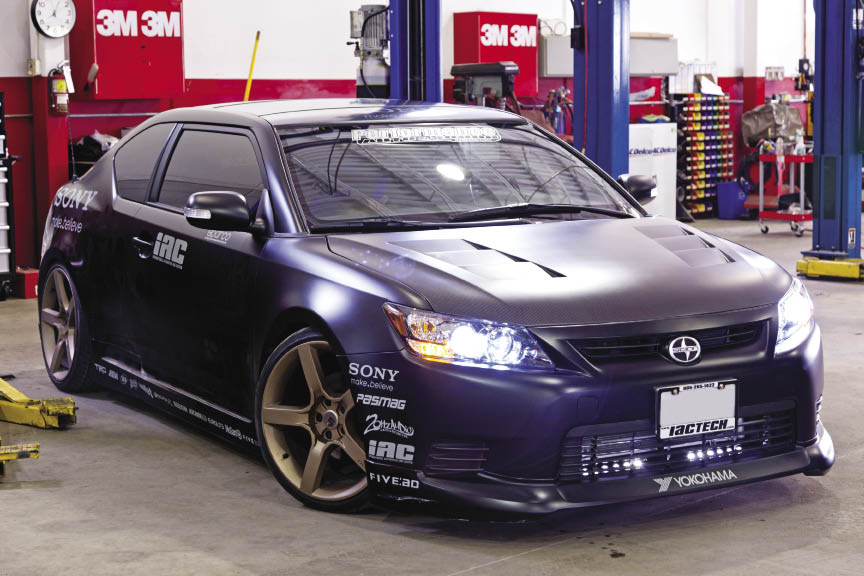
Now that the Scion tC has a new sleeker and lower stance, the next thing on the to-do list is to have the alignment checked and adjusted so that no excessive wear is had on the tires or other factory components.