Materials & Hardware:
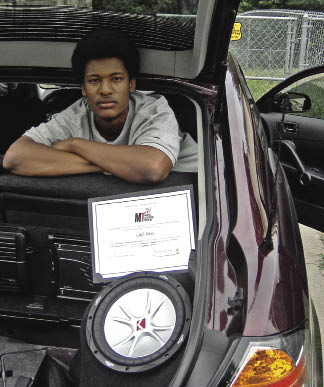
Kicker 10-inch CompVR Subwoofer
3M Fiberglass/All Purpose • Resin
Fiberglass Matte
MEKP( hardener)
3M Painters Tape
3/4-inch MDF Wood
Black Speaker Box Carpet
Lightweight Filler (BONDO)
3M Adhesive Spray
Jigsaw
Respirator/ mask
Gloves
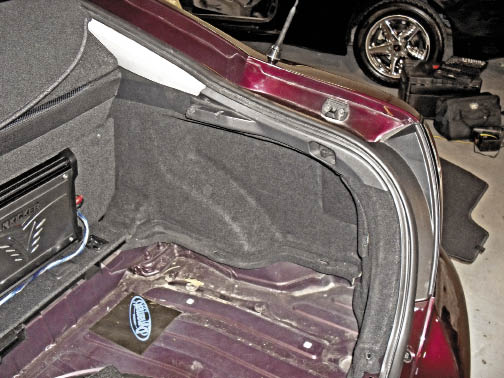

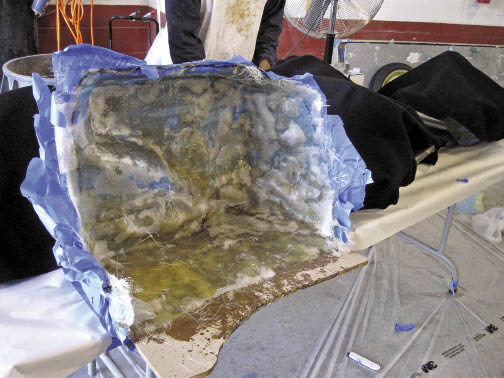
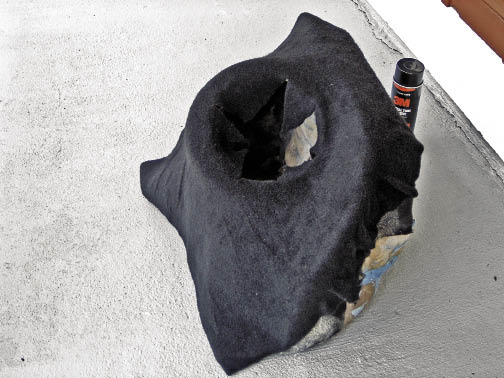
Prep the entire area (interior/exterior) of the trunk where you want to fiberglass. Using painter’s tape, tape past area you wish to fiberglass. Using plastic in conjunction, can add extra protection for the interior of your car. Using ¾-inch MDF and a jigsaw, carefully cut out a base for the custom enclosure.
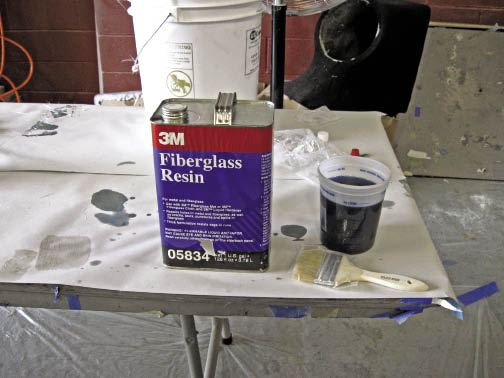
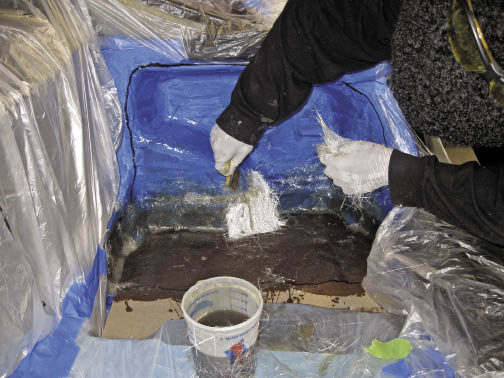
Mix the resin and MEKP with a ratio of 100 to 2 (resin to MEKP). If mixed correctly, working time should be 25 minutes. Break up fiber matte into pieces of approx. 5x5 inches with varying thickness. One coat of just resin is to be applied to tape and MDF followed by 3-4 layers of fiber matte. Allow curing between each layer of fiber matte applied. Be sure to use proper eye, hand and breathing protection in this step.

Step 3
Allow a final curing over night. If needed, a heat gun may be used to speed up curing time. Remember to use extra caution when using a heat gun!
Step 4
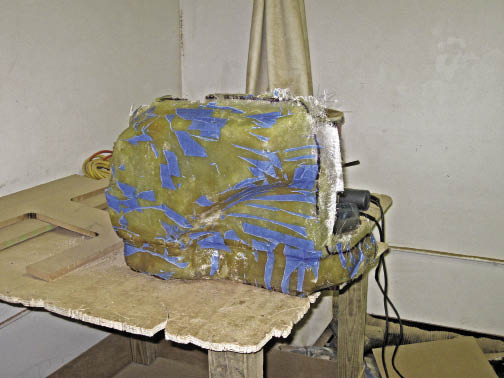
Remove base and back of the enclosure. Due to fiberglass curing, it may take excessive force to remove it, so feel free to really pull on it. If you followed the proper prepping (taping) instructions in step one correctly, no damage should occur to the vehicle interior. Simply remove excess tape off the backing of the fiberglass.
Step 5
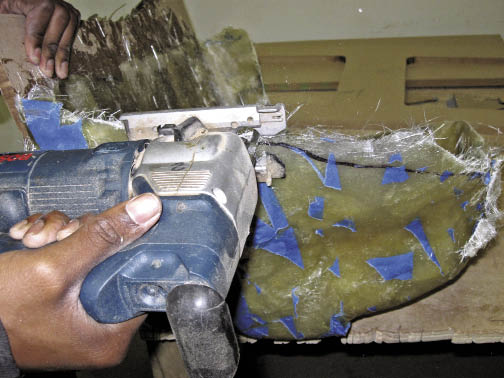
Trim off any excess fiberglass that is outside of your desired shape with a jigsaw. Be sure to use proper eye and breathing protection.
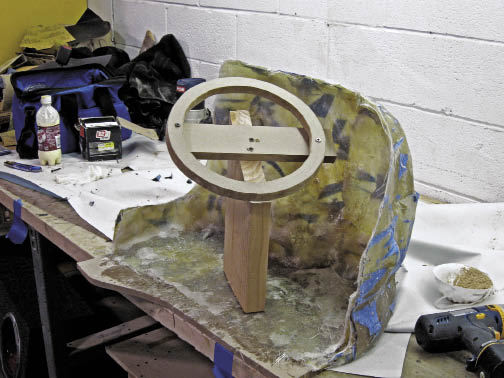
Using the jigsaw and ¾-inch MDF, create a mounting ring according to your hardware specifications (for us, it was a 9 ¼-inch diameter for th 10-inch Kicker woofer) and use a 4x2-inch piece of wood to create the desired angle and height for the hardware.
Step 7
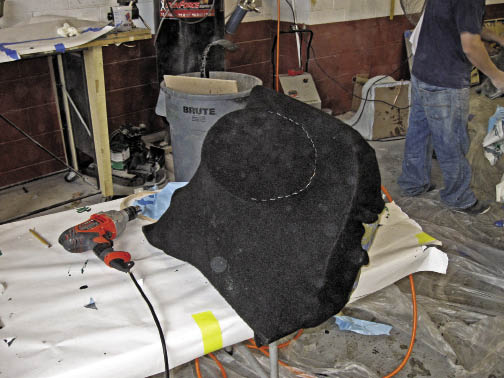
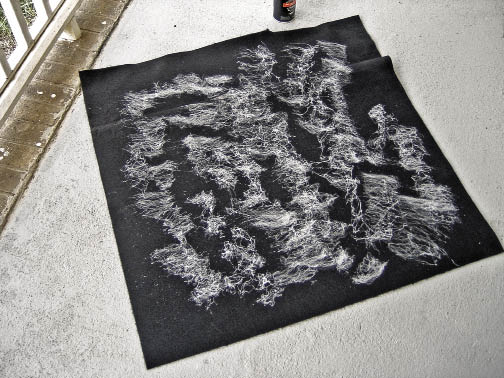
Spray adhesive on the edges of the fiberglass backing and base areas. Using black carpet as forming material, stretch it for the desired shape. To maintain shape, simply staple the carpet to the MDF base as well as mounting the ring on the inner ring side (see picture).
Step 8
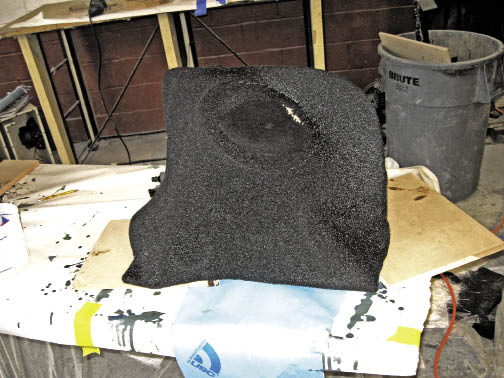
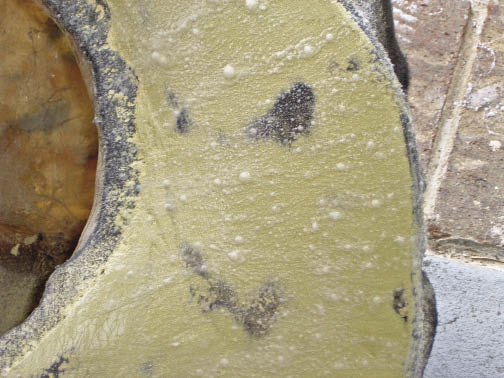
Apply 2-3 coats of resin to the forming material. Use the same guidelines as in step 2. Allow it all to fully cure.

Step 9
Apply 1 layer of fiber matte to the forming material. Using the same guidelines as Step 2 and 8. Allow it to fully cure.
Step 10
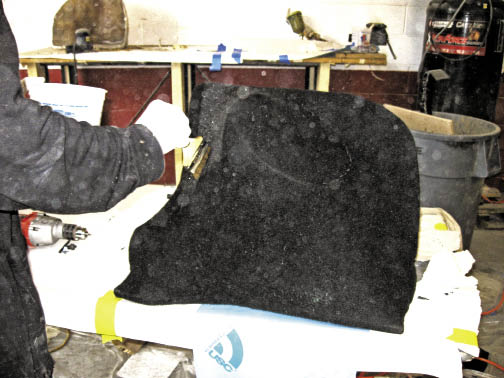
Cut out a hole for the speaker/subwoofer and remove all the wood used to hold its shape during curing. Only the mounting ring should be left.
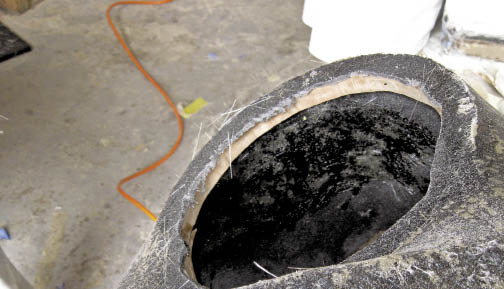
Apply one layer of fiber matte INSIDE enclosure. This is most important in areas where resin may not have penetrated through to other side of forming material.
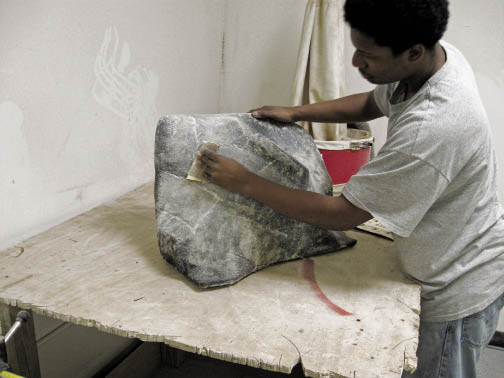
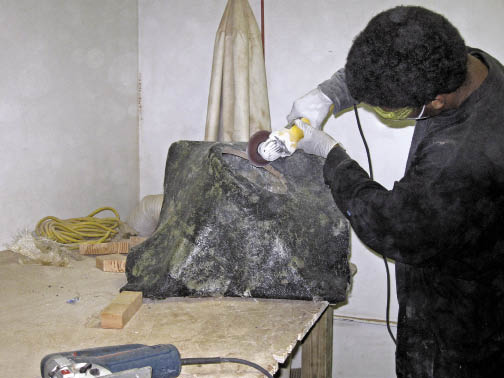
Sand the enclosure down to a nice smooth and dull finish. We plan to wrap it in black carpet, so 40-80 grit sanding is sufficient. If your final wrapping is less forgiving, 200-400 grit should be used.

Step 13
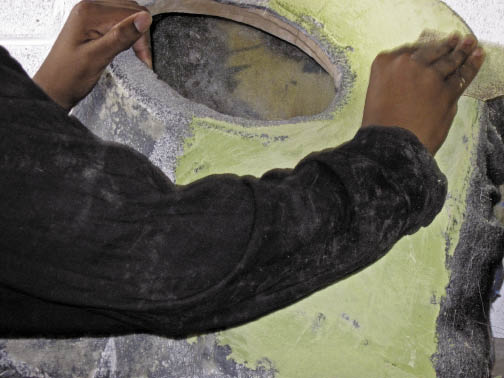
Apply a layer of lightweight filler (aka Bondo) to smooth out any light imperfections. The apply and sand the lightweight filler in sections. The filler is much easier to work with when semi-dry.
Step 14
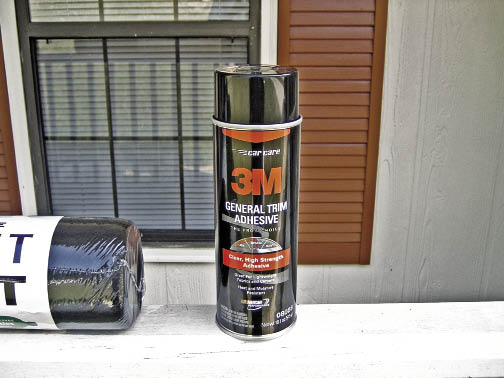
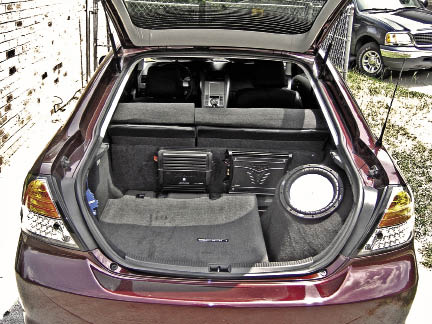
Using 3M adhesive (highest strength recommended, medium strength pictured) spray entire enclosure and back of carpet with 2 coats. Allow becoming tacky. Using wrapping techniques stretch carpet over enclosure. Cut out hole for speaker, wire and mount speaker.
Source:
Mobile Technical Training
460 US Highway 46 West South
Hackensack, NJ
201-329-9000
Related Articles
 KICKER Under-Seat Loaded Enclosures for Ford, GMC, Chevy, RAM
 KICKER Introduces Pairs of 3-Way Component Systems
 Understanding Audio Radiators w/ KICKER
 KICKER KEYLOC Smart Line-Out Converter
 KICKER Begins Shipping PowerCans 6.5-inch Amplified Speaker Systems
 KICKER PTRTP Powered Down-Firing Subwoofer Loaded Enclosures